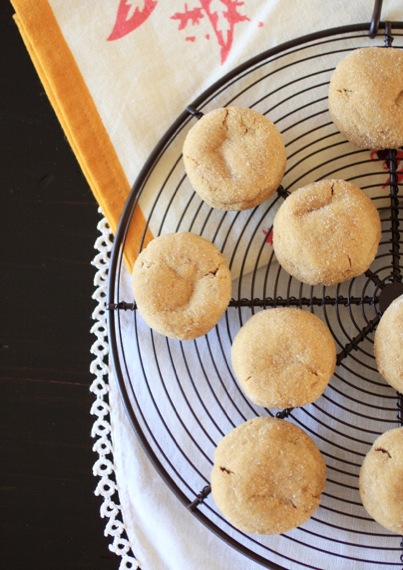
I’ve been baking lots of cookies lately. We’ve recently had two sets of friends welcome new babies and then we hosted a party Saturday as well. And everyone knows you can’t have babies or parties without cookies…I guess. Not to mention, I just really, really like baking cookies.
In addition to taking meals to my friends, I also made my favorite oatmeal cookies as well as these gingersnaps to welcome their new little bundles. My favorite thing to do for new parents is take them bags of frozen, perfectly portioned balls of cookie dough (in addition to some already baked ones) for them to keep in their freezer. Then, all they need to do is pull a couple out and pop them in the oven anytime they want fresh baked cookies!
I am such a good friend.
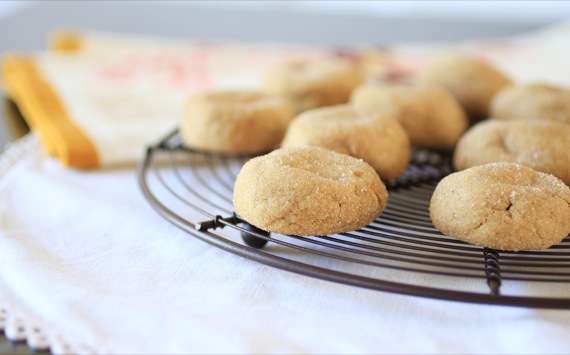
I had seen these cookies recently and knew I just had to make them ASAP. There’s a nip in the air (when I say ‘nip’, I really mean 85 degrees instead of 95), pumpkins are everywhere you look, and Halloween is just around the corner- perfect conditions for soft, gingery cookies! And these are soooo good. Chewy and puffy with a nice kick of spice. In essence, the perfect fall cookie.
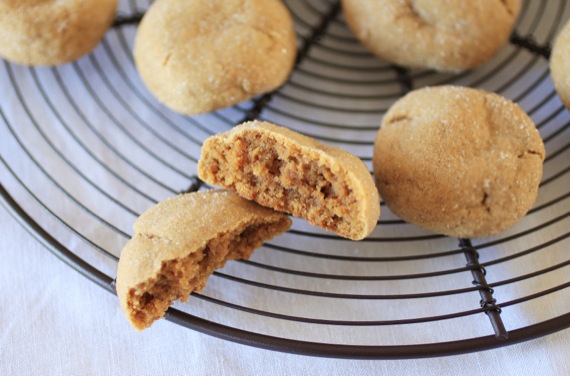
Soft and Chewy Gingersnaps
3 cups all-purpose flour
1 teaspoon baking soda
2 teaspoons ground ginger
1 1/4 teaspoons ground cinnamon
1/4 teaspoon ground cloves
1/4 teaspoon nutmeg
1/2 teaspoon salt
3/4 cup (1 1/2 sticks) unsalted butter, softened to room temperature
3/4 cup dark brown sugar
1/3 cup dark molasses
1 egg, at room temperature
2 teaspoons vanilla extract
1/3 cup granulated sugar, for rolling
In a large bowl, mix the flour, baking soda, ginger, cinnamon, cloves, nutmeg, and salt. Set aside. In the bowl of a stand or handheld mixer, beat the butter at medium speed for about a minute. Add the brown sugar and beat until light and fluffy. Add the molasses, egg, and vanilla and continue to beat until combined, scraping down the sides as needed.
With the speed on low, slowly add the dry ingredients. Do not overmix. Cover dough and chill for 4 hours or overnight.**
Line a large baking sheet with parchment paper or a silicone mat. Shape dough into 1-inch balls and roll in sugar. Place balls 2 inches apart on the prepared cookies sheets. Bake for 8-10 minutes at 350 degrees, until the edges are just turning brown – cookies will be puffy and still appear soft in the middle.
Transfer the cookies to a wire rack to cool completely. Store in an airtight container at room temperature for up to 1 week.
Recipe Source: Sally’s Baking Addiction
**Sally (and I) highly recommend chilling the dough for at least 4 hours, or else the cookies will not be as puffy as shown above.
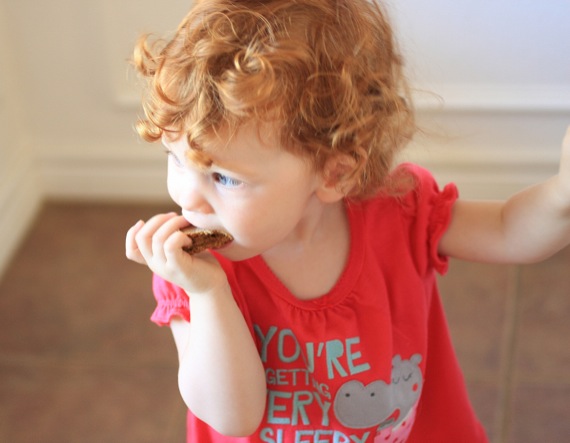
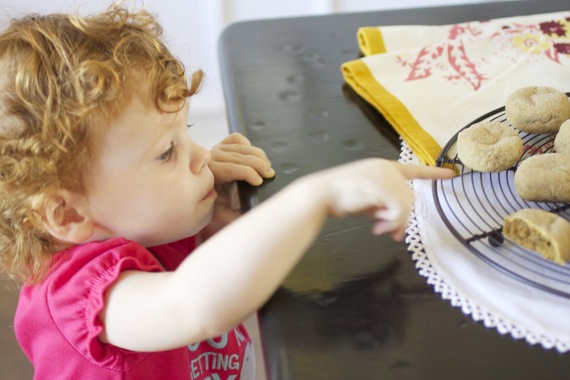

Here is the second of the two kid-friendly recipes I promised this week. I’ve actually been making these a lot, simply because we get tired of plain old sandwiches for lunch. Joel works from home, so I struggle with trying to think up tasty, quick lunches all week.
I don’t make these too often, because, clearly, they’re not the healthiest, but when you’ve got a teething toddler who doesn’t have any interest in eating all of the sudden, you’ll do what you can to make meals fun. However, I do use the reduced fat crescent rolls for these instead of the regular. Cassidy still hasn’t gotten past pulling her’s apart and eating the meat and cheese separate- but hey, whatever keeps her happy, I guess. 🙂

Ham and Cheese Roll-Ups
1 roll refrigerated reduced fat crescent roll dough, such as Pillsbury
mustard
8 slices deli ham
8 slices cheddar or swiss cheese
Preheat the oven to 350 degrees. Unroll the crescent dough and spread a little mustard on each triangle. Lay a slice of ham, then cheese on each triangle, then roll up, starting with the wide end. Place on a baking sheet and bake for about 11-13 minutes, until golden brown. Serves 2-3 as a lunch; or 6-8 as a snack.
Recipe source: Gooseberry Patch’s Kids in the Kitchen cookbook
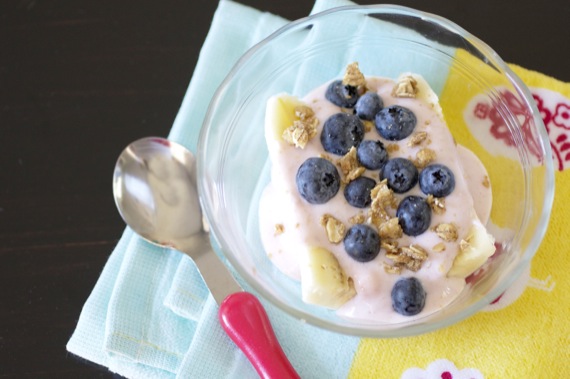
Since Cassidy came along, I’ve done a few kid-friendly posts here and there and even some homemade baby food, but I still get lots of requests for more kid recipes. Honestly, since she’s still so young, I haven’t done all that many recipes just for kids; mainly because Cassidy just eats whatever we eat. If I cook kale, butternut squash, and quinoa soup for dinner, that’s what Cassidy eats. However, since my little bitty baby is quickly growing into a spunky, energetic, opinionated LITTLE GIRL (for heaven’s sake, I’m going to burst into tears just typing that!), I’ve been making more kid-friendly, fun meals for her.
This week, I’ll share two such recipes with you. Starting with this breakfast banana split. How cute is that?! Last Christmas, my uncle and aunt sent Cassidy and me a cute little cookbook just for kids, which is adorable. Cassidy loves to flip through the pages and look at each picture and recipe and say, “mmm!!” as she takes a pretend bite with her chubby little fingers. I seriously adore this kid.
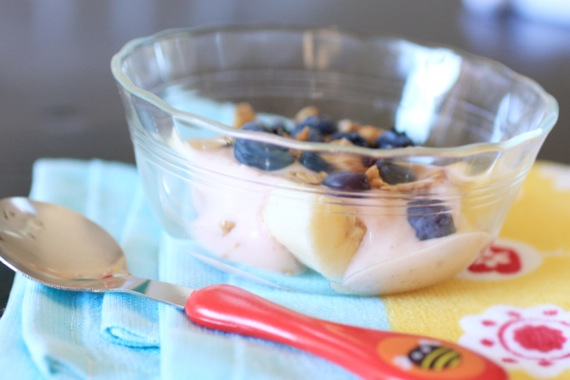
Anyway, it’s sort of easy for me to get into a breakfast rut with Cassidy. And when the same old things start getting old, recipes like this are a welcome, adorable change of pace! Just layer sliced bananas with your favorite yogurt, then top with blueberries and a bit of granola. You can use any fruits you like and as many toppings as you want! The sky’s the limit!
Let your kiddo choose what toppings she wants, then let her enjoy her own special creation for breakfast! Such fun!!
Breakfast Banana Splits
half a banana, sliced in half length-wise
1 4 or 6-oz. individual-size cup yogurt (we like strawberry greek yogurt)
blueberries
granola
Lay the sliced banana in a small bowl and top with yogurt, blueberries, and granola. Let your kids help you put it all together and create their own masterpiece! Serves 1.
Recipe source: adapted from Gooseberry Patch Kids in the Kitchen
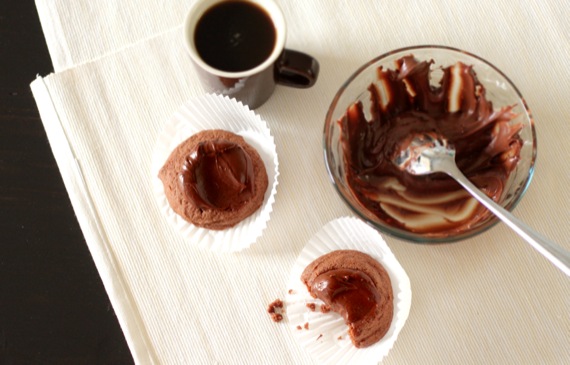
Can I just rant a little bit? Is that ok? We recently bought a new MacBook pro, since our old one was getting pretty ragged. The “genius” at the Apple store suggested a retina display; especially since I do so much photo editing. Ok, fine, sure. Retina display it is. Can I just ask- WHY WOULD ANYONE WANT THIS???? My pictures are blurry/pixel-y. My pictures that I work so hard to ensure are as close to perfect as I can get them. My food that I style so carefully and get placed just right. They. Are. Blurry. Not when they’re giant, mind you. Just after I resize them to fit on my blog. So anyone else who owns a computer with retina display will see my pictures as blurry. What a load of you-know-what!
Do you see that photo above? I worked really hard on that photo. I was SO happy with that photo. Until I resized it and now it looks like doo-doo. Joel has explained it to me a floppity-gillion times, but I still can’t wrap my tiny, technologically-challenged brain around it. In fact, he’ll probably get annoyed with me after reading this post, and explain it to me all over again, but I’m MAD, people! I don’t care how awesome retina display is- I hate it! Anything that makes my hard-earned photos blurry is NOT a good thing! So THERE! Suck it, Joel! Suck it, Michael! And suck it, anyone else who tries to tell me how great retina display is!
Phew. Ok, I feel so much better. Are you still with me? Am I down to my last 3 readers?? Don’t worry, I’ll talk about food now, I promise.
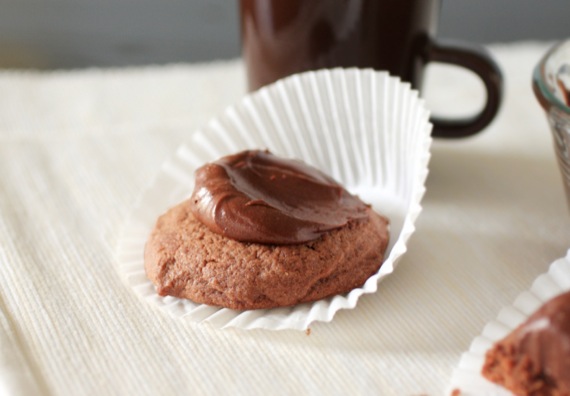
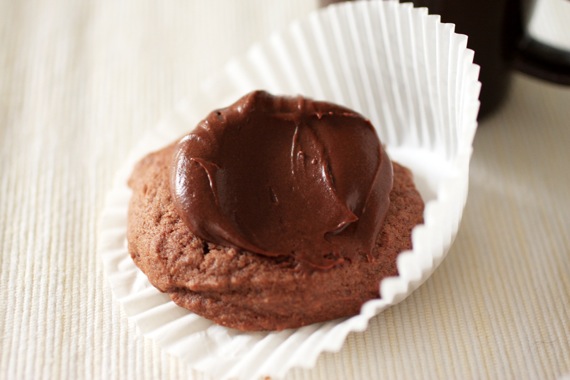
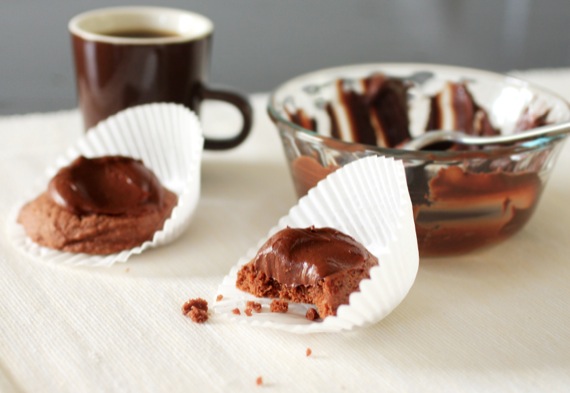
How about some soft, chewy, brownie-like cookies topped with a decadent, fudgy frosting? Sound good? Well, they are! They’re awesome, in fact. I wanted to make a rich, chocolaty cookie the other night for a party and these popped into my head. I used two of my favorite components- the Levain Bakery’s Giant Double Chocolate Cookies and Hershey’s Perfect Chocolate Frosting. What a combo!! Since I left the chocolate chunks out of the cookies, the texture and taste was more like a homemade brownie – dark, chewy, and fudgy. Smear a little of that awesome chocolate frosting on top and WOWEE, what a cookie!
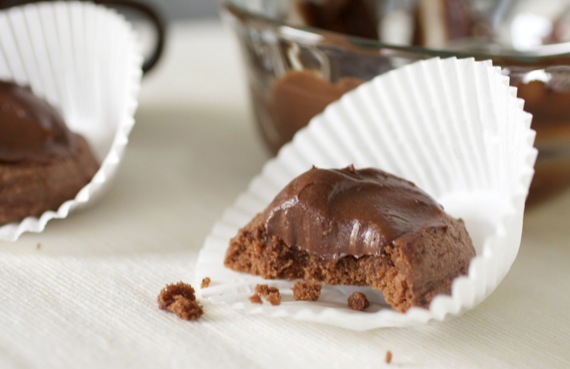
Needless to say, these were a big hit at the party. Luckily, there were some left over, so Joel and I could enjoy them over the next couple of days!
Brownie Thumbprints with Fudgy Chocolate Frosting
1 cup (2 sticks) cold, unsalted butter, cubed
1 1/4 cup sugar
2 large eggs
1/2 cup dark cocoa powder
2 1/4 cups all-purpose flour
1/4 teaspoon coarse salt
1 teaspoon baking powder
Preheat the oven to 350˚. Line baking sheets with parchment paper or silicone baking mats. In the bowl of an electric mixer, combine the butter and sugar. Beat together on medium-high speed until light and fluffy, 2-3 minutes. Blend in the eggs one at a time, scraping down the bowl as needed. Mix in the cocoa powder until well blended. Add the flour, salt and baking powder to the bowl and mix on low speed just until incorporated. Transfer the dough to a work surface and knead briefly by hand to be sure the ingredients are well combined. Using a cookie scoop or small spoon, scoop out the dough and roll into 1 1/2 inch balls. Place on the cookie sheet and flatten slightly using the bottom of a glass or measuring cup. Bake for about 10 minutes. Remove from oven and gently press the back of a teaspoon into the top of each cookie to make an indentation (that’s where the frosting will go). Cool completely.
For the Frosting**
1/4 cup (1/2 stick) butter, melted
1/3 cup HERSHEY’S Cocoa
1 1/2 cups powdered sugar
splash milk
1/2 teaspoon vanilla extract
Stir melted butter into cocoa. Add powdered sugar, then milk, beating to spreading consistency. Stir in vanilla. (Makes approximately 1 cup frosting)
Using a spoon, place a small dollop of frosting on each cooled cookie. Makes approximately 3 dozen cookies.
**feel free to double the frosting recipe if you prefer lots of frosting on your cookies. Keep in mind, however, these are very rich and don’t need too much.
Recipe source: Sing For Your Supper original idea; cookie recipe from Levain Bakery; frosting recipe from Hershey’s.
P.S. I must apologize for my outburst earlier. When I first wrote this post, there was a full moon occuring. Say what you will, but it just does something to me, y’all. That same night, I lost my temper because my pen wasn’t working. My pen, people. *sigh*
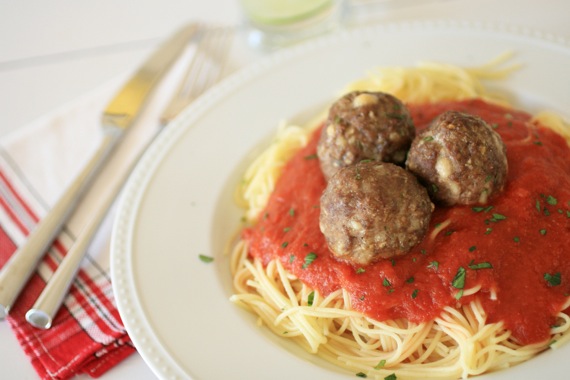
I don’t know how you do yours, but when I used to make meatballs, I made them in a frying pan. They sputtered like crazy, I had to turn them 4 or 5 times, then I would still worry about them being done on the inside. And when I was finished cooking all those meatballs (in batches, mind you), I had grease all over my kitchen. Not ideal. And honestly, my meatballs weren’t ever that great. They were usually pretty tough from over-cooking. Finally, I got wise! I watched Nigella Lawson bake her meatballs in the oven and the lightbulb went off! Thanks Nigella! For years now, I’ve been doing them this way. SOOOOO much better!
Oven-Baked Meatballs
1 pound lean ground beef
1/2 cup breadcrumbs
1/4 cup parmesan cheese, grated
1 teaspoon salt
1/2 teaspoon pepper
2 tablespoons fresh parsley, chopped
1 teaspoon worcestershire sauce
1 egg
Preheat oven to 375 degrees.
In a large bowl, using your hands, mix all ingredients until combined. Roll into 1 1/2 inch balls and place on a cookie sheet. Bake for about 20 minutes, until outsides are nicely browned. Serve with spaghetti, noodles, sandwiches, pizzas, soups, and more!
Recipe source: Sing For Your Supper original
**Amy’s tip: make a bunch of these and freeze them! They freeze beautifully and it’s so easy to grab a few from the freezer on a busy weeknight! Try rolling them into different sizes (mini-size for soups and pizzas and jumbo-size for spaghetti and meatball subs)!
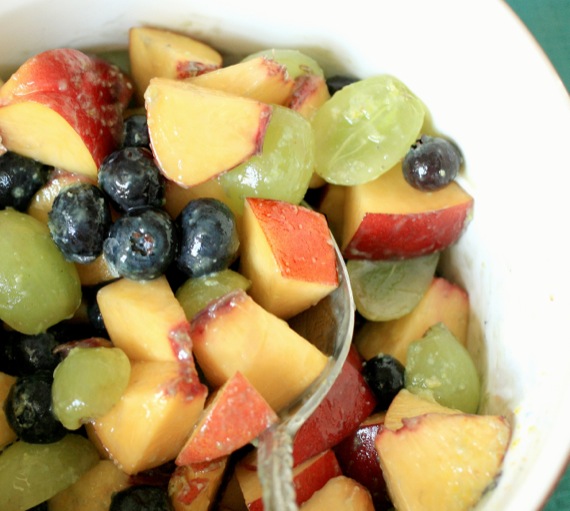
Well, after making this (about 80 times now), I can tell you my fruit salad will never be the same! I used to struggle with fruit salads. Unless it was this version, they were just “ok” to me, but never something I’d go out of my way to make or eat. Who knew all it takes is one little secret ingredient to make your fruit salad sing?! 🙂
My sister told me about this little “tip” a long time ago and thought it sounded disgusting. I imagined overly-sweet, gloppy fruit salad. Not appetizing. However, one evening, I had some really under-ripe, really “blah” nectarines that I wanted to make a fruit salad with, only, they had basically zero taste. I remembered a box of vanilla pudding mix in my pantry and tossed in a small spoonful. WOW, what a difference! It brought out all kinds of flavor from the sad little nectarines, added a faint sweetness, and made everything taste deliciously ‘vanilla-y’ . We inhaled this fruit salad, then I proceeded to make it again, and again, and again.
Secret Ingredient Fruit Salad
2 nectarines or peaches, cut up into chunks
1/2 pint blueberries
handful green grapes, cut into halves
1/2 pint strawberries, hulled and sliced
1 tablespoon instant vanilla pudding mix **
Toss fruit and pudding mix. Chill for at least 30 minutes before serving. Serves 4-6.
**feel free to use more pudding mix if you like it really ‘vanilla-y’. I prefer just a hint.
Recipe source: my sister’s coworker
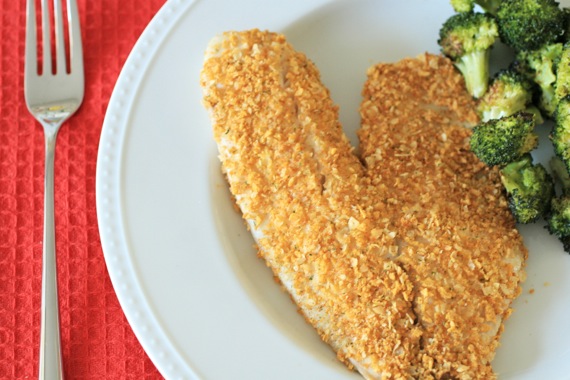
I don’t know about you, but when it comes to preparing fish, I usually find myself in a bit of a rut. I do the same things over and over again. For some reason, I have trouble thinking outside the box when it comes to fish. We do LOVE fish, though, so naturally, I was excited to find this recipe. It’s unusual (to us, anyway), quick, and super flavorful. Cassidy loved it and Joel and I loved it. This one will definitely stay in the dinner rotation for sure!
Tortilla-Crusted Tilapia
5 tilapia pieces
7 corn tortillas, torn into small pieces
1 teaspoon lime juice
5 or 6 tortilla chips
1 jalapeno pepper, seeded and chopped
1/4 cup cilantro
1/2 teaspoon chili powder
1/4 teaspoon paprika
1/4 teaspoon garlic powder
1/4 teaspoon ground cumin
1/4 teaspoon onion powder
1 teaspoon salt
1 egg, beaten
Preheat oven to 375 degrees.
Put all of the ingredients (except egg and tilapia) in a food processor or blender and pulse a few times, until you have a bread crumb-like consistency. Put mixture in a shallow platter or large plate.
Dip the fish into the beaten egg and then into the tortilla mixture.
Place each one on a greased baking sheet. Bake for 10-15 minutes, until fish is flaky and tender. Serves 5.
Recipe source: Raining Hot Coupons
I’m an extremely dramatic person. Those of you who know me or gave birth to me (hi, mom!) know this for a fact. I bring the drama wherever I go. Not necessarily always in a bad way- sometimes I’m just very dramatically funny, or loud, or goofy (drama’s not always a bad thing, you know.). However, sometimes it can be a bad thing; like on days when something goes wrong or something disappointing happens, I totally succumb to the drama and immerse myself in a could of moodiness instead of accepting what happened and simply moving on. I walk around in a fog. Just for the record- that’s not a good thing. It’s one of the characteristics I most dislike in myself. There’s always that little voice in my head saying, “just move on, Amy. There’s still so much to be happy about!”; but it’s so much easier to be dramatic. Slowly but surely, I’m trying to fix this.
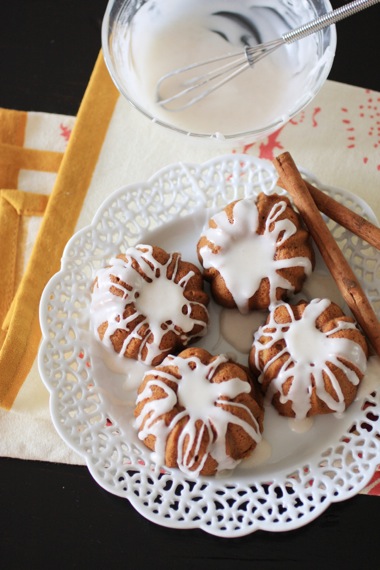
Like today, for instance. I had sort of a rough morning, but chose to rise above the drama and just move on. Know what I did? I lit a pumpkin-scented candle, put on some music, and baked these pumpkin mini bundts with my baby girl (she mostly just sat in the floor and played with a whisk). And it really helped!! I pulled them out of the oven and realized I hadn’t felt sorry for myself or dwelt on the bad news at all! Nothing like a little fall baking to pull you out of a slump!
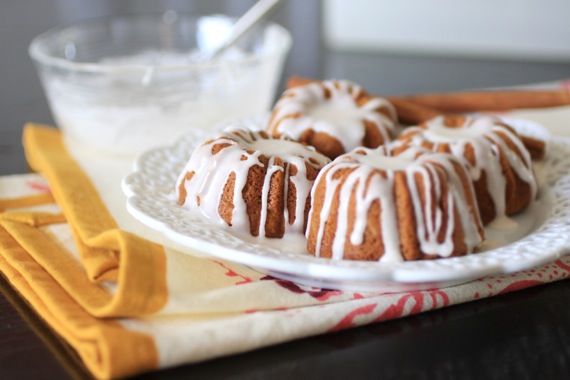
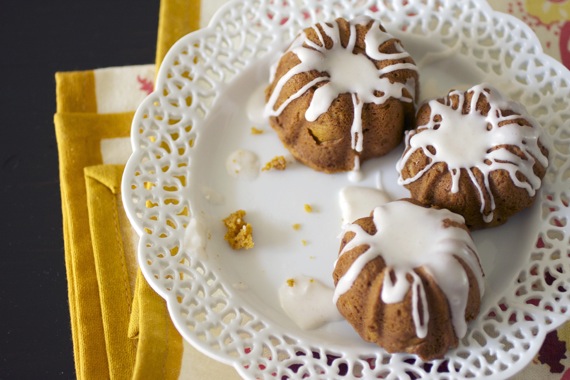
Now, let’s talk about these mini bundts! Aren’t they just adorable?! And so easy- all I did was take the recipe for my pumpkin pound cake (with a couple of tiny tweaks), bake it into mini bundts, and whip up a quick and easy cinnamon glaze! The house smells amazing and my blues are long gone! 🙂 I’ll be honest with you, I actually had to level off the bottoms of these because they rose quite a bit during baking, but that was no biggie- Cassidy loved snacking on the bottoms!
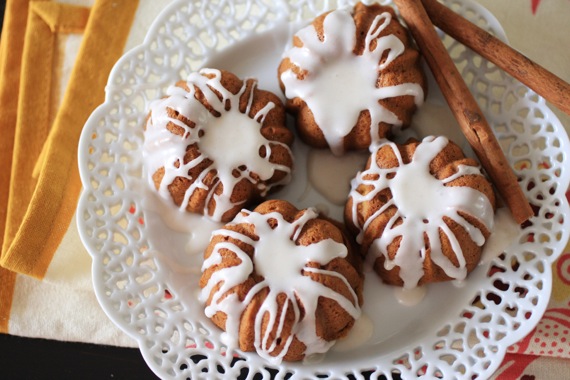
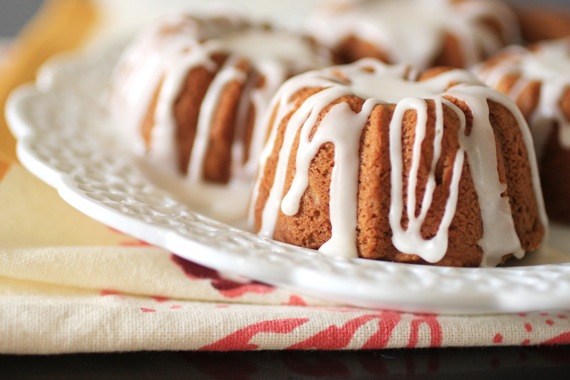
Pumpkin Mini Bundts with Cinnamon Glaze
1 cup granulated sugar
1 cup brown sugar
1 cup canola oil
3 eggs
3 cups all-purpose flour
2 teaspoons baking soda
1 teaspoon ground cinnamon
1 teaspoon ground nutmeg
1/4 teaspoon ground cloves
1/8 teaspoon ground ginger
1/2 teaspoon salt
1 package instant butterscotch pudding mix
1 can (15 ounces) pumpkin puree
In a large bowl, combine sugar and oil until blended. Add eggs, one at a time, beating well after each addition. In a separate bowl, combine flour, baking soda, cinnamon, nutmeg, cloves, ginger, salt, and pudding mix; add to egg mixture alternately with pumpkin, beating well after each addition. Batter will be thick.
Transfer to 2 greased mini bundt pans (if you don’t have 2 pans, just bake one pan at a time). Bake at 350 degrees for about 20 minutes or until toothpick inserted comes out clean. Cool for 10 minutes before inverting onto a wire rack. If cakes rose too much during baking (as mine did), simply level off with a sharp knife and save the bottoms for snacking!). Makes 24 mini bunts.
Glaze:
1 cup confectioners’ sugar
1/4 teaspoon cinnamon
splash milk
Mix all ingredients together until glaze reaches a thick consistency; just make sure it’s still runny enough to drizzle. Drizzle over cakes and serve.
Recipe source: adapted from a Sing For Your Supper recipe; originally adapted from Taste of Home

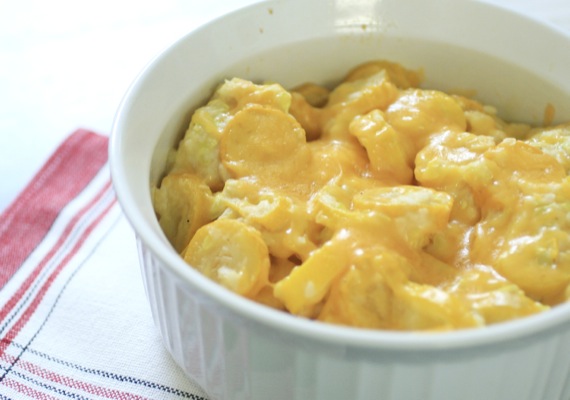
Mmmm, gooey, cheesy goodness. My mom always used to fix squash like this we when were growing up. It usually accompanied fried okra and potatoes, cornbread, and fresh, sliced tomatoes. One of my all-time favorite meals. I believe this recipe originally came from my dad’s grandmother. So simple and comforting…and only 5 ingredients! The BEST way to eat summer squash, in my opinion! 🙂
Cheesy Squash Casserole
5-6 summer squashes, sliced into 1/2-inch slices
half an onion, chopped
1 tablespoon butter
5 or 6 saltine crackers, crushed
1/3 cup shredded cheddar cheese, plus more for top
Preheat the oven to 375 degrees. Place the squash and onion in a pot and cover with water. Bring to a boil and cook for about 10-15 minutes, until squash is tender. Drain.
Stir in the butter, cracker crumbs, and 1/3 cup cheese. Pour into a greased baking dish and top with a little more cheese. Bake for about 10 minutes, until cheese is melty and gooey. Serves 4-6.
Recipe source: my great-grandmother


*sigh* Until next time, Galveston!


