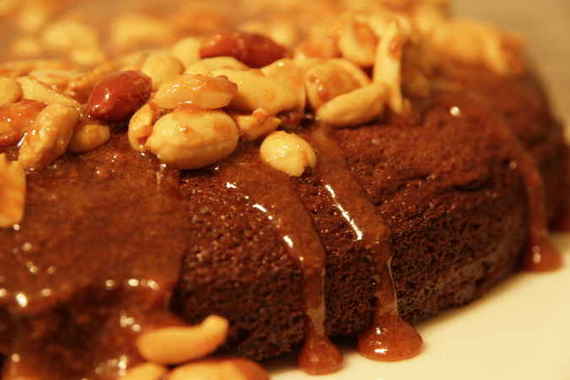
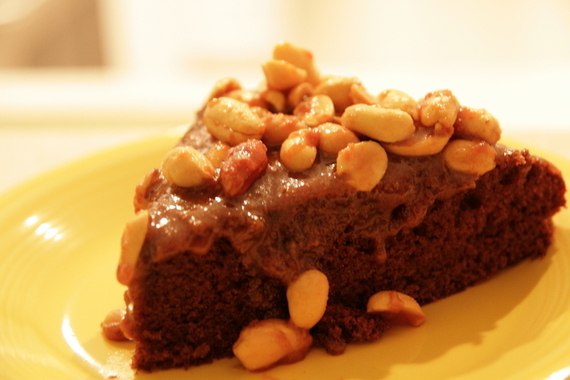
As I sit here, listening to my husband’s rantings about the “dadgum @#%$%^&*# round cake pan thingie (springform pan) that is impossible to clean” (hey, but its nice to have help in the kitchen, right?), I’ve come to the conclusion that I really dislike caramel…and peanuts….on top of a brownie cake. In fact, I hate it. It was so bad, I threw the whole thing in the trash – there’s no way I would’ve sent that to work with hubby tomorrow – nuh-uh, no way. However, it was most likely completely my fault. I think I overbaked my cake – thus making it dry; I think I over cooked my caramel, thus giving it a funky kind of flavor. Not a tasty cake. I’m very glad I made it, though – I almost skipped TWD this week…again. I’m glad I didn’t, though – I’ve been dying to make the Caramel-Peanut Topped Brownie Cake (chosen by Tammy of Wee Treats by Tammy), and now I know that I don’t like it – which is really disappointing, but at least now I know!
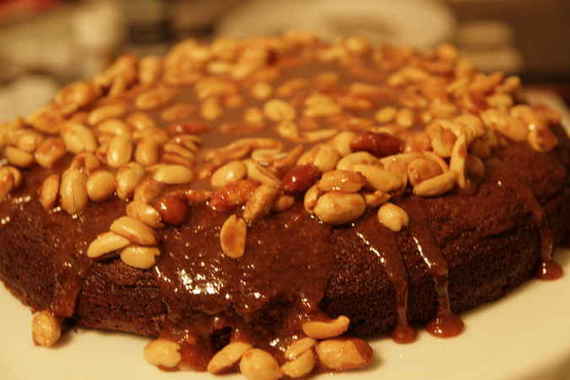
And yes, I know, once again my pictures are total and utter doo-doo. I waited until the last minute to make this and had to take my pictures at night….again. All these hideous photos are starting to really bum me out….
If you would like the recipe (don’t worry – I’m sure yours will most definitely turn out better than mine), go visit Tammy’s blog. Maybe next week I’ll be more responsible and not wait until 8:00 the night before to start baking….maybe.
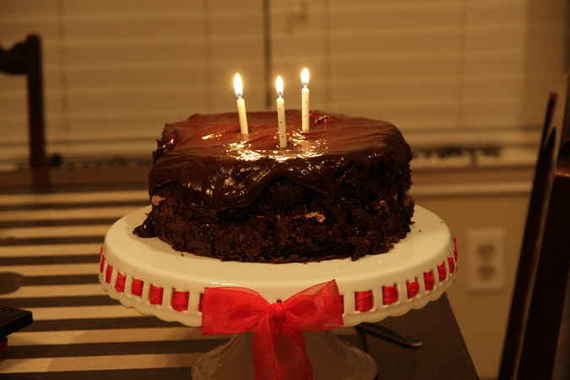
Ok, look, it was 8:30 last night, the sun had gone down hours ago, it was hubby’s birthday and we wanted cake PRONTO. So, yes, I took pictures in horrible lighting, yes, they look awful, yes, it looks like a doody cake….am I sorry? Not so much…..what the heck am I supposed to do when it gets dark so stinking early nowadays? I can’t take pictures of a half-eaten birthday cake! Ahem, anywhoo, I’ll stop ranting and continue with my birthday cake post…..
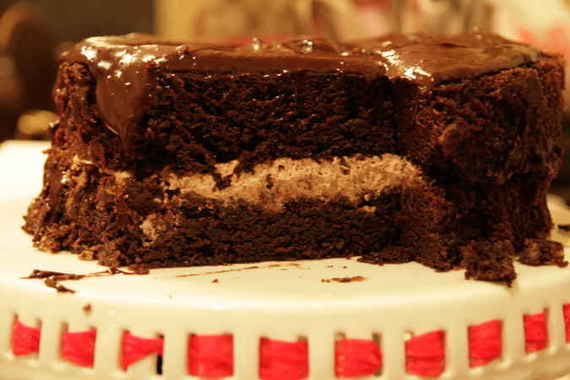
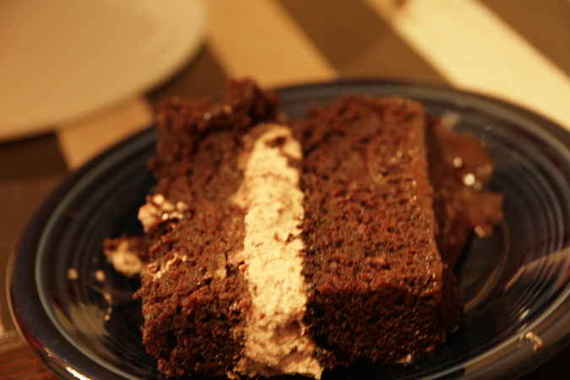
I’ll admit that even if my lighting had been adequate, this cake still would’ve looked like something you use to fertilize your lawn, rather than serve to your husband on his birthday. I greased the heck out of my cake pans and this suckers STILL stuck! Plus, trying to frost a cake after a few too many glasses of wine, with your husband giggling in the background is never going to be an easy task. Luckily, taste is all that matters, right? RIGHT?! Ok fine, so appearance has a little something to do with it as well, but even though my cake looked terrible, it tasted reeeeeally good!! The cake layers were so moist – I don’t think I’ve ever had a chocolate cake that was more moist than this one, honestly. I mean, almost brownie-like! Mmmmm…brownies. Anyway, I chose to halve the recipe for the ganache frosting/filling and use a layer of chocolate mousse in the middle – it seemed like a pretty good idea to me, but after tasting it, I think next time I’ll just stick to the recipe and use the ganache for the frosting and the filling. I think the mousse just made the cake too rich (yes, in my opinion there is such a thing!). This really is an awesome recipe, though – SO worth a try. And next time I’ll do my best to A.) make it prettier and B.) take pictures in better lighting!
Double Chocolate Layer Cake
Gourmet, March 1999
For cake layers
3 ounces fine-quality semisweet chocolate such as Callebaut
1 1/2 cups hot brewed coffee
3 cups sugar
2 1/2 cups all-purpose flour
1 1/2 cups unsweetened cocoa powder (not Dutch process)
2 teaspoons baking soda
3/4 teaspoon baking powder
1 1/4 teaspoons salt
3 large eggs
3/4 cup vegetable oil
1 1/2 cups well-shaken buttermilk
3/4 teaspoon vanilla
For ganache frosting and filling
1 pound fine-quality semisweet chocolate such as Callebaut
1 cup heavy cream
2 tablespoons sugar
2 tablespoons light corn syrup
1/2 stick (1/4 cup) unsalted butter
Special equipment: two 10- by 2-inch round cake pans
Make cake layers:
Preheat oven to 300°F. and grease pans. Line bottoms with rounds of wax paper and grease paper.
Finely chop chocolate and in a bowl combine with hot coffee. Let mixture stand, stirring occasionally, until chocolate is melted and mixture is smooth.
Into a large bowl sift together sugar, flour, cocoa powder, baking soda, baking powder, and salt. In another large bowl with an electric mixer beat eggs until thickened slightly and lemon colored (about 3 minutes with a standing mixer or 5 minutes with a hand-held mixer). Slowly add oil, buttermilk, vanilla, and melted chocolate mixture to eggs, beating until combined well. Add sugar mixture and beat on medium speed until just combined well.
Divide batter between pans and bake in middle of oven until a tester inserted in center comes out clean, 1 hour to 1 hour and 10 minutes.
Cool layers completely in pans on racks. Run a thin knife around edges of pans and invert layers onto racks. Carefully remove wax paper and cool layers completely. Cake layers may be made 1 day ahead and kept, wrapped well in plastic wrap, at room temperature.
Make frosting:
Finely chop chocolate. In a 1 1/2- to 2-quart saucepan bring cream, sugar, and corn syrup to a boil over moderately low heat, whisking until sugar is dissolved. Remove pan from heat and add chocolate, whisking until chocolate is melted. Cut butter into pieces and add to frosting, whisking until smooth.
Transfer frosting to a bowl and cool, stirring occasionally, until spreadable.
Spread frosting between cake layers and over top and sides. Cake keeps, covered and chilled, 3 days. Bring cake to room temperature before serving.
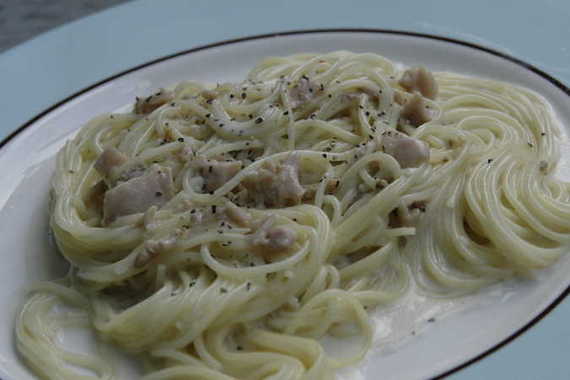
Yesterday was my hubby’s birthday and I always make him a very special meal instead of us going to a nice restaurant (its so funny to me that on my birthday, I want to get dressed up and go out for dinner whereas hubby prefers to stay at home and relax on his birthday!) I saw this recipe on Tastespotting.com and knew it was the perfect birthday dinner, because everytime we go to an Italian restaurant, hubby orders the linguine with clam sauce…I knew he’d love this!!
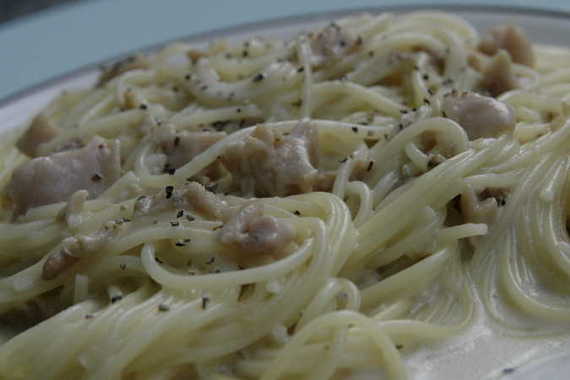
This was so easy…it literally took me minutes to get the sauce done. You know, after making this meal, I have to stop and wonder why I knock myself out every year on some fancy-shmancy, uber complicated recipe…hubby loved this – a lot! He went on and on about how good it was! I almost felt guilty about making such simple dish, but then I thought, “hey, the easier and quicker the meal…the more time for birthday fun!”, which I think hubby was thankful for! Anyway, the bottom line: this dish was awesome, hubby felt special and pampered on his birthday, and I didn’t have to slave away in the kitchen all day. Perfect. Give this one a try!!
Spaghetti with Clam Sauce
–The Food Channel
12 ounces spaghetti, cooked, drained
2 tablespoons butter
4 garlic cloves, minced
2-6 1/2 ounce cans clams, minced, drained, reserve liquid (about 1 1/2 cups)
1 tablespoon oregano (or 1/2 tablespoon dried)
1/4 teaspoon crushed red pepper
1 cup reserved clam juice
3/4 to 1 cup heavy cream
1/2 cup Parmesan cheese, freshly grated
Cook the spaghetti noodles in salted boiling water until done. Drain, set aside.
In large non-stick skillet, heat 2 tablespoons butter over medium heat. Add clams and garlic; sauté for 2 minutes.
Add oregano, crushed red pepper and clam juice to skillet and cook 3 minutes or until liquids start to reduce. Add cream to enrich and reduce slightly so that the sauce has a nice coating consistency but isn’t too thick.
Add pasta and Parmesan cheese to skillet and toss.
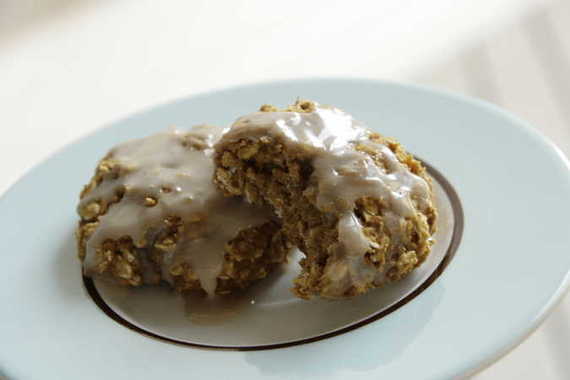
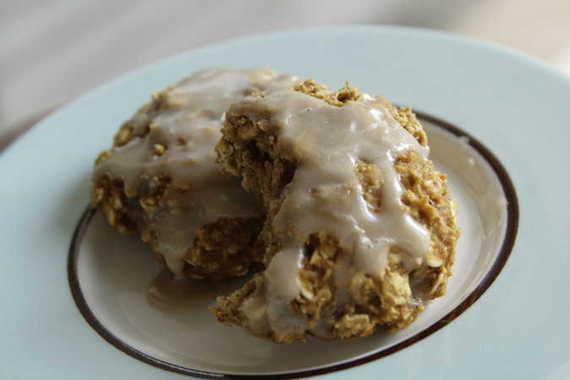
Wow, that title is a mouthful! After a week or two (or three…ugh!) of eating really, terribly unhealthy (but mucho-yummy!) fast food (think Taco Bell, pizza, burgers…) because we’ve been working so hard on the house, hubby and I are trying really hard to eat healthier. I like to look through Weight Watcher recipes and get ideas (not too many because I mean, come on, its low-fat stuff…eww) and I was really excited when I came across these cookies on Erin’s blog.

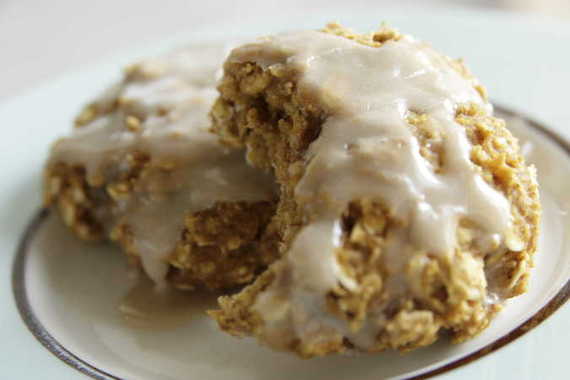
These are nice when you need something sweet but don’t want to eat 300 calories worth in one cookie – I think they’re around 100 each, or maybe less. I did decide to jazz them up a little bit, though, with a maple glaze just for a little extra something. I just love the combination of pumpkin and maple! Mmmm!!
Low-fat Maple Glazed Pumpkin Oatmeal Cookies
1 c. pumpkin
2 egg whites, whipped
1 c. brown sugar, packed
1 1/2 c. all-purpose flour (I used 1 cup AP and 1/2 cup whole wheat)
1 tsp. baking soda
1 tsp. cinnamon
1/2 tsp. nutmeg
1/2 tsp. cloves
3 c. rolled oats
1 c. raisins (I omitted)
1 c. powdered sugar
1 or 2 drops maple extract
splash of milk (I didn’t measure, I just splashed some in with the powdered sugar)
DIRECTIONS:
Spray baking sheet with cooking spray. In a large bowl combine pumpkin and egg whites. In a separate bowl combine sugar, flour, baking soda, cinnamon, nutmeg, cloves, oats, and raisins (batter will be very dry at first). Mix ingredients together just until moistened.
Drop cookies by tablespoonfuls onto a prepared baking sheet, 2″ apart. You can leave the cookies in the shape of a ball (the baked cookie will still be a ball) or flatten them out with the bottom of a glass before baking. Bake at 350 degrees for 15 minutes.
For Glaze: mix the powdered sugar, milk and maple extract in a small bowl, then drizzle over cooled cookies.
So you’ve all seen the lovely picture of our new house in one of the posts below…yay, shiny new house! We’ve been living here for almost two weeks now and its really become a “home” – all the furniture’s moved in, the rooms are painted, the pictures are hung, the hideous 80’s-esque sliding mirrored doors in the bathroom are gone (thank the Lord for that!). Everything is near perfect….except when it comes to photographing my food!!! In our old apartment, I had a perfect picture-taking area in my dining room; there was a window that provided exactly enough natural light – perfect for an amateur food blogger with little to no photography skills. So now I have my wonderfully large, formal dining area in my lovely new house- perfect for hosting a large dinner party….but there’s no place to take good pictures! I have plenty of windows, but by the time I get finished making dinner/baking for TWD, there’s not enough light coming through them. All I get is shadows. Boo!! Now I know I’m probably being a tad dramatic (its what I do best), and I’m sure after lots of experimenting I’ll eventually find an ideal spot for my food pics! Until then, I guess I’ll go ahead and post these fugly pictures….please don’t judge me.
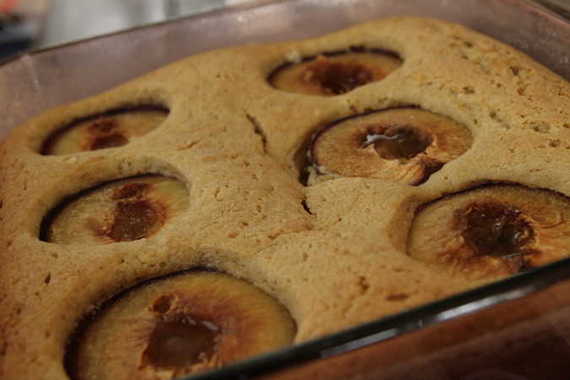
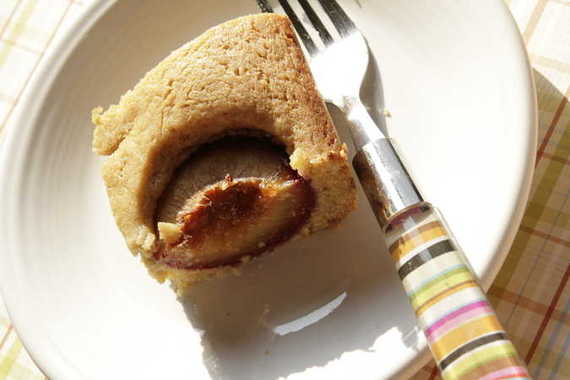
Ok, I’ll get to the point of this post, which is obviously, my first TWD in my new kitchen!! YIPPEE!! So, Dimply Plum Cake, chosen by Michelle of Bake-En…this was “WOW-OHMYGOSH-BLOW-ME-AWAY GOOD“! Here’s the gist of the cake: sweet juicy plum halves are nestled down in a cake batter with brown sugar, orange zest and lots of vanilla…..sound good? Oh trust me, it is!
As I was reading through the recipe I was sort of thinking to myself, “oooh, you know, I bet the actual cake part of this won’t have a whole lot of flavor…hmmm, maybe I should add something to it…hmmm’“. I thought long and hard about adding a little something extra to the cake batter to give it some oomph; but in the end I decided not to because well, um, its Dorie, and she’s a freaking genius. Good thing I didn’t – the cake part (minus the plums) could’ve stood on its own two feet as far as I’m concerned! The orange zest and vanilla added so much flavor – and it was super moist! Oh-so-yummy!! The plums on top only added to the deliciousness – they got all soft and juicy…mmm. I loved this cake, people – LOVED it. In fact, I think I’d go so far as to say this is my favorite TWD recipe so far!
Its just too bad my pictures are so funky looking. All shadowy and weird. Promise you won’t write my blog off because of the steady stream of bad pictures that are inevitably headed your way….just accept me in spite of my hideous photo-taking skills. Don’t worry, they’ll get better – I promise!
We’re still in the never-ending process of moving into our house and getting everything unpacked, decorated, etc, so I don’t have a whole lot of time to blog, but here’s a little mini-post, just to keep things moving around here!
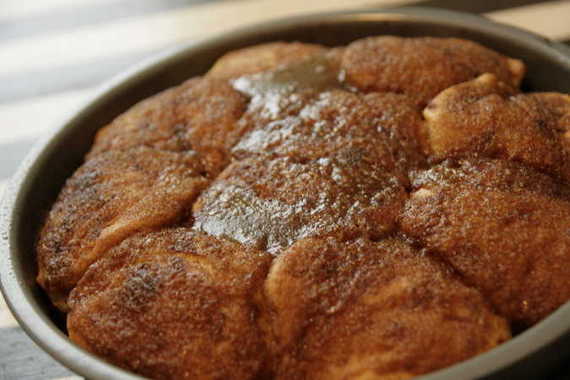
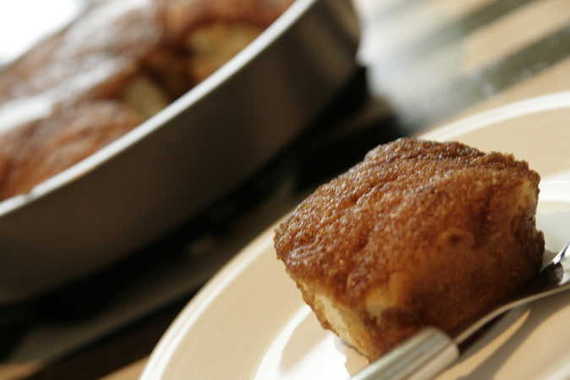
A few weeks ago I was making breakfast for dinner (one of my favorites!) and wanted something sweet (other than pancakes or waffles) thrown in there with the bacon, eggs, etc. but it needed to be super quick! Luckily I remembered one of my sister’s quick and easy recipes – a coffee cake made out of refrigerated biscuits that bakes in no time! Perfect!
Sweetly Simple Coffee Cake
2 10-oz tubes refrigerated biscuits
1/4 c margarine, melted
1/3 c brown sugar, packed
1 1/2 tsp cinnamon
1/4 c chopped nuts
Arrange biscuits very close together in a 9″ round cake pan. Mix together margarine, brown sugar, cinnamon, and nuts; spread over biscuits. Bake at 350 degrees for 20 minutes.
This is perfect for mornings when you’re trying to hurry and get something on the table for breakfast, or if you want a quick and easy substitute for the usual pancakes and waffles! Yum yum!
I know my blog has been pretty neglected lately – there have hardly been any recipes in between the TWD posts each week and I know that’s no good. But before you write me off completely for being lazy, neglectful and just plain no good, at least let me explain myself!

We bought our very first house back in July but haven’t been able to actually get into it until now (it has to do with our apartment lease). So before we make the big move this coming Saturday (pray for no rain!!!), we’ve been fixing it up a little. Our parents have been coming over pretty often to help us paint, clean, etc. and its been TIRING! I’m sleepy, sore, grouchy, irritable, and the list goes on. However, I know all this hard work will have been worth it when we move all of our furniture in and an empty house instantly becomes Our Home. I can’t wait for that!! Woo Hoo!!
So now you know why I’ve been (and will most likely continue to be for a while) a little distracted from my beloved food blog! Once things calm down a little, everything will be back to normal here at Sing For Your Supper! No worries! But until that time comes….wish me luck! I’m gonna need it!!
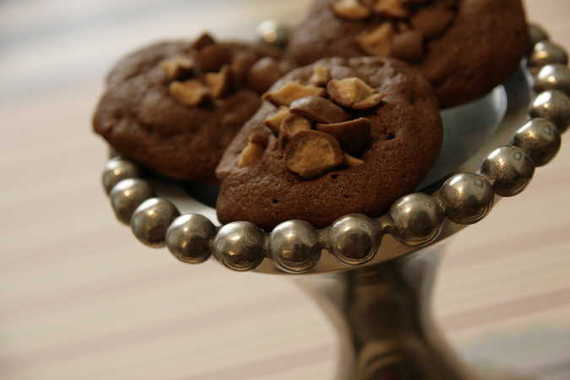
This week’s recipe was Chocolate Malted Whopper Drops chosen by Rachel of Confessions of a Tangerine Tart. Ok, now, I have to confess – when I first got Dorie’s cookbook, Baking From My Home to Yours (aka: the book that changed my life!), I immediately saw this recipe and did a mental, “BLECH!” I’m sorry, but these cookies were one of the firsts on my “probably won’t try” list. I’m not a huge fan of whoppers to begin with, so when I found out Rachel had picked these for TWD this week, I wasn’t really enthusiastic about making them. Buuuut, I figured I’d give them a try for variety’s sake and also since my dad really likes whoppers.
Ok, believe it or not, I really liked these! I mean, I don’t know if I liked them enough to make them all that often, but at least now I’ve tried them and know that they’re really not bad! Here’s a run-down of some of the main ingredients: chopped up whoppers, malted milk powder (I used chocolate), chopped bittersweet chocolate and cocoa powder (to name just a few). As they bake, the whoppers inside the cookies sort of caramelize and come out really chewy and toffee-like. (I really liked that!) The cookies were super moist and chewy, almost like a brownie.

I will say, though, I stored these in a ziploc bag overnight and the next day the cookies tasted totally different. I didn’t like them at all the next day – in fact, I ended up having to throw them out. Warm out of the oven was a totally different story, though – I think I ate about 10 in one night!
If you would like the recipe for these funky whopper cookies, head on over to Rachel’s blog and check it out!
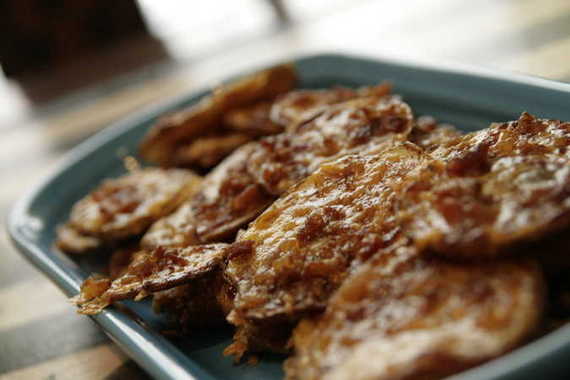
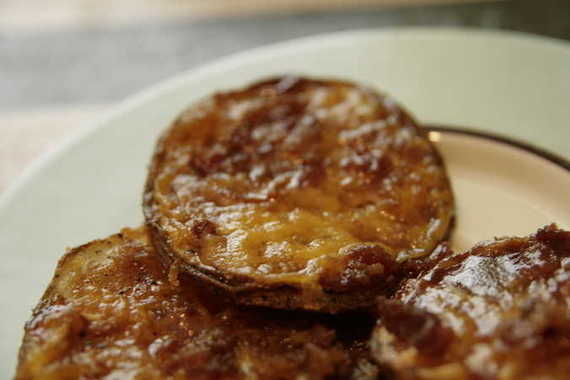
Sorry about the crummy pictures – these were kind of hard to photograph for some reason. Anyway, I first heard about these potatoes from my sister sometime last year. Her husband and son are all about the “meat and potatoes”, and she told me they gobbled these up when she first made them. They’re really simple to make and taste REALLY good. But lemme just warn you, I don’t recall ever seeing these potatoes in a Weight Watchers or Cooking Light recipe book…..they’re not the healthiest of vegetable side dishes, but all things in moderation, right?
I made these for hubby and I on Labor Day to go along with turkey chili dogs – they worked great together! These would be great to bring to a barbeque or pot luck party – I’m telling you, everyone will love ’em!
Southwestern Potatoes
1 package bacon bits (the real kind – not “bacon flavored bits”)
2 unpeeled large potatoes, scrubbed
3 tablespoons olive oil
1 teaspoon garlic salt
1 teaspoon black pepper
1/4 cup barbecue sauce (I used the hickory brown sugar kind)
1 cup shredded cheddar cheese
1/2 sour cream, optional (for dipping)
Line 2 large baking sheets with foil and preheat oven to 450 degrees.
Cut potatoes into 1/4 inch slices. Toss the potatoes, olive oil, garlic salt and pepper in a big ziploc bag to coat the potatoes. Arrange potatoes in a single layer on the baking sheets. Bake until lightly browned, about 15-20 minutes. Brush with barbecue sauce, then top with the shredded cheese and bacon bits. Bake until the cheese melts, about 3-5 minutes. Top with sour cream, if desired.
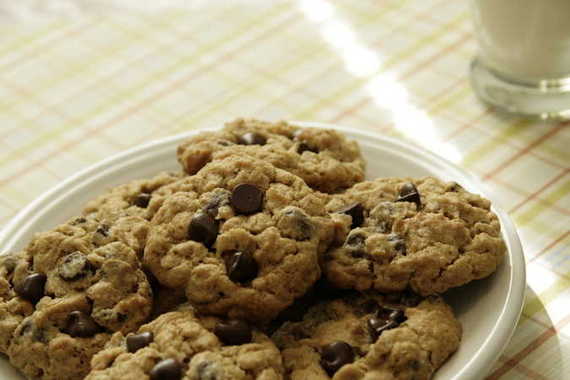
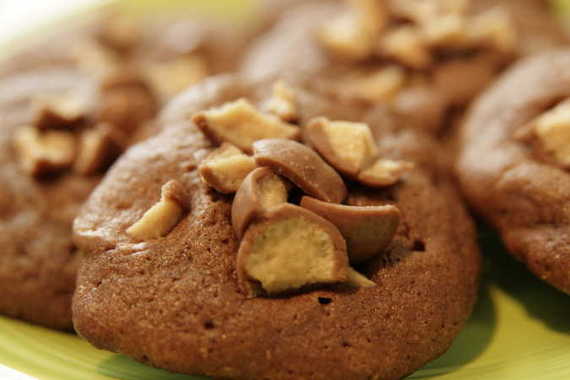
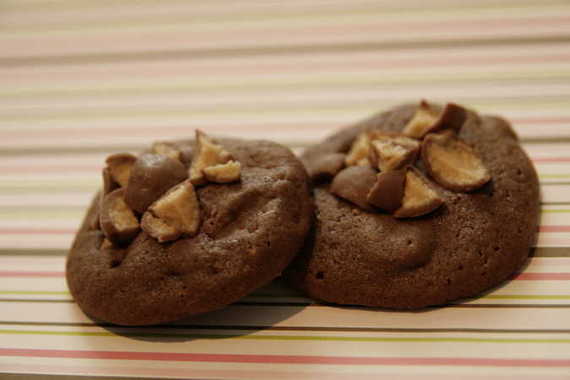
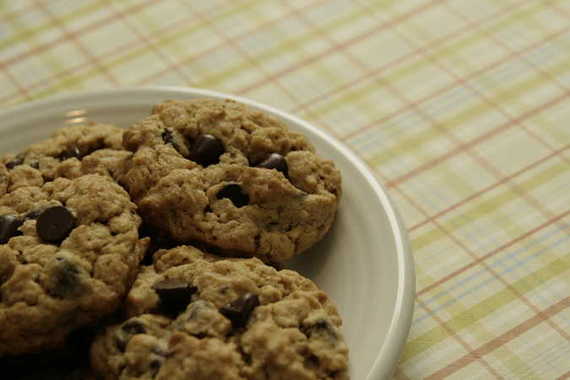
Well, the title really does say it all. These cookies should not be in existence right now….I should be in Playa del Carmen with my smiling husband, sipping frozen drinks, lying on a sunny beach, enjoying a temporary escape from our busy, dramatic and chaotic life…not blogging about these cookies. Obviously Hurricane Gustav had other plans for our little vacation. Soooo, as it turns out, I had plenty of time to bake, photograph and blog about these delightful cookies for this week’s TWD.
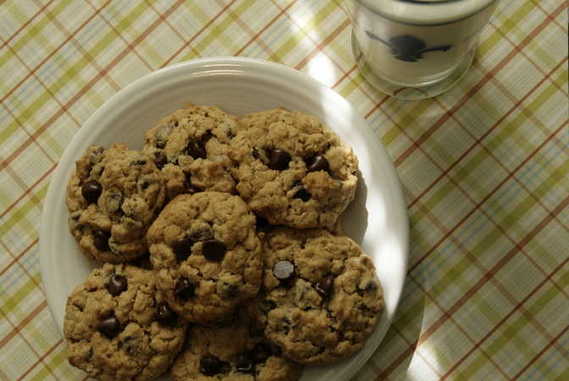
This week’s TWD recipe was Chunky Peanut Butter and Oatmeal Chocolate Chipsters (what a mouthful!), chosen by Stefany of Proceed With Caution. These reminded me of a monster cookie (one of my favorites!), but had a few small ingredients that made them a little different. We really enjoyed these – I froze the leftover dough to save as a nice treat for everybody who will be helping us move into our new house in two weeks (yaaaaaaay!)
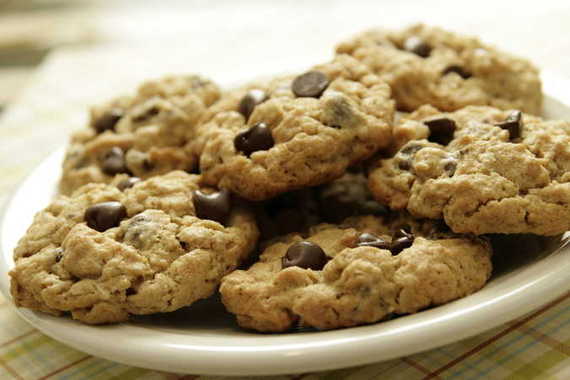
A few of the ingredients included: Peanut butter (I used Natural because some of the girls suggested trying it if you wanted a more “peanutty taste”), chocolate chips, old fashioned oats, cinnamon (this gave a really nice flavor!), grated nutmeg and brown sugar to name a few. I cut the recipe in half and still had a ton of dough. These were a great cookie (although they didn’t taste quite as good as a trip to Mexico) and if you would like the recipe, visit Stefany’s Blog.
** On an separate note, I would like all of the people in the areas affected by Hurricane Gustav to know that you are in our thoughts and prayers.