When I started Sing For Your Supper over 2 1/2 years ago (almost 3!), I had just gotten a hand-me-down Canon 30D camera from my father-in-law and couldn’t have been happier. I didn’t know about natural lighting or flashes or color balance…or even HOW to take a good shot. I just aimed the camera at my dinner plate and hoped for the best. I thought those pictures were amazing. Looking back (not so far back, even), I know now that they were pretty terrible. But you know what? I’m still so proud of those old, out-of-focus, unedited pictures; because they meant so much to me. They meant that I had started something. Something that was all my own and 100% Amy. Something to be proud of. 2 1/2 years later and I’m still writing what I want to write, shooting how I want to shoot and cooking what I love to cook.
I’ve grown a lot and since learned a few more things about my camera, but really, I’m still the same girl who just aims and hopes for the best. Which is why I thought it would be fun to give you a glimpse into the past. A few of my first shots. I’ve been slowly re-shooting bunches of my old recipes, in hopes of updating the old, ugly beginner pictures. But I don’t want to just throw them away- they deserve more than that, so I’m honoring them here, one last time before they visit the archives forever.
* * *
First up, one of my earliest posts, Potato Soup. We had just moved into our new house. I had made this for dinner and it was dark outside, but I didn’t care- I went ahead and just put the bowl on the table and snapped a few quick pictures.

I recently re-shot this one, this time with better lighting and a teensy bit of food styling. Much better.

* * *
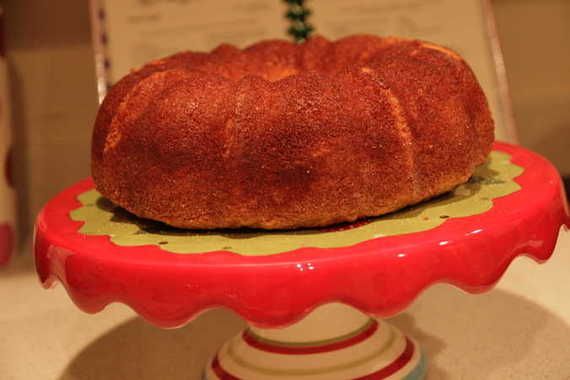
Up next, Cinnamon Pound Cake. I shot this in my florescent-lit kitchen (what was I thinking?!), and I’m pretty sure I didn’t even bother to edit it.
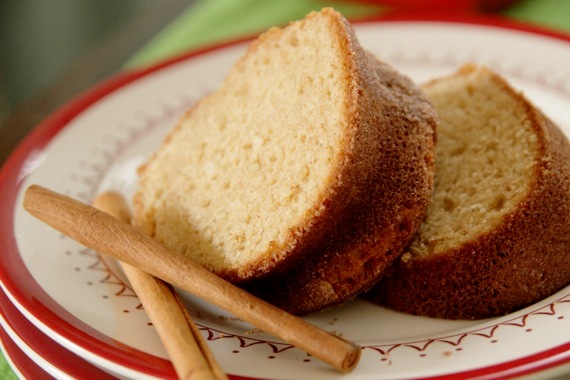
Once again, better lighting (taken around 2 or 3 pm), a simple place mat and a couple of cinnamon sticks made a huge improvement!
* * *
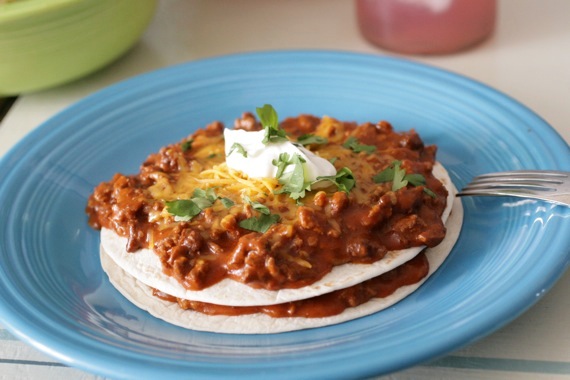
Here’s my great-grandmother’s stacked enchiladas. I’ve always loved this recipe, but sure didn’t make it seem very appealing with this picture…this was taken when I was really struggling with the lack of light after Daylight Savings.
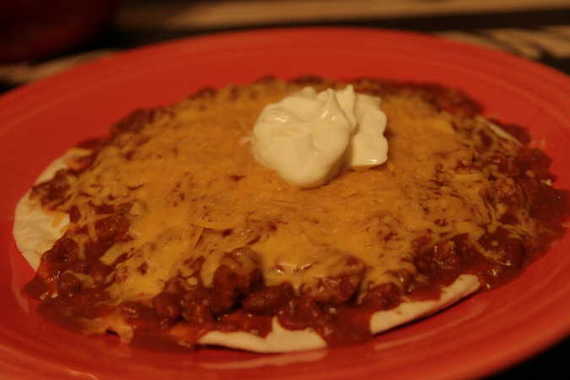
I’ve since learned better ways to get around the early sun setting, AND choosing better colored plates helps a lot too.
* * *
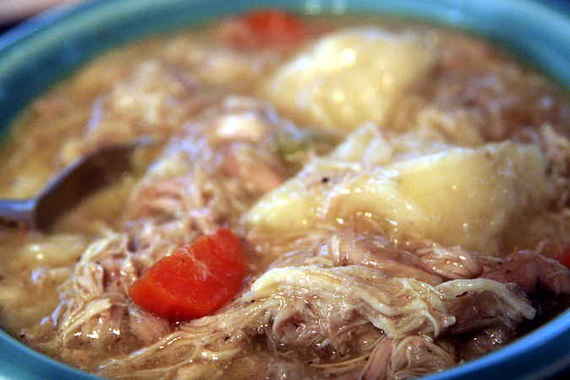
And lastly, here’s my Cheater Chicken and Dumplings (one of my most popular recipes ever!), taken February of 2009. I had recently found the “white balance” function on my photo editing software and abused it tremendously. It makes things appear blue-ish and washed out. I thought I had no choice and it was the only way to brighten pictures. Silly me…
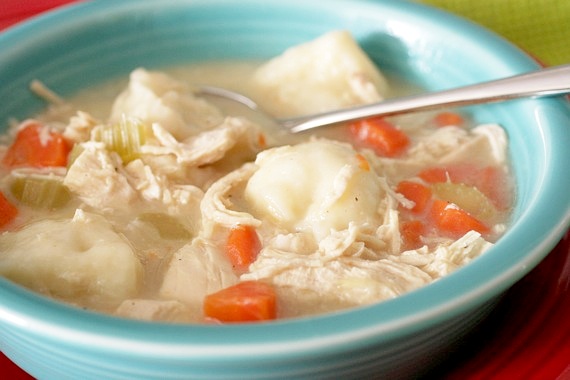
Once again, bright, natural light is our friend. And learning a few things about the F-stop and ISO settings doesn’t hurt either.
Over the past 2 1/2 years, I’ve learned SO much from other food bloggers; watching them grow and learn has in turn, helped ME to grow and learn! And boy, the pictures have sure come a long way! Not that they’re anywhere remotely NEAR perfect – I still have a lot of learning left to do, which is what makes this so much fun! These old pictures represent so much, which is why I’m so happy to share them here today- they show just how much I’ve grown and how far I’ve come. From just taking one or two shots, hitting the ‘white balance’ button and calling it a day, to taking a wee bit more time and care with each shot and learning a few more tricks about my very loved camera. I’m so happy to be where I am now and so proud of where I came from! So bye-bye, ugly pictures- thanks for the memories! 🙂

Quiche is just about my favorite quick-fix dinner. More than likely, I always have everything I need in my fridge and pantry to throw together a delicious meal in under an hour! My mom has a great recipe for quiche made with frozen hashbrowns as the crust, which was my inspiration for this. I sliced potatoes super thin and made a nice, crispy crust- something I think I’ll be doing a lot more in the future, this was delicious! The great news is, we felt great about eating it because it was so packed with vegetables and not sitting in a butter-loaded pastry crust (not that I really mind butter-loaded pastry…)! I used an unusual cheese in this quiche – a delicious Mexican Marigold Mint Caciotta that my sweet husband put in my stocking this Christmas. It comes from a local cheese factory in Dallas called the Mozzarella Company. Deeeeeeelish!!! However, this quiche would be great with goat cheese, feta or even plain ‘ol cheddar. Whatever cheese you have on hand and want to use would be just fine- that’s the beauty of quiche!
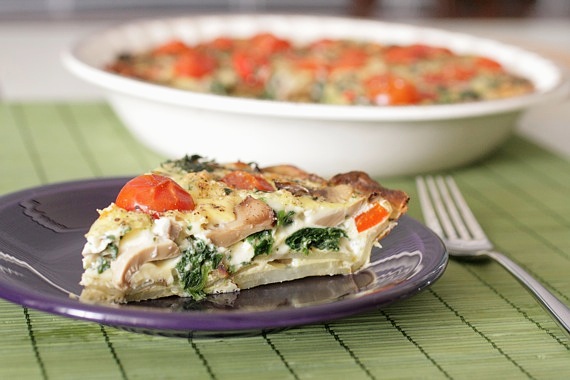
I just love how colorful it is!
Spinach and Tomato Quiche with Potato Crust
-my recipe
2 medium Russet potatoes, scrubbed and sliced into very thin disks (less than 1/8 inch)
1 1/2 tablespoons olive oil
salt and pepper to taste
1 small red bell pepper, chopped
1/2 cup frozen spinach, thawed and drained of all liquid
1/2 cup sliced mushrooms (canned works fine)
5 or 6 cherry tomatoes, cut into halves
1/2 cup cheese (any cheese you have on hand- cheddar is always great)
7 eggs
3/4 cup milk
Preheat oven to 400 degrees. Layer the sliced potatoes in an even layer in the bottom of a pie plate or quiche pan, overlapping the edges a bit. Brush with the olive oil then sprinkle with salt and pepper. Bake for 20 minutes, or until the potatoes are cooked through and slightly crisp. Reduce the oven temperature to 375 degrees.
In a large bowl, combine the red pepper, spinach, mushrooms and cheese. Spread mixture in an even layer into the potato crust, then place the tomatoes cut side down on top of the vegetables.
In another large bowl, combine the eggs, milk and salt and pepper. Whisk until totally combined. Pour over the the vegetables. Top with additional black pepper, if desired. Bake for 35-45 minutes, or until a knife inserted in the center comes out clean. Let cool for at least 10 minutes before slicing.
Serves 4

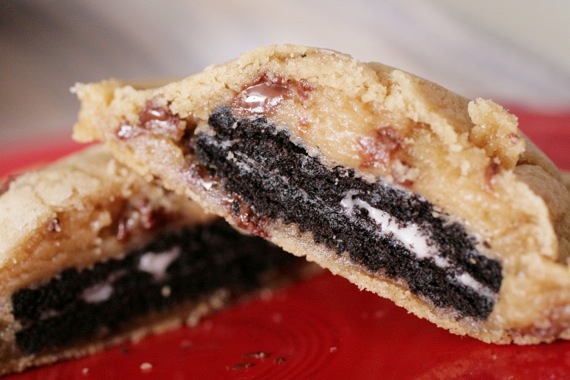
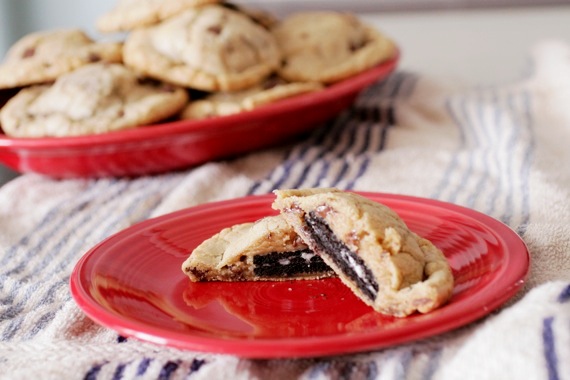
I have almost no words for these cookies…..almost. A few that actually do come to mind are…miraculous, ingenious, life-changing. Could anything stuffed with Oreos and baked to a golden, gooey deliciousness NOT be life-changing? I have the beautiful and talented Jenny of Picky Palate to thank for these. I saw them on her site just a couple of days ago and rejoiced when I discovered I had everything I needed to make them! Hallelujah! Based on so many of my recipes (S’mores-stuffed brownies, chocolate ganache-stuffed cookies, salted caramel-stuffed pumpkin blondies, etc…), I think it’s safe to say that indeed, I LOVE “stuffed” desserts! These are no exception; soft, chewy, gooey…miraculous. You must try them.

Oreo-Stuffed Chocolate Chip Cookies
–Picky Palate
2 sticks softened butter
3/4 cup packed light brown sugar
1 cup granulated sugar
2 large eggs
1 tablespoon pure vanilla
3 1/2 Cups all purpose flour
1 teaspoon salt
1 teaspoon baking soda
10 oz bag chocolate chips
1 bag Oreo Cookies
1. Preheat oven to 350 degrees F. In a stand or electric mixer cream butter and sugars until well combined. Add in eggs and vanilla until well combined.
2. In a separate bowl mix the flour, salt and baking soda. Slowly add to wet ingredients along with chocolate chips until just combined. Using a cookie scoop take one scoop of cookie dough and place on top of an Oreo Cookie. Take another scoop of dough and place on bottom of Oreo Cookie. Seal edges together by pressing and cupping in hand until Oreo Cookie is enclosed with dough. Place onto a parchment or silpat lined baking sheet and bake cookies 9-13 minutes or until cookies are baked to your liking. Let cool for 5 minutes before transferring to cooling rack.
Makes about 2 dozen VERY LARGE Cookies
**I actually used a different chocolate chip cookie recipe for mine, but they spread a little too much, which is why I went ahead and posted Jenny’s recipe as-is; her’s is probably better! 🙂

If you’re anything like me, some nights you’ll end up staring blankly into the fridge with no idea what you’re going to make for supper…and it’s almost suppertime. Lucky for you (and me!), if you’ve got a bag of potatoes and some onion , you’ve got the beginnings of a mighty tasty potato soup! This recipe isn’t new to the blog- it’s made an appearance before, BUT I just got a handy dandy macro lens for Christmas and couldn’t resist re-shooting this soup. Plus, I’ve made a couple of small changes to the recipe that make it just about perfect in my eyes (and Joel’s!). I made this not too long after Christmas and after a week of being horribly sick, and it tasted SO good! So rich and creamy with a slight tang from the sour cream- I really, really love it!
Creamy Potato Soup
-adapted from my mom’s recipe
5-8 medium size russet potatoes, peeled and cut into chunks
1 onion, chopped
1 chicken bouillon cube
salt and pepper to taste
1/3 cup sour cream
1/2 cup shredded cheddar cheese
Put the potatoes, onion and bouillon cube in a large stock pot and add enough water to cover. Cook uncovered, over medium-high heat until it begins to boil, then reduce the heat the low and cook for 30 minutes, or until the potatoes are very soft. Stir in salt and pepper. Using a regular blender or a hand blender (that’s what I used), puree the mixture until smooth and free of lumps (*if you use a regular blender, be sure to puree only a little at a time; you don’t want to overfill your blender). Stir in the sour cream and shredded cheese. Check for seasoning and add more salt and pepper as needed.
Garnish with additional sour cream and cheese, bacon bits or green onion if desired.

Playing with my new lens….what do you think? Maybe I should learn to focus better… 😉
Let me apologize for my strange disappearance these past few days. I’ve been having so much fun spending time off with my hubby that I sort of put blogging on the back burner for a little bit. However, I don’t guess I really have to apologize if I don’t want to…this is MY blog after all, and should I choose to spend all my time cavorting with my man instead of blogging, I suppose that’s quite alright. 😉
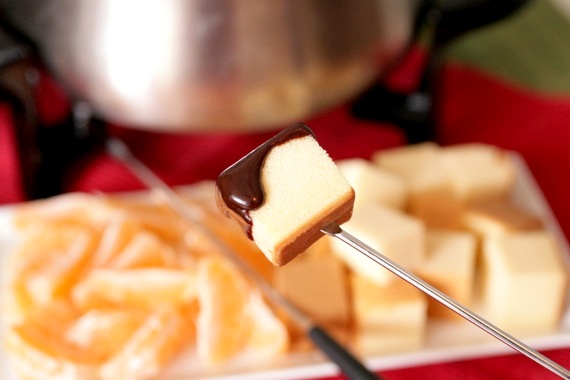
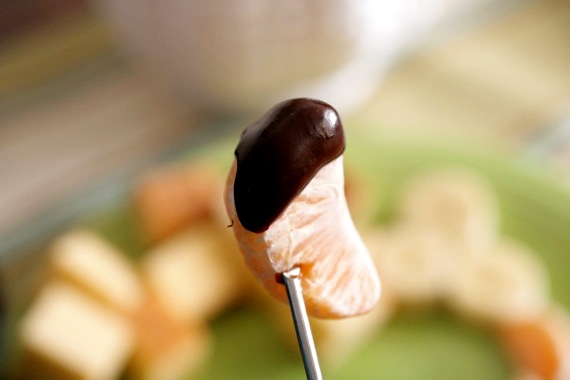
This decadent chocolate fondue is a recipe I’ve been dying to share with you for simply years now. For whatever reason, I never seemed to get a decent picture of it until now, so I’m thrilled to FINALLY share it with you! I make this probably every single Valentine’s Day and sometimes New Year’s Eve or special anniversaries. I just love fondue (especially this recipe because it literally tastes like a liquid version of my Nana’s fudge!). It’s just so much fun to eat and Joel and I always have a great time when I make it. It’s my mom’s recipe (big shocker) and the whole family loves it. And it’s so amazingly quick to make- all you need is about 5 minutes!
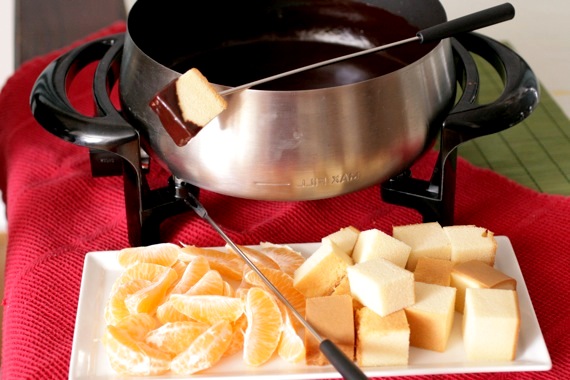
Fudgy Chocolate Fondue
-my mother’s recipe
1/2 cup (1 stick) butter
1/2 cup cocoa powder
3/4 cup sugar
1/2 cup evaporated milk
1 teaspoon vanilla
Melt butter in a small saucepan over medium heat; add cocoa powder, sugar and milk, stirring constantly until the sugar dissolves. Remove from heat and stir in vanilla. Transfer to a fondue pot.
Serve with cubes of pound cake (I personally love it with cheesecake bites!), strawberries, bananas, oranges and anything else you want! Enjoy!
**If you don’t have a fondue pot, I highly recommend an electric non-stick version- it makes it so much easier for clean up, and I like being able to control the temperature.
Yes, I know it’s practically New Year’s and everyone is scouring the internet for New Year’s Eve appetizers, drinks and fancy desserts. To be honest, hubby and I don’t really do all that fancy shmancy stuff. We stay home. It’s heaven. We watch the Twilight Zone marathon on tv, play cards, eat snack food or cook steaks, drink lots of champagne and most times, fall asleep before midnight. I love it and look forward to it year round. I’m sure a big fancy party would be nice, but frankly, after all the Christmas festivities and driving all over the place to be at so many different celebrations…we need a little break. AND you may recall the lovely picture of me holding 4 gorgeous kinds of delicious cheeses?? Well, I’ve made a New Year’s Eve date with those cheeses and I simply can’t wait. It doesn’t take much to make me happy. 🙂
So, the point of all this rambling is to let you know that I won’t be posting New Year’s Eve recipes here today. Nor will I be posting a list of my favorite recipes from 2010 like so many other bloggers are doing. Today, I’m posting….Mexican food. Yes, that’s right. Trust me, you’ll thank me later. Immediately after Christmas and the holidays, the one thing I crave above all else is Mexican food. Think about it- we’ve all been eating party food, ham, turkeys, dressing, cakes, and grandma’s fudge for weeks straight. I don’t know about you, but I need a little variety after all that holiday food. And Mexican food is just the ticket. Hubby and I went last night and ate Mexican food and it tasted SO good! So, since I thought some of you might be needing a little variety this time of year, here are my very favorite Mexican food recipes. Do yourself a favor and try some this week- I promise, you’ll be so glad you did.
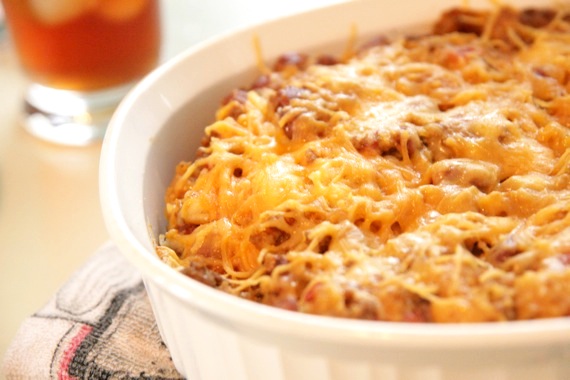
Mexican Casserole -my mom’s famous recipe that never seems to get old. So easy to make and assemble and always a crowd pleaser!
Grilled Chicken Fajitas -if you love fajitas, you’ll love these! The chicken is so flavorful and juicy- these are my very favorite fajitas. If it’s too cold to grill where you are, don’t worry- feel free to use an indoor grill pan or even just a skillet.
Salsa Verde Sour Cream Enchiladas -AKA: “knock-your-socks-off enchiladas”; these are hands down, the BEST sour cream enchiladas I’ve ever had! You simply must try them!

Pulled Pork Tacos -throw everything in a dutch oven, let it do its thing, and you’ve got moist, tender pork tacos that are bursting with flavor. These are my very favorite tacos! Even my husband, the taco connoisseur said these are some of the best tacos he’s ever had!
Stacked Enchiladas – my Daddy’s grandmother’s recipe and a family favorite. I make these every year right after Christmas. They’re so easy and so, so good!
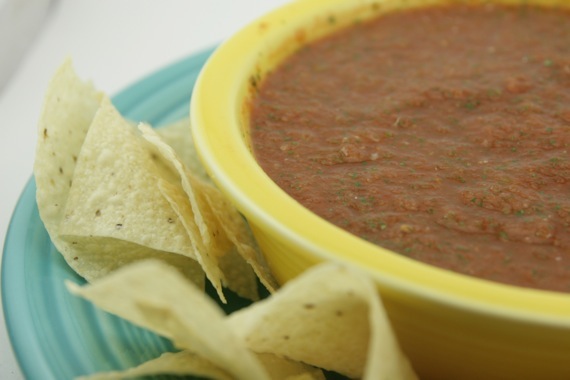
Homemade Salsa and Guacamole -whatever you choose to make, don’t forget the homemade salsa and guacamole! These come together in literally minutes, and so worth the extra effort! Forget that jarred stuff!
Now, GO and make yourself some tasty Mexican food! Happy New Year!!! 🙂
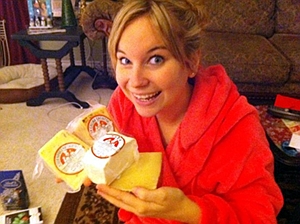
Well, Christmas is over (sad…) and I hope that everyone enjoyed a safe, happy and joyous time with friends and family. We certainly did! It would have been just about perfect except I caught a terrible 24 hour stomach bug that’s been going around and it really put a damper on our Christmas Day- no worries though, we still had a wonderful, joyous holiday! My sweet, thoughtful husband put 4 kinds of aged cheese in my stocking this year, along with a BIG bottle of Mexican vanilla! He also got me a new set of pots and pans- bye-bye 4 year old, scratched up non-stick pans! Woo!
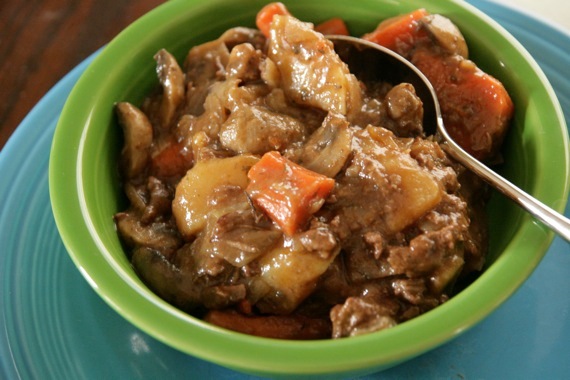
But now, it’s back to blogging and I’m so excited to share this stew with you! The weather is cold and rainy here (and blizzard-y pretty much everywhere else in the US!), so we need a good, hearty stew that will help to melt away the cold! This one is absolutely delicious- I saw it on Jamie’s blog, My Baking Addiction and was intrigued by the use of A-1 sauce, so I immediately made it. Normally when I make stew I like lots of liquid, so I guess technically what I’ve always made is ‘soup’. After trying this one, I’m not sure I’ll ever go back! It really exceeded my expectations and I can’t wait to make it again.
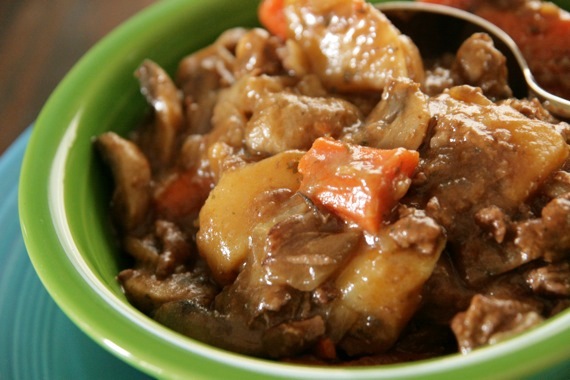
Thick and Hearty Beef Stew
-adapted from My Baking Addiction
1/4 cup flour
2 pounds beef stew meat, cubed
2 tablespoons olive oil
1/2 cup red wine
4 cups beef broth (I like to use reduced sodium)
1 teaspoon dried parsley
salt and pepper to taste
3 large potatoes, peeled and cut into large chunks
4 or 5 large carrots, peeled and cut into chunks
9 or 10 cremini mushrooms, cut into quarters
1 large onion, roughly chopped
1/2 tablespoon Worcestershire sauce
1 1/2 tablespoons ketchup
1 tablespoon A-1 steak sauce
Toss the beef and flour in a bowl until the beef is coated. Heat the olive oil in a large dutch oven over medium heat; add the beef and cook until nicely browned. Set aside.
Deglaze pot with red wine, scraping up the brown bits from the bottom of the pot. Pour in the beef broth and add in the beef, parsley, salt and pepper. Bring to a boil, then reduce heat to low, cover and simmer 1 hour.
Stir in potatoes, carrots, mushrooms, onion, Worcestershire, ketchup and A-1. Cover and simmer 1 hour more.
…from my family to yours! I hope you all enjoy safe, wonderful, and happy holidays!

Love,
Amy, Joel and Izzy

You may remember a different batch of minty brownies I did a while back, but I decided just one recipe wasn’t enough! With Christmas being JUST around the corner, I’ve sure been seeing a good amount of peppermint brownie recipes floating around the blogosphere. Since I just can’t resist the chocolate/peppermint combination, I decided I needed to make a batch. However, I was in a hurry and cheated by starting with a box mix (judge all you want to but personally, I think the boxed kind are some of the best; especially when you’re in a hurry!), then added my beloved candy cane flour to the mix and sprinkled crushed peppermint over the top. Delicious. Christmasy. Just what we needed that night! And quick, to boot!
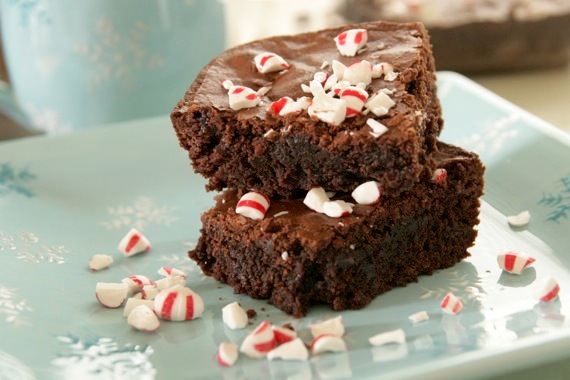
Peppermint Brownies
1 box brownie mix (or your favorite brownie recipe), prepared according to the box, but not yet baked
**1/3 cup candy cane flour
1/2 cup crushed peppermint, for topping
Preheat the oven to 350 degrees and grease a 9×9 pan. Stir in the candy cane flour. Pour into greased pan and sprinkle with the 1/2 cup crushed peppermint. Bake for 35-40 minutes, until a toothpick inserted comes out clean. Sprinkle with more crushed peppermint, if desired. Allow to cool for at least 20 minutes before cutting and serving.
**Basically, when you crush your peppermint, sift out the fine powder (or ‘candy cane flour’, as I call it), and you’ll be left with enough to mix into the batter.
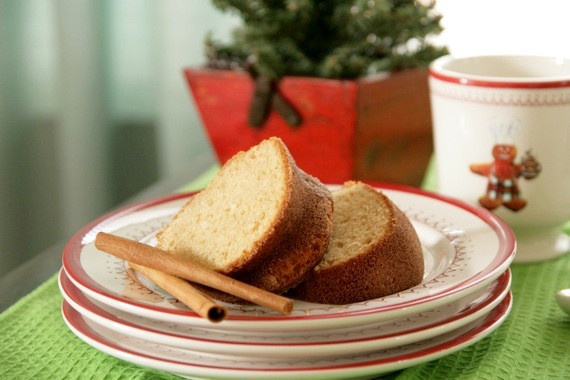
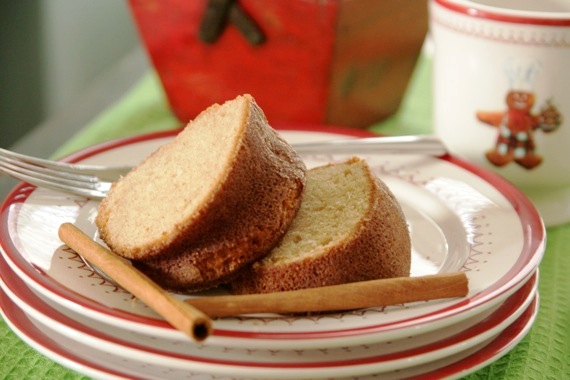
If you love cinnamon, be sure to bookmark this recipe because it’s just bursting with it! This cake is one of my very favorite things around Christmas (and winter)- my mom used to make it every single Christmas and the whole family loved it. Now my sister and I both make it for our own families every Christmas. It’s wonderful for parties if you don’t want to take the same old cookies or candy, but still want something quick and easy (and of course impressive).

This cake is incredibly moist and just FULL of warm cinnamon flavor; a real treat during the holidays! Perfect after a delicious meal with a cup of hot coffee. If you’re looking for that perfect Christmas morning breakfast treat, this would be delicious! And it keeps beautifully, so feel free to make it a day or two before! This cake is Christmas to me and I just love it. In fact, I’ve posted it before, but it was a looong time ago and the pictures were just awful. I decided to feature it again, so that it might get the attention it deserves! Thanks Mommy, for a delicious recipe! 🙂
Cinnamon Pound Cake
-my mom’s recipe (I’m not sure where she got it from originally)
4 tablespoons sugar
2 tablespoons cinnamon
1 yellow butter cake mix (don’t use white cake mix – it has to be butter)
1 package instant vanilla pudding
1/2 cup canola oil
1 8-ounce container sour cream
4 eggs
Preheat oven to 350 degrees and grease a bundt pan.
Mix the sugar and cinnamon together in a small bowl and sprinkle half of the mixture in the greased bundt pan – shake it all around to coat the entire pan. Mix cake mix with pudding, oil, sour cream, eggs and other half of cinnamon/sugar mixture. Pour into pan and bake for 45 – 50 minutes until springy. Cool for 20 minutes before taking out of pan.
