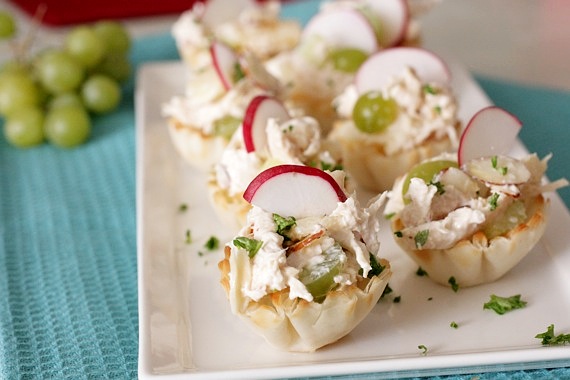
When you think of baby showers or wedding showers, tell me, what’s the first food you think of? For me, it’s chicken salad, no doubt. I don’t know what it is about chicken salad, but it seems to be the honorary queen mother of shower food. Which is just fine by me, I adore chicken salad. Especially chicken salad with grapes and crunchy almonds….mmm. So naturally, when I was invited to take part in a little virtual baby shower for our fellow food blogging friend Annie, chicken salad was the very first thing to pop into my head! And to make it more accessible and “mingle-friendly”, I decided chicken salad bites would be perfect.
Annie will be having a sweet baby girl (little Caroline; What a sweet name!) in just a short while, and to show our support, a bunch of us bloggers are throwing her a virtual shower- how cool is that (and stay tuned, because I’m hosting a little shindig of my own in a few weeks!)?! My good friend Courtney, of Cook Like A Champion is our gracious shower hostess- she and Annie will have the entire round-up posted on their blogs, so be sure to head over for some beautiful dishes by a group of very talented bloggers!
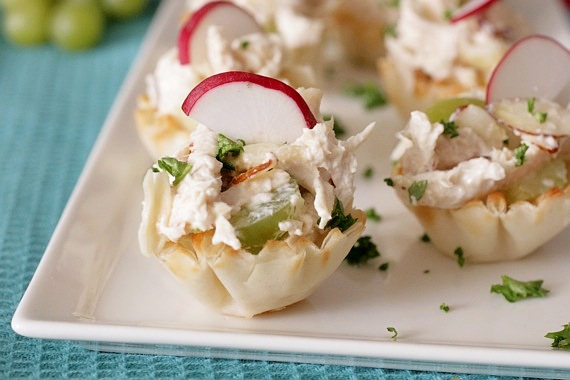
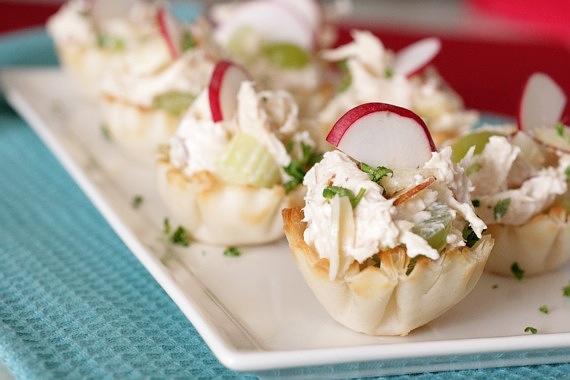
Now, onto these chicken salad bites! I love a good crunch in my chicken salad, so this is full of crunchy sliced almonds and celery. There’s also green grapes and pineapple, and let me tell you, the pineapple really adds a delicious sweetness and flavor that compliments the chicken perfectly! The sauce is made up of non-fat yogurt and mayonnaise, so it’s a little lower in fat than most chicken salads. The salad sits in crisp little phyllo cups, which gives great texture and makes them easy to eat. Simply stated: this is really an easy, delicious dish to put together and it’s just perfect for parties (or showers!). 🙂 Don’t forget to head over to Courtney and Annie’s blogs to see everyone else’s beautiful dishes! Happy baby shower, Annie! Congratulations to you and your sweet little family!
Chicken Salad Bites
30 baked phyllo cups (you can find these in the freezer section of the grocery store- they usually come in packs of 15)
3 bone-in, skin-on chicken breasts
2 stalks celery, chopped
1 small can pineapple chunks (crushed would be fine as well)
handful green grapes, sliced into halves
1/2 cup sliced almonds
1/4 cup mayonnaise
1/2 cup plain, non-fat yogurt
1 squirt lemon juice
salt and pepper, to taste
parsley and thinly sliced radishes, for garnish, if desired
Place the chicken breasts in a large pot and fill with enough water to cover the tops. Boil on medium heat for approximately 1 1/2- 2 hours, until chicken is very tender. Remove the chicken and let cool.
Once the chicken is cool, remove the meat from the skin and bones and shred into small pieces. Place in a large bowl. Add in celery, pineapple, grapes and almonds.
In a small bowl, make the sauce. Stir together the mayonnaise, yogurt and lemon juice. Season with salt and pepper. Pour over the chicken mixture and stir until combined. Taste for seasoning.
If serving immediately, place a small amount of chicken salad in each phyllo cup. Garnish with chopped fresh parsley and thinly sliced radishes (optional).
If you’re making the salad ahead of time, keep it refrigerated until ready to serve. Don’t assemble the bites until right before serving, as the cups will get soggy.
Makes 30 cups.
Recipe source: Sing For Your Supper

YIPPEE! Valentine’s Day is just around the corner and I can’t wait! I think Valentine’s Day is probably one of my very favorite holidays; it’s one we don’t have to stress over or share with family- it belongs to just the two of us and I LOVE that! We always have the most fun…just staying at home cooking together, sharing a few glasses of champagne…I look forward to it year round! This year, I’m almost afraid to tell you what we’re doing because I don’t want to jinx it! We’re…….making sushi. Together. At home. Yikes. This could be very, very interesting! Good thing I have a plan B (frozen pizza, anyone?)! 😉
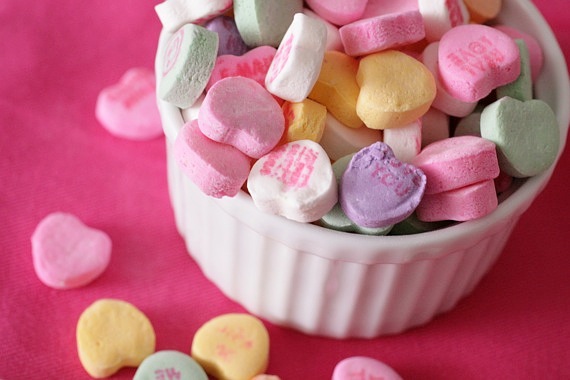
(Don’t you just love how I took this great close up shot…….of the only two hearts that have gibberish on them?! *sigh* That’s what I get for buying cheap Valentine’s candy…)
Anyway, with Valentine’s Day being so special to us, I wanted to share a few Valentine-friendly recipes with all of you beforehand, in case you need some fun ideas for your sweetie! These adorable little cookie sandwiches are SO easy, but so pleasing to the eye and soooo delicious! Who can resist chewy chocolate chip cookies with pink buttercream sandwiched in the middle?! Not me! Or my hubby! I used my favorite chocolate chip cookie recipe and my old standby buttercream- what a great combination! Try these out this Valentine’s Day; your sweetheart will love them!
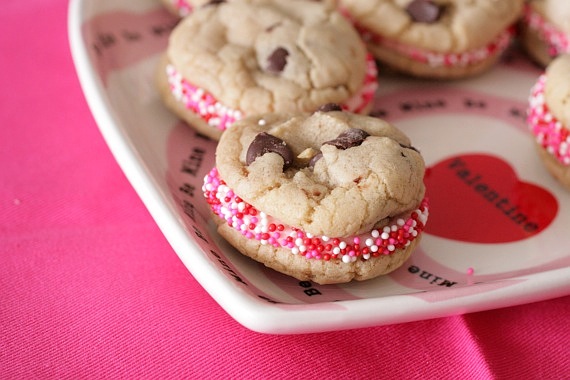
Mini Chocolate Chip Cookie Sandwiches
For the cookies:
2 cups all-purpose flour
1/2 teaspoon baking soda
1/2 teaspoon salt
3/4 cup unsalted butter (1 1/2 sticks), melted
1 cup packed brown sugar
1/2 cup white sugar
1 tablespoon vanilla extract
1 large egg
1 large egg yolk
1 1/2 cups semisweet chocolate chips
Preheat the oven to 325 degrees. Sift together the flour, baking soda and salt; set aside.
In a medium bowl, cream together the melted butter, brown sugar and white sugar until well blended. Beat in the vanilla, egg, and egg yolk until light and creamy. Mix in the sifted ingredients until just blended. Stir in the chocolate chips by hand using a wooden spoon.
Scoop out cookie dough and roll into small 1-inch balls (a little smaller than the size of a walnut) onto the prepared cookie sheets.
Bake for 7-8 minutes in the preheated oven, or until the edges are lightly toasted. Cool on baking sheets for a few minutes before transferring to wire racks to cool completely.
For the buttercream:
1 stick butter, at room temperature
3-4 cups powdered sugar
2-3 tablespoons milk
1 teaspoon vanilla
Place the butter in a large mixing bowl. Add 1 cup of the powdered sugar, 1 tablespoon of the milk, and the vanilla. On medium speed of an electric mixer, beat until smooth and creamy, about 3-5 minutes. Gradually add the remaining sugar, 1 cup at a time, and more milk as needed, beating well after each addition (about 2 minutes), until the icing is thick enough to be of good spreading or piping consistency. You may not need to add all of the sugar or milk. Stir in any food coloring at this point, if desired. Refrigerate until needed.
To assemble:
Place your colored sprinkles in a shallow bowl or pie plate. When the cookies are cooled, either spread or pipe (I used a Wilton 2A round tip- you could also just use a ziploc bag with the tip cut off) a generous amount of frosting on the bottom of half the cookies. Place the remaining cookies on top and gently roll the sides in the sprinkles. Refrigerate until ready to serve. You’ll want to let them sit at out room temperature for at least 20-30 minutes before serving, so the cookies and frosting will soften a little. Enjoy! Makes approximately 25 sandwiches.
Recipe sources: cookies- allrecipes.com; buttercream- adapted from Magnolia Bakery
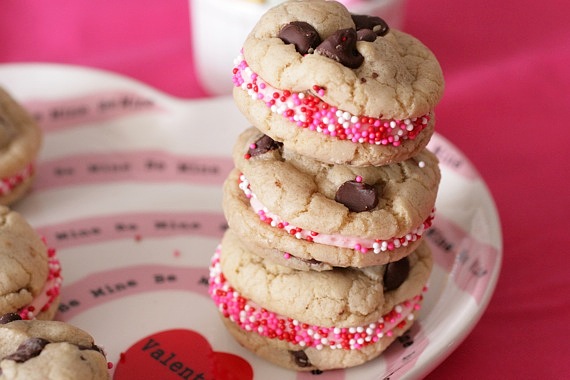
Whatever you decide to do for Valentine’s Day this year, I hope it’s extra sweet! xoxo


Congratulations, Elizabeth!! Check your inbox for an email from me! Hope you enjoy your $20 to Bake It Pretty!! And thanks to everyone who entered- I simply loved reading all your interesting questions for Mozart- I’m sure he’d most definitely get a kick out of them too!
Check back next week- starting Monday I’ll be posting some sweet Valentine’s Day recipes you’re sure to love! Enjoy your weekends!
You know, there’s really only one man who can lift my spirits after a long hard day, make me laugh even when I don’t feel like laughing, make me sing for no reason, reduce me to tears in the most beautiful way and help look at life in a whole new light. You may think I’m talking about my husband….but I’m not (but you’re great, honey, really!). That man is none other than my beloved W.A. Mozart. Of course I kid- obviously my sweet hubby does all those things for me as well, but this post isn’t about him…it’s about Mozart! And Bake It Pretty, but I haven’t gotten there yet! 😉

Today is Mozart’s 255th birthday, and I just couldn’t let the day go by without honoring him on my blog (and facebook page…and twitter…). It’s tradition for me to throw him a big ‘ol birthday party every year, music nerd-style. I go all out – cake, music and the movie Amadeus. Sure, it’s pretty much a fabricated “enhancement” of Mozart’s life and career, but hey, it’s worth it for the soundtrack alone, plus I like to hear Tom Hulce’s silly “Mozart laugh”.
I always like to host a little giveaway on Mozart’s birthday – last year, if you’ll remember, it was the box of Mozart chocolates from Austria. However, Izzy managed to snag the box off the table, unwrap the plastic, tear into the box and eat all but 4. *sigh* So this year, I decided to do a non-perishable (and non-doggie-attracting) giveaway; a $20 gift card to Bake It Pretty! I seriously love this site- I spend hours just perusing the cupcake liners and sprinkles! They have everything you could ever want to fit your baking needs! My personal favorites are these “pretty in plaid” cupcake liners I just bought, pink pearlized chunky crystal sugar, and lilac shimmery sugar pearls…to name a FEW. I could seriously spend a fortune there! And one lucky winner will have 20 bucks to go wild with! Woo!
To enter:
leave me a comment answering this question: If you could ask Mozart any question, what would it be? Smart aleck-y comments will be discarded and if you’ve never heard of Mozart…..well, you should probably just leave. 😉
You have until midnight tomorrow (Friday) to enter. I’ll choose one winner randomly and announce it on Saturday. Good luck, and HAPPY BIRTHDAY, MOZART!!!
**Props to my hubby for his sweet Photoshop skills! 😉
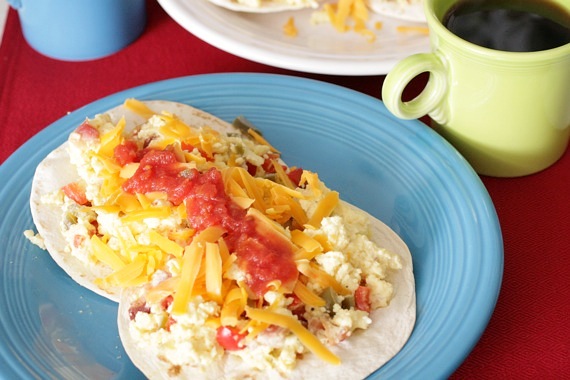
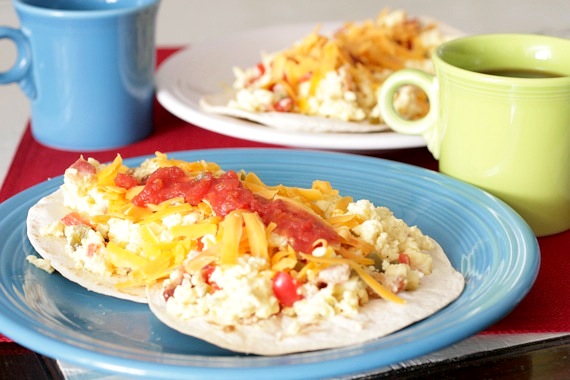
I’m one of those people that loves breakfast-for-dinner. For me, it’s like a special treat getting eggs or pancakes or biscuits and gravy at dinner. I used to love it when my mom would make breakfast for dinner – she’d fix a huge cast iron skillet full of scrambled eggs, a big plate of biscuits, sausage gravy, jelly and coffee. My dad is the pancake maker- as long as I can remember, he’s always been the one in charge of pancakes, which we’d also have for dinner a lot. YUM! I seriously LOVE breakfast-for-dinner! What a concept! So, naturally, I like to make it myself as often as possible. The other night, neither of us could decide what we wanted for dinner, so I rummaged around in the fridge and came up with this knock-out recipe. It’s one of those lovely “throw it all in” recipes that I just adore so much. You can put in whatever you like! Onions, potatoes, mushrooms, tomatoes…the possibilities for dish like this are endless! A perfect breakfast or breakfast-for-dinner meal!
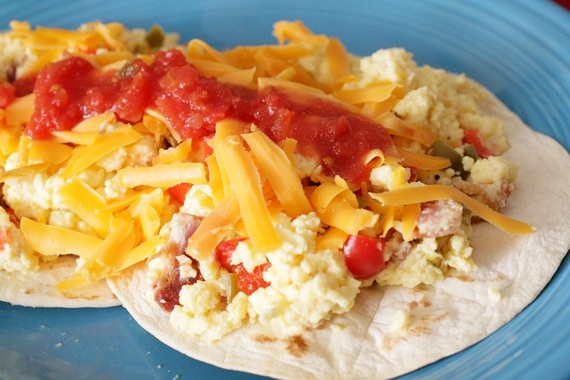
Breakfast Tostadas
4 flour tortillas
1 tablespoon butter
6 eggs
1/4 pound bacon, cooked and crumbled into pieces
1/2 red bell pepper, chopped
4-5 slices jarred jalapenos, chopped
1/2 cup shredded cheddar cheese
salsa, for serving
salt and pepper, to taste
Preheat oven to 400 degrees. Place tortillas on a baking sheet in a single layer and bake for 5-7 minutes, until slightly crisp. Set aside.
In a large skillet, melt the butter over medium heat. Place the eggs in a large bowl and whisk until homogeneous. Stir in the cooked bacon, peppers and salt and pepper. Pour into hot skillet and stir continuously until eggs are completely cooked and scrambled (about 5 minutes).
Lay two tortillas on each plate. Top with the scrambled egg mixture, shredded cheese and salsa. Serves 2.
Recipe source: Sing For Your Supper original
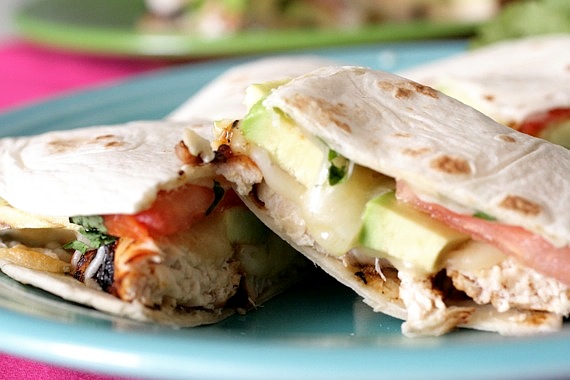
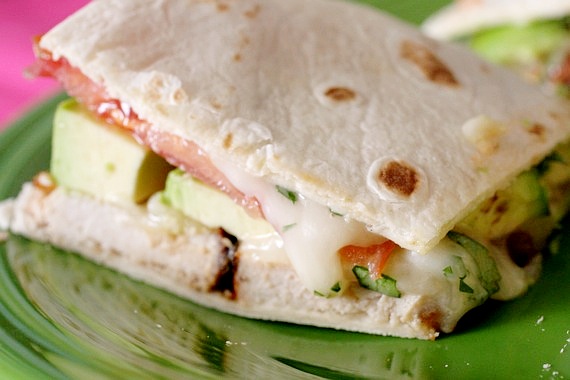
I really love quesadillas. They’re so versatile- you can just throw in whatever you have on hand for a delicious meal! Have leftover grilled chicken? Throw it in! That’s the beauty of quesadillas; they transform ordinary leftovers into a whole new meal! However, the ingredients I used for these quesadillas were definitely not leftovers- I specifically bought them with this recipe in mind because I just couldn’t wait to try them! It wasn’t very cold outside, so I had Joel grill up some chicken breasts lightly brushed with barbecue sauce, then I sliced them thinly and paired them with sliced tomatoes, avocados, Monterrey Jack cheese and a little cilantro- WOW, what a quick, delicious meal! These were so good, I made them again the following night! I served them with some oven baked sweet potato fries and it was the perfect meal. One I’ll be making on a regular basis.
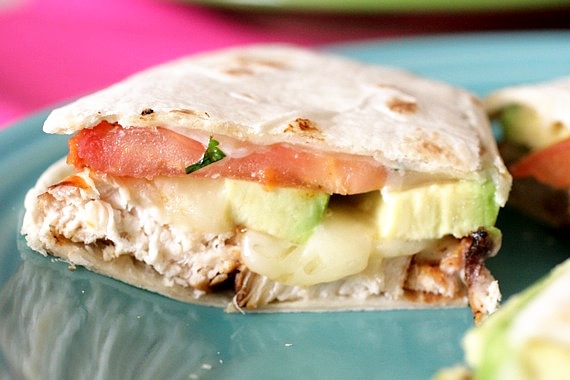
Chicken, Avocado and Tomato Quesadillas
-my own recipe
4 flour tortillas
2 boneless, skinless chicken breasts
barbecue sauce, for brushing
salt and pepper
1 avocado, thinly sliced
1 tomato, thinly sliced
1/2-3/4 cup Monterrey Jack cheese (depending on how cheesy you like them)
1/4 cup fresh cilantro, chopped
Season chicken breasts with salt and pepper, then brush with barbecue sauce and grill over medium-high heat, until fully cooked (approximately 6 minutes on each side). Remove from grill and let rest for 5 minutes. Slice into thin strips.
Preheat oven to 375 degrees.
Place two of the tortillas on a baking sheet and top each with half of the cheese. Top with the chicken, then sliced avocado and tomato. Sprinkle the remainder of the cheese and the cilantro. Place the other two tortillas on top. Brush the outer edges with a little water to keep them from turning up during baking (you can even do this with your finger).
Bake for approximately 6-8 minutes, until cheese is fully melted. Cut into quarters and serve.
Serves 2.
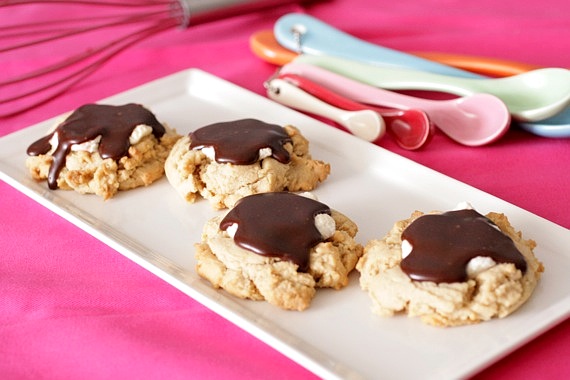
I told you I had something really sinful planned for those peanut butter cookies! Come on, you didn’t think me, of all people, would be able to leave those delicious peanut butter cookies alone, did you?! Of course not! I decided it would be a good idea to top them with gooey, sticky marshmallows and a healthy glob of chocolate. 🙂 Much better! I made all the cookies at the same time (the plain peanut butter ones and the chocolaty-marshmallowy ones), then sent them both to work with hubby the next day. He said the chocolaty ones disappeared before 10AM! Success! Even my own hubby, who doesn’t really care for sweets all that much couldn’t keep his hands off these! I gave it a lot of thought and decided to call these “Fluffernutter Chocolate Gobs”- it just felt right.
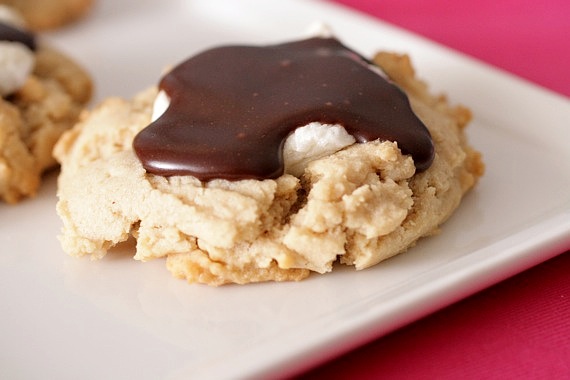
So, if you’re a fan of peanut butter + marshmallow + chocolate….these are your dream come true! Heck, if you’re a fan of ANY kind of sweets at all, these are your dream come true!
Fluffernutter Chocolate Gobs
-my own evil, delicious thought
1 batch of peanut butter cookie dough (recipe follows)
mini marshmallows
chocolate glaze (recipe follows)
Soft and Crumbly Peanut Butter Cookies
-adapted from allrecipes.com
1/2 cup (1 stick) unsalted butter, softened
3/4 cup peanut butter
1/2 cup white sugar
1/2 cup packed brown sugar
1 egg
1 teaspoon vanilla extract
3/4 teaspoon baking soda
1/2 teaspoon salt
1 3/4 cups all-purpose flour
Combine the flour, baking soda and salt in a bowl, set aside.
In the bowl of a stand mixer or with a hand mixer, beat the butter, peanut butter and sugars for 2 minutes, until light and fluffy. Add in the egg and vanilla.
Gradually add in the flour mixture on low speed. Chill dough 15 minutes in the refrigerator.
Place by rounded spoonfuls on a cookie sheet lined with parchment paper and bake in a preheated 350 degree oven for 7-9 minutes, until edges are very lightly browned (cookies will not spread much at all). Do not overbake.
*Makes approximately 2 dozen cookies
Chocolate Glaze
-my own recipe
3 tablespoons butter
2 tablespoons cocoa powder
1/2 cup powdered sugar, sifted
1/2 teaspoon vanilla extract
1-2 tablespoons milk, depending on how thick you want it
In a small sauce pan, melt the butter over medium heat. Stir in the cocoa powder and mix until smooth. Remove from heat and add in the vanilla.
Slowly stir in the powdered sugar, gradually adding the milk as needed to get it to the desired consistency (you want it thin enough to drizzle, but thick enough that it won’t run all over- a little thicker than molasses).
To assemble the cookies:
As soon as the peanut butter cookies come out of the oven, place 3-4 mini marshmallows on the top of each cookie (you may need to flatten the cookies slightly with a spatula first). Place them back in the oven for 2-3 minutes, until the marshmallows are melted. Let cool completely.
When completely cooled, spoon a small amount of chocolate glaze over the top of each cookie. Glaze will set slightly upon cooling.
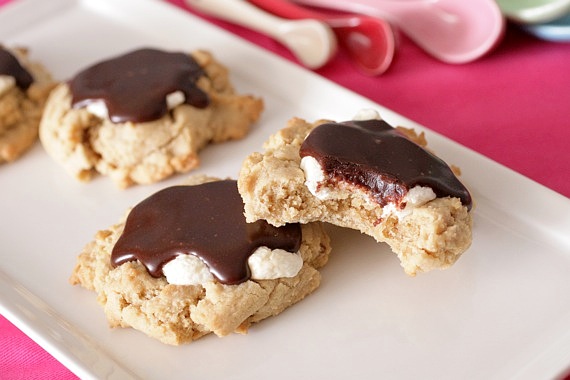
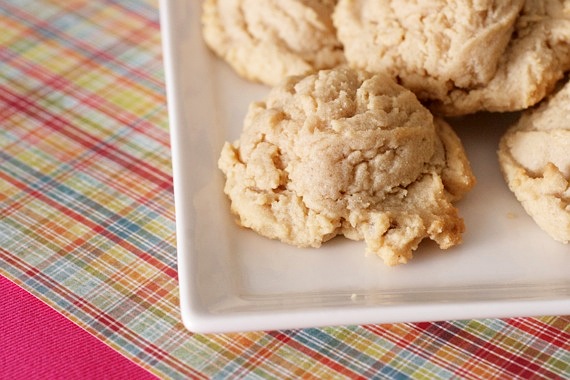
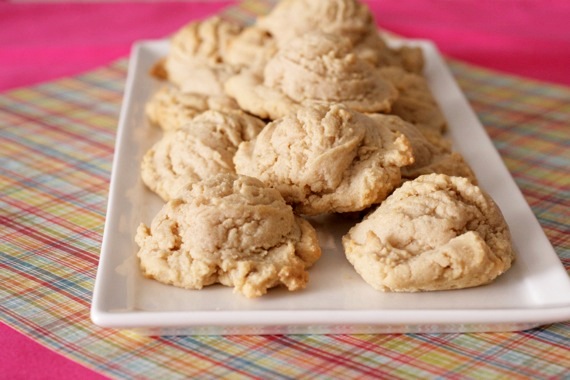
Earlier this week I had a craving for peanut butter cookies, which is odd, because I’m not the world’s biggest fan of peanut butter cookies. I think it’s the flat, slightly crunchy texture I’m not crazy about. And don’t get me started on those little fork prints in the tops! What if I want a peanut butter cookie WITHOUT fork prints?! Anyway, to satisfy my peanut butter cookie craving, I did a search for ‘soft peanut butter cookies’ on allrecipes.com and came out with this recipe. It’s different from any other peanut butter cookie I’ve ever had- really soft in the middle, yet slightly crumbly with an almost shortbread-like texture. Really, really delicious! I split my dough in half, used one half for plain peanut butter cookies, then used the other half for something else. Something….really sinful. But you’ll have to wait until tomorrow for those. 😉
Soft and Crumbly Peanut Butter Cookies
-adapted from allrecipes.com
1/2 cup (1 stick) unsalted butter, softened
3/4 cup peanut butter
1/2 cup white sugar
1/2 cup packed brown sugar
1 egg
1 teaspoon vanilla extract
3/4 teaspoon baking soda
1/2 teaspoon salt
1 3/4 cups all-purpose flour
Combine the flour, baking soda and salt in a bowl, set aside.
In the bowl of a stand mixer or with a hand mixer, beat the butter, peanut butter and sugars for 2 minutes, until light and fluffy. Add in the egg and vanilla.
Gradually add in the flour mixture on low speed. Chill dough 15 minutes in the refrigerator.
Place by rounded spoonfuls on a cookie sheet lined with parchment paper and bake in a preheated 350 degree oven for 8-10 minutes, until edges are very lightly browned (cookies will not spread much at all). Do not overbake.
*Makes approximately 2 dozen cookies
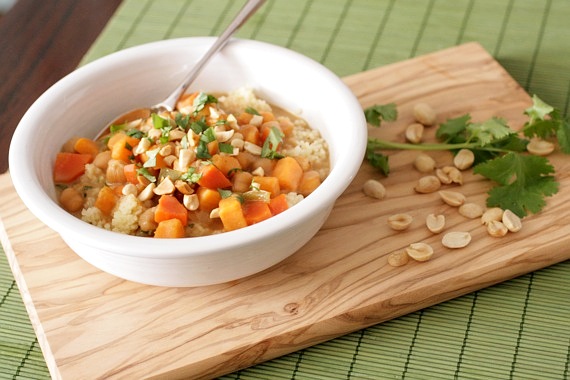
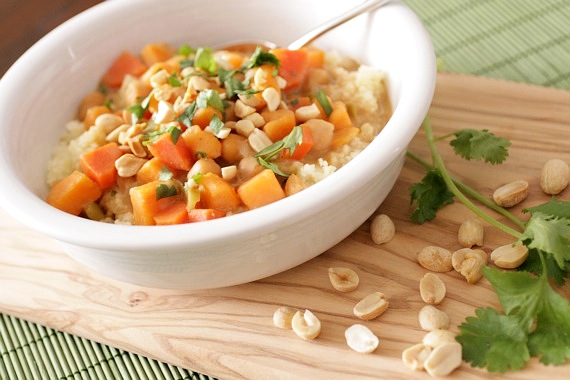
Now, I know I have a lot of readers who enjoy simple, down-to-earth recipes (as do I!), and I realize this recipe sounds a tad “different” from the types of things I normally post. But folks, you’re just going to have to trust me on this one- it’s absolutely delicious. I got this recipe from a sweet reader who enjoyed my Peanut Buttery Carrot Soup post and recommended I try her mother’s recipe for West African Peanut Stew. That was over a month ago, and honestly, since then, this recipe has been at the top of my “must try” list. I finally got around to making it this weekend and WOW! What a delicious recipe! Hubby and I both licked our bowls clean, then went back for seconds! The combination of flavors and ingredients here is just perfect- the spices really complement the hearty chunks of sweet potato and smooth peanut butter, and the cilantro and chopped peanuts are the perfect toppings. If you’re looking for something new and exciting for dinner this week…seriously, give this a try, it’s a surprising delight!
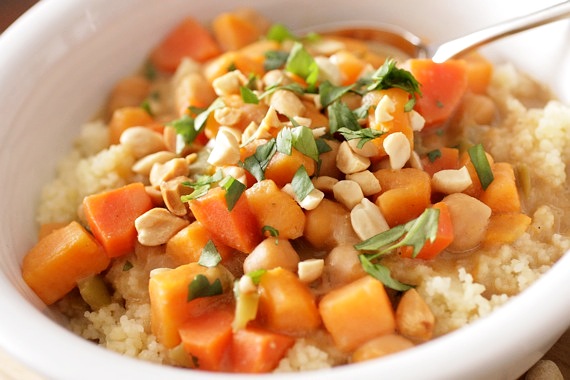
West African Peanut Stew
-adapted from Steph’s mother’s recipe
2 tablespoons olive oil
1 medium onion, chopped
2 garlic cloves, minced
1 teaspoon fresh ginger, grated
2 teaspoons ground cumin
1/4 teaspoon red pepper flakes
1 medium sweet potato, diced
1 large carrot, diced
1 green pepper, diced
salt and pepper to taste
4 cups chicken broth (or 4 cups water, with a chicken bouillon cube)
1/2 cup smooth, natural peanut butter
1/2 cup crushed peanuts, for garnish
1/2 cup chopped cilantro, for garnish
cooked couscous, for serving
Heat oil in a large pot over medium heat. Add onion, garlic, ginger and red pepper flakes and cook for 5 minutes. Stir in the ground cumin and cook for 1 minute more. Add sweet potatoes, carrot, and green pepper. Cook, stirring occasionally, for another 5 minutes.
Add chicken broth and salt and pepper. Bring stew to a boil, then cover and reduce to a simmer. Cook 20-30 minutes, or until the sweet potato and carrot is soft. Stir in the peanut butter and cook for 5 minutes.
Serve the stew hot, on to top couscous or rice, with the peanuts and cilantro sprinkled on top.
Serves 4
**I also added chickpeas to mine for a little more texture- it was a delicious addition!
Now, onto the real reason for this post. My blogging friend, Branny of Branny Boils Over is hosting a wonderful charity next month, Charity Souper Bowl. She’s asked us to each blog a soup recipe and send it in to her; she’s hosting the event on February 6th (the Super Bowl) and for every entry she receives, she’ll donate $1 to the ASPCA. This money will go toward giving homeless animals medical care, food, shelter, etc. Wonderful cause, no? She asked each of us who participate to dedicate our post to a special animal in our lives. Well, I think we all know who I’ll be dedicating mine to… our sweet Izzy! She’s not just the official mascot of Sing For Your Supper, she’s mine and Joel’s beloved pet and we love her so much. Since Izzy came to us from an animal rescue, helping causes like this one is very near and dear to our hearts. I’m happy to participate! Good luck, Branny, and thank you!!
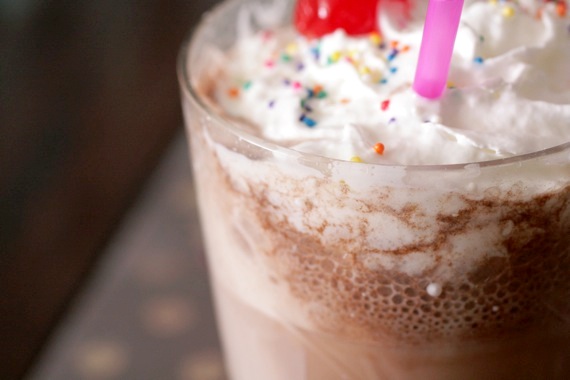
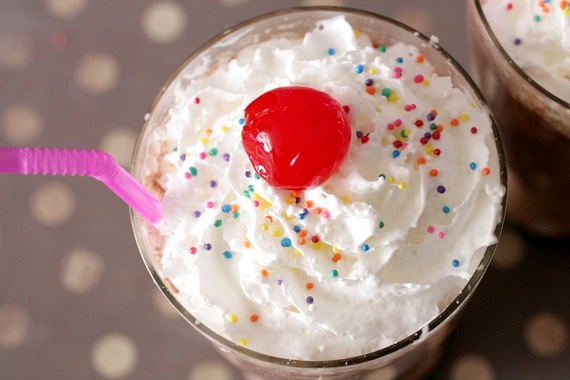
They may not seem like much, but in the early 1900’s, flavored sodas (and ice cream sodas) became quite popular. So popular in fact, uptight teetotalers declared them “immoral” and banned them on Sundays. Sheesh. Nowadays, us Americans sure love a good ice cream soda, or “float” as it’s also referred to. I definitely do, but for some reason tend to forget about them. Until a few days ago when I saw a delicious looking chocolate soda on Amy Bakes Everything– it was so tempting, I just had to make my own! Of course I couldn’t resist adding a healthy scoop of Blue Bell vanilla ice cream to mine. 😉
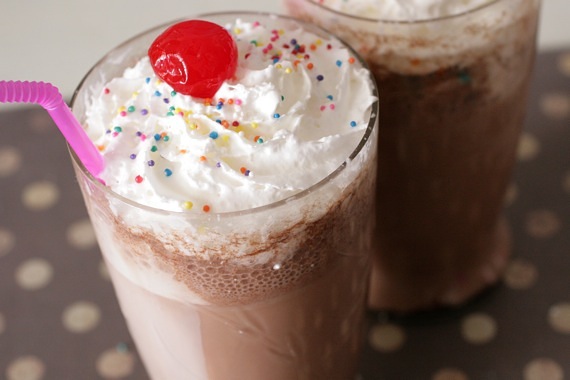
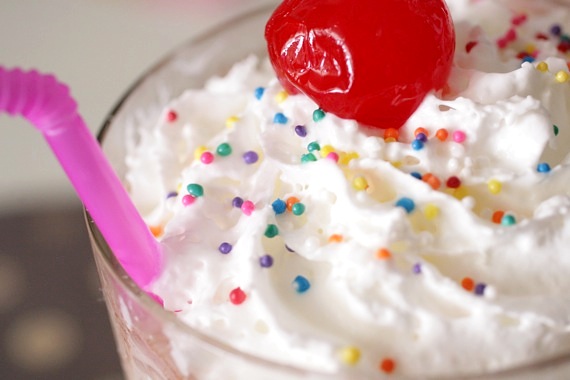
The possibilities with sodas are endless! All you need is a flavored syrup (chocolate, caramel, strawberry, etc…) and a little soda water and you’re just about set! You simply MUST have whipped cream and a cherry on top, though! And it wouldn’t be the worst thing in the world to throw a little ice cream in there too. 😉 We had SO much fun making and drinking these- they’re perfect for parties or even a little something for a late night sweet tooth!
Old Fashioned Chocolate Sodas
-inspiration from Amy Bakes Everything
You’ll need:
chocolate syrup, such as Hershey’s
whipped cream (yes, I used Redi-Whip. It was awesome.)
maraschino cherries
vanilla ice cream
club soda or seltzer water
colored straws (these aren’t required, but it sure tastes better through a pretty pink straw) 🙂
Place a little chocolate syrup in the bottom of your glass (I ended up using around 1/4 cup per glass- we like ’em chocolaty!), top with one scoop of ice cream. Pour the soda water over slowly and stir (you may want to add a little more soda water after stirring if the foam deflates a little). Top with whipped cream and a cherry. Enjoy with a pretty pink straw.
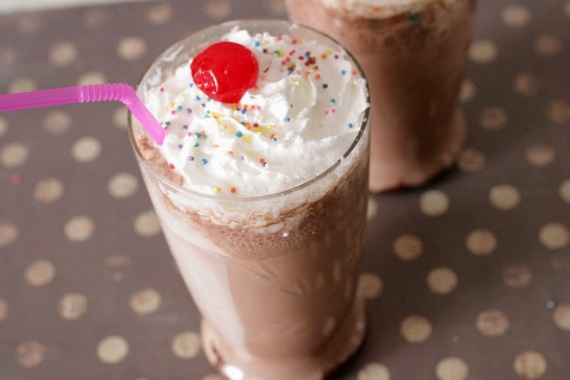
Mmm, fizzy chocolate…..
