This month marks the 3 year blogiversary for Sing For Your Supper. Pretty exciting, if I do say so! 3 years of good food, lots of growing and learning and lots of truly wonderful readers. It’s amazing to look back and see how far I’ve come since April 2008- my pictures don’t entirely suck anymore, I’ve learned a thing or two about food styling/plating, and I’ve made SO many amazing friends. That’s something to celebrate. I was planning on making a big, gaudy, overdone cake with gobs and gobs of buttercream frosting. Sounds great, right? Unfortunately for me, it actually doesn’t.
See, there’s actually something about me that I’ve never shared with you because I like to keep my blog perky and sunshine-y. But there’s a part of my life that definitely is NOT sunshine-y. For over 5 years now, I’ve dealt with something that has controlled my life. I get sick all the time. I won’t go into detail because this is after all, a food blog; but let’s just say it encompasses all degrees of being sick- both trashcan and toilet. Sometimes I black out. Most times I throw up. But every single time I’m completely miserable for at least a day or two; sometimes a week. And poor Joel has had to put up with me. I feel like every other week he was nursing me on top of taking care of everything else while I was sick in bed. It sucks. This has been my life for 5 years. You may (or may not) have noticed that I haven’t been posting quite as frequently as I normally like to. To be honest, I haven’t cooked. I haven’t baked. I haven’t taken much pleasure in food lately because it always ends up making me sick. I hate to be sick. And no, I don’t have a disease or terminal illness (thank the good Lord), that’s not the problem. The problem is food. Food is the enemy. Or, I guess I should say food was the enemy.
We’ve pretty much figured out that I’m lactose-intolerant. If you know me at all you know how dear cheese is to me (I get cheese in my Christmas stocking, for heaven’s sake!). Cheese, milk, sour cream, butter…all of it. I ADORE dairy. But it definitely does not adore me. In fact, most times, it makes me feel like I’m going to die! Ugh! The pain, nausea and sheer discomfort is too much to bear. So I’ve cut it out. No more cheese. I was sulking and drowning in my sorrows for awhile. I mean, how UNFAIR is it for someone who loves cheese as much as I do to have a dairy intolerance?! But I sat down and really thought about what that would mean for my life- no more headaches, no more unexplained sickness in the middle of the night, no more scrutinizing over every piece of food I eat, no more worrying. As the bigger picture came into focus, a huge, heavy weight was lifted off my shoulders. That’s a pretty good feeling. So I “put on my big girl pants” and dealt with it.
The verdict? I. Feel. Amazing. I have a life again. I know it sounds a wee bit dramatic (and I’ll admit that I’m guilty of an occasional over-dramatization now and then), but I’m being 100% real and drama-free with you- my life has changed forever and I’m thrilled. Sure, I miss my beloved cheese like there’s no tomorrow and a little piece of me dies (ok, now I’m being dramatic) when I walk past the Blue Bell section of the grocery store, but I’ll be danged if it ain’t worth it! 😉
So, there you have it. That’s the real truth about what’s been going on around here. And as for that big, gaudy, overdone cake…I’ll get around to it, I promise! Nothing is going to change here at Sing For Your Supper, so don’t worry. Although I’m definitely going to be testing and trying some new dairy-free recipes to share with my lactose-intolerant readers (I know you’re out there!)- which is actually something I’m really, really looking forward to. Thanks so much for celebrating this 3 year blogiversary with me. I know I didn’t post a happy-go-lucky recipe with beautiful photos and a couple of care-free paragraphs, but to me, this blogiversary has meant so much more! I love sharing my real life with you and am so fortunate to have readers who are so supportive and encouraging! Here’s to 3 more (dairy-free!) fantastic years! Cheers!
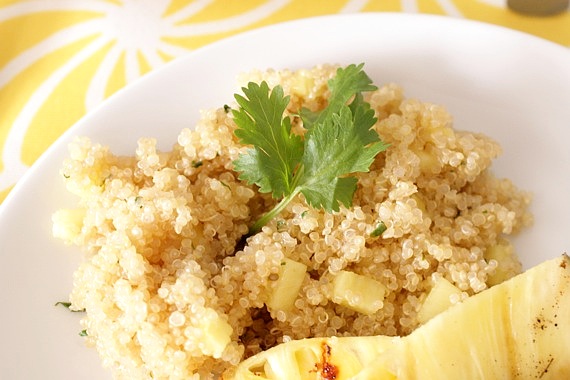
With all this grilling we’ve been doing lately, I always like to serve lots of easy, fast side dishes. However, we were getting a little tired of rice, so one night I decided to try quinoa. You know, anything you do with rice, you can pretty much do with quinoa- that’s the beauty of it! So I decided to try simple quinoa mixed with fresh juicy pineapple and cilantro- it was a HIT! I served it alongside these pork chops and it was the perfect pairing! Such a delicious meal! The next time you find yourself in a rice rut, try this quinoa instead! Light, summery and full of flavor- a perfect Springtime side dish!
Pineapple-Cilantro Quinoa
1 cup quinoa, thoroughly rinsed
2 cups chicken broth
1 cup fresh pineapple, diced
1/4 cup fresh cilantro, chopped
salt
Bring the chicken broth and quinoa to a boil, then reduce heat to low and cook for 20-30 minutes, until the quinoa is tender and has soaked up all the liquid. Stir in the pineapple and cilantro.
Serves 4.
Recipe source: Sing For Your Supper original
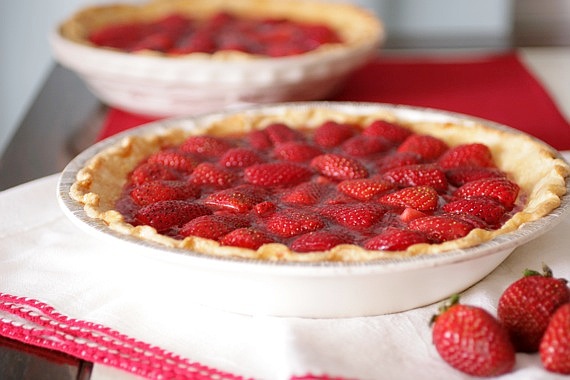
You can’t get more “strawberry” than this pie. If there were a contest for desserts with the purest, most “in-your-face” strawberry-ness, this pie would totally win. It’s nothing BUT fresh, juicy, sweet strawberries- no other flavor, no other texture…JUST strawberry. To me, that’s heaven. It’s like Summer/Spring in a pie shell. If you love strawberries like I do, this pie is right up your alley. You’re going to love it.
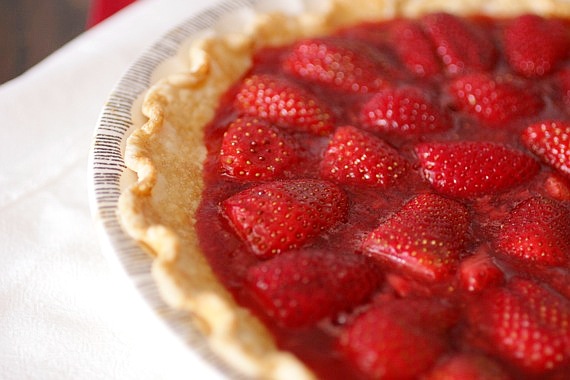
I served these pies to my family yesterday for Easter and what a treat! Such a beautiful ending to a big, delicious meal! With this recipe, I’ve discovered a new tradition- I intend to make these gorgeous pies every single Spring and Summer! In fact, I can’t wait to make them again! I’m thinking….Memorial Day?? Oh yeah! Bring on the pies!
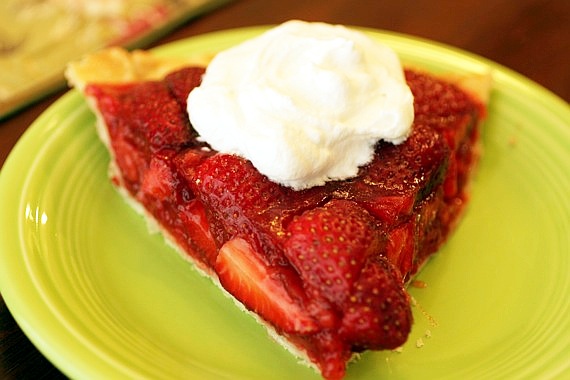
Fresh Strawberry Pie
1 9-inch pie crust, baked
2 pounds fresh strawberries, rinsed and hulled
1/2 cup granulated sugar
2 1/2 teaspoons cornstarch
1 1/2 teaspoons lemon juice, freshly squeezed
1/8 teaspoon salt
1 envelope unflavored powdered gelatin
2 tablespoons cold water
Slice about 3 cups of the strawberries into quarters and place them in a medium bowl. Crush the berries with a potato masher or a fork; you should have about 1 1/2 cups crushed berries. Place them in a saucepan over medium heat with the sugar, cornstarch, lemon juice and salt and stir to combine. Bring to a simmer, stirring occasionally for about 5-7 minutes, until the mixture begins to thicken slightly.
Soften the gelatin in the cold water and set it aside.
Remove berry mixture from the heat and add the softened gelatin and stir until the gelatin has dissolved. Set aside to cool.
Cut the remaining berries into quarters, and gently fold them into the cooled cooked mixture (if you want, you can reserve some of the strawberries to arrange on top of the pie for a more decorative presentation). Pour the filling into the baked pie shell, and chill in the refrigerator until set, at least 2 hours or overnight before serving. Makes 1 pie (I doubled the recipe for 2 pies).
Serve with fresh whipped cream if desired.
Recipe source: adapted from Rustic Garden Bistro
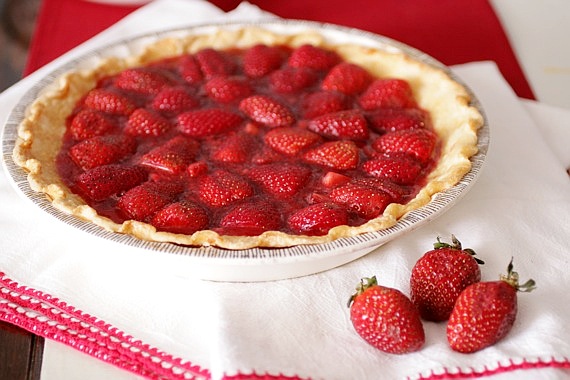

Hope you all have a wonderful, happy day with family and friends!
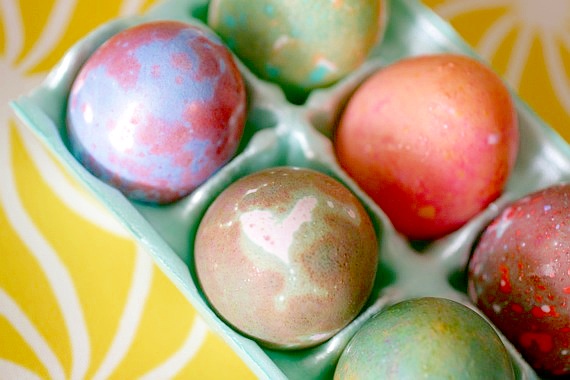
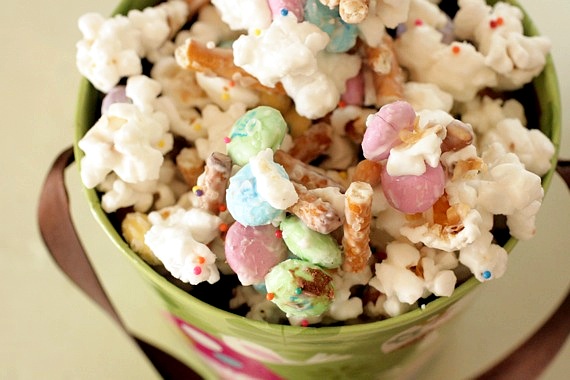
HAPPY EASTER!!! Those of you who celebrate are probably spending today getting those eggs ready to dye, making pies (or as my mom usually does- making a ginormous banana pudding), getting cute little Easter dresses ready for church tomorrow morning, and maybe even sitting down with your kids, explaining what this holiday really means and why we celebrate. Easter is such a wonderful holiday and Joel and I really love it! Every year we dye eggs (yes, apparently we’re still 10 years old…) and watch The Ten Commandments with Charlton Heston. Tomorrow we’re heading to my parents’ house, so I’m spending today making fresh strawberry pies and….BUNNY BAIT! What’s bunny bait, you ask? It’s basically just popcorn tossed with vanilla candy coating, Easter M&Ms and pretzels, but I’d like to think the Easter Bunny is out there just counting the minutes until he can hop over to our house and snatch a paw full! 🙂
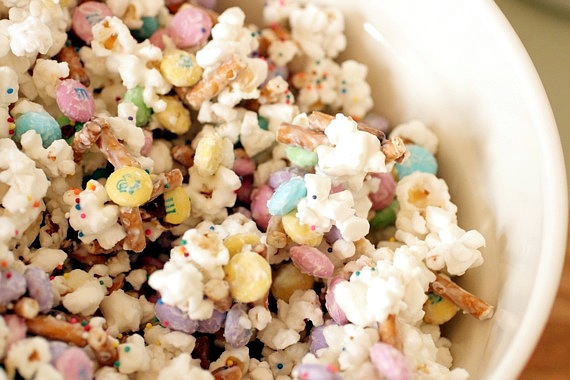
Parents, this is something the kids would absolutely love! It’s super easy and quick to make (not to mention totally and completely addictive!!!), and the kids could help by breaking the pretzels into pieces and stirring the M&Ms in. I think someday when we have kids of our own, we’ll definitely make this a tradition in our house.
I hope whatever your plans are, that you all have a wonderful and happy Easter with your friends and family!
Bunny Bait
1 bag popcorn, popped (I used Tender White)
6 oz. white chocolate candy coating
1 bag Easter M&Ms
pretzel sticks, broken into small pieces
colorful sprinkles, if desired
Place the popped popcorn in a large bowl with the broken up pretzels and M&Ms. Heat the candy coating in the microwave in 30 second intervals, stirring after each time, until melted and smooth.
Drizzle the candy coating over the popcorn mixture and stir to coat. The pretzels and M&Ms will sink to the bottom, so make sure to get those stirred in and coated with the rest of the popcorn.
Spread out on a large piece of wax paper, top with a few sprinkles (if desired) and let cool. Break into pieces and serve in a large bowl.
Recipe source: slightly adapted from Bake at 350, originally from This Blessed Nest
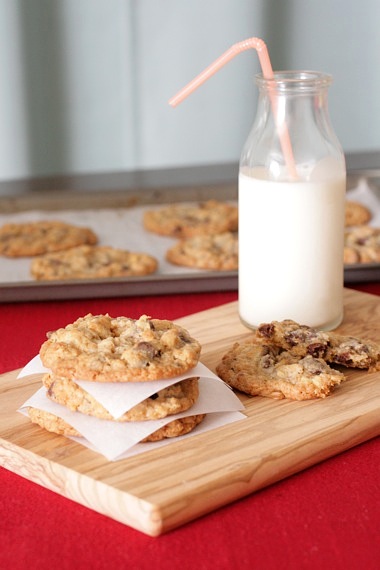
Let me ask you a question: what, exactly, makes a recipe “cowboy” or “Texan”?? This has always mystified me. I mean, who first decided to make oatmeal chocolate chip cookies and call them “cowboy cookies”? I just don’t get it. Oh well. That doesn’t keep these cookies from being totally scrumptious (I was going to just call them “oatmeal cookies with chocolate chips, coconut and walnuts”, but I’m pretty sure cookies with all these ingredients are usually called cowboy cookies). I’ve been craving a crisp, slightly chewy oatmeal cookie with lots of texture- now, I firmly believe I have the BEST recipe for good ‘ol chewy, comforting oatmeal cookies, so I decided to doctor them up a little to achieve my desired texture. Want to know what I added? Crushed up graham crackers. It added just the right amount of texture, as well as a slightly toasty flavor. I absolutely loved it.
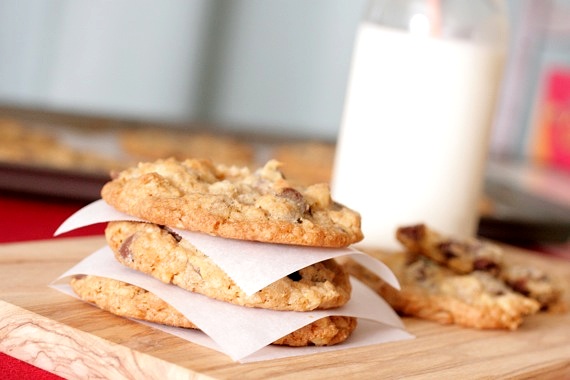
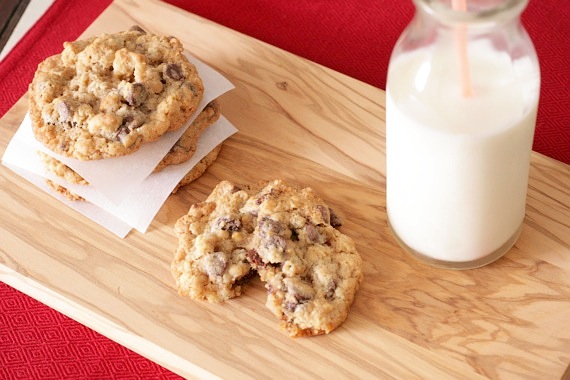
These turned out chewy, but nice and crisp around the edges. As always, I toasted my coconut, oats and nuts for an added crunchiness. What a cookie. Luckily, I had tons of leftover dough, so I can’t wait to take these to all my opera friends (yes, it’s that time again- opera season has begun so all my singer friends are eager to resume their roles as my cookie-tasting guinea pigs). I have a feeling these will go over quite well! You’ve got to give these a try if you’re looking for a good oatmeal cookie- they’re something special!
Cowboy Cookies
1 1/2 cups old-fashioned oats
3/4 cup all-purpose flour
1/2 cup graham cracker crumbs
1/2 teaspoon baking soda
1/2 teaspoon baking powder
1/2 teaspoon salt
3/4 cup (1 1/2 sticks) unsalted butter, softenend
1 cup sugar
1 large egg
1 tablespoon half and half
1 teaspoon vanilla extract
1 cup coarsely chopped walnuts
1 cup shredded sweetened coconut
1 1/2 cups semi-sweet chocolate chips
Preheat oven to 350 degrees. Combine oats, coconut and walnuts and spread on a baking sheet. Toast in the oven for 5-7 minutes, or until the coconut becomes fragrant, stirring occasionally. Let cool. Combine flour, graham cracker crumbs, baking soda, baking powder and salt in a bowl. Set aside. In a separate bowl, cream butter and sugar until light and fluffy. Add egg, half and half and vanilla and blend until smooth. Gradually stir in the flour mixture, then toasted oat mixture and chocolate chips. Drop dough onto a cookie sheet lined with parchment paper in rounded spoonfuls (or you can use a cookie scoop) about 2 inches apart. Bake for about 12-14 minutes until edges of cookies are golden brown. Transfer to a wire rack for cooling.
Recipe Source: Sing For Your Supper original, heavily adapted from my recipe for Toasted Oatmeal Cookies with Golden Raisins, Coconut and Pecans
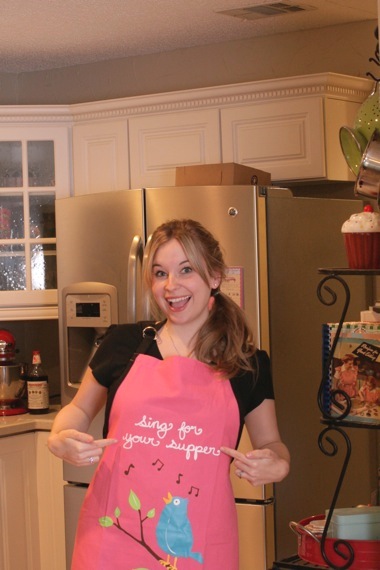
Eeeek! Look what I found online! I’m so excited about it I just HAD to share it with you! The minute Joel and I saw it we both decided I just had to have it and I bought it right then! I mean, how perfect, right? I know I would normally post a recipe today, but I’ve been dying to show this to you and couldn’t wait any longer!
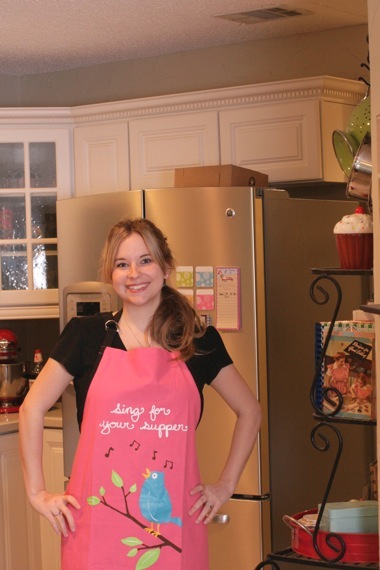
This just looks so perfect hanging on my apron hook in the kitchen- every time I see it I can’t help but smile! It’s the little things, right? Thanks for letting me share with you! 🙂
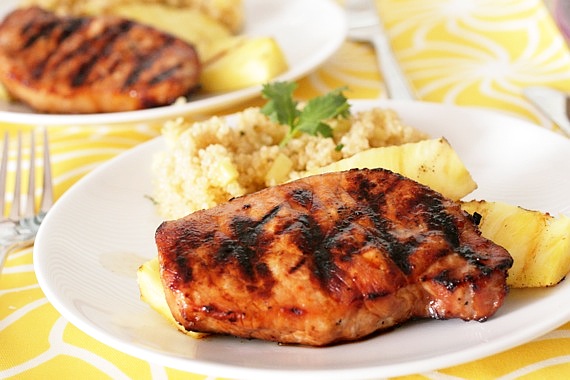
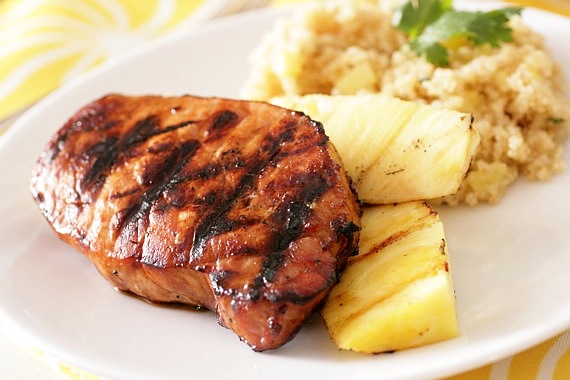
Hellooooo, grilling season! I feel like we’ve already done more grilling so far this Spring than the past two Springs and Summers combined! We just can’t resist it! When the weather is sunny and beautiful, there’s nothing better than the smell of something delicious cooking on the grill. And let me tell you, this pork smells heavenly while it’s cooking! I have no doubt people all over our neighborhood were sniffing and wondering where that glorious smell was coming from! My mom has a recipe for baked Hawaiian chicken that’s so amazingly good, I thought I’d experiment with pork chops on the grill. It did NOT disappoint! I can’t wait to make this again and again!
Grilled Hawaiian Pork Chops
4 boneless pork chops (at least 2/3 inch thick)
1 cup soy sauce
1/2 cup brown sugar
2 cloves garlic, chopped
1 teaspoon cooking sherry
1/4 teaspoon cayenne pepper
juice of 1 lime
1/2 teaspoon ground ginger
Place the pork chops in a large ziploc bag. Whisk together the soy sauce, garlic, sherry, cayenne, lime juice and ground ginger and pour into the ziploc bag with the pork chops. Seal the bag and place in the refrigerator for at least 3 hours.
Preheat the grill to medium-high heat and cook the pork chops for about 3 minutes on each side until done. If using a meat thermometer, it should reach 170 degrees internally.
Serve with grilled fresh pineapple, if desired.
Recipe source: adapted from my mom’s recipe
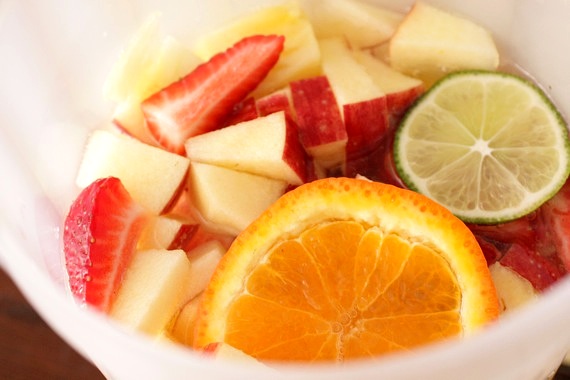
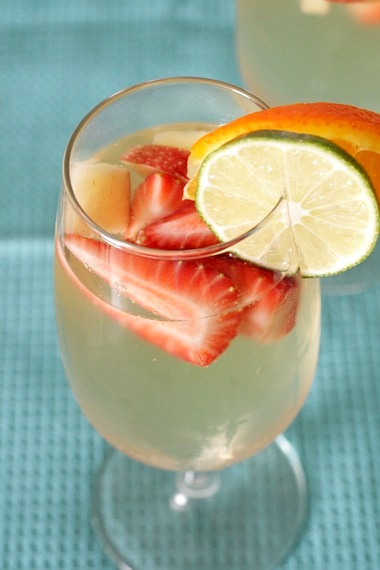
I know it’s not technically summer yet, but we’ve already had our fair share of 90-degree weather here in Dallas. When it gets that hot, you need something cold and refreshing to cool you off. Joel and I were working in the yard last weekend and got really hot; at the end of the day after all that digging, planting and sweating, a nice tall glass of this sangria hit the spot big time! I love drinks like this because they’re so easy to adapt, depending on what you have in your kitchen. We had a tangelo (sort of a cross between an orange and tangerine- delicious!), an apple, some fresh strawberries and pineapple and limes. All you need is a couple of hours for chilling and you’ve got a totally delicious, refreshing sangria!
Sparkling Summery Sangria
1 bottle dry white wine (a Sauvignon blanc would be nice, or even chardonnay)
1 cup 7-up soda
1 tangelo or orange, sliced into thin rings
1 lime, sliced into thin rings
5 or 6 strawberries, hulled and cut into quarters
half an apple, cut into chunks
5 or 6 chunks fresh pineapple
Pour the wine and 7-up in a large pitcher and add the fruit. Chill for at least 2 hours before serving.
*feel free to use any fruit you have on hand- this would be great with just about anything! Melon, peaches, blueberries…anything you like!
Recipe source: Sing For Your Supper original
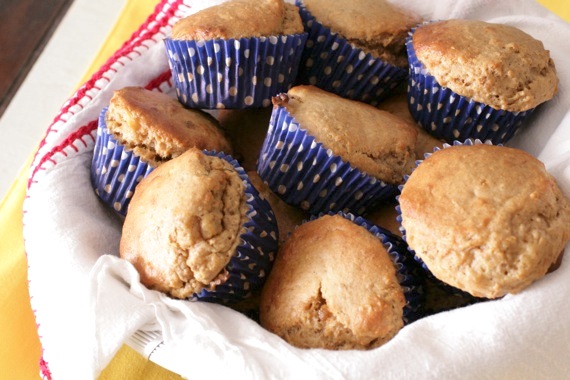
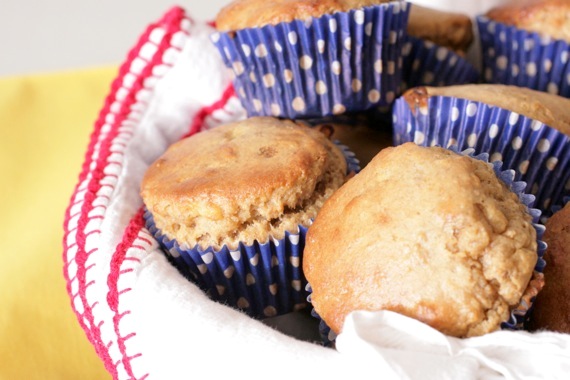
Believe it or not, every now and then I like a healthy treat. Although I mostly crave baked goods of the gooey, chocolaty variety, it’s nice to take a break from all that and bake up something that’s actually good for me. For some reason, the other day I had a serious craving for bran muffins….how odd. Who craves bran muffins?! Anyway, I remembered I had a box of Bran Flakes cereal in the pantry and thought I’d try making a bran muffin with it. These were actually very light and fluffy (you can thank the banana for that) and not heavy or overly “bran-y”. We really enjoyed them with a little butter and honey. My coworkers loved them too! Next time you need a good, quick, healthy muffin, gives these a try- they’re highly satisfying and actually good for you! 🙂
Banana Bran Muffins
1 1/4 cups whole wheat flour
1/2 cup sugar
1 tablespoon honey
1 tablespoon baking powder
1/4 teaspoon salt
2 cups bran flakes cereal
1 1/4 cups fat-free milk
1 egg
1/4 cup vegetable oil
2 ripe bananas, mashed
Stir together flour, sugar, baking powder and salt. Set aside.
In large mixing bowl, combine bran cereal and milk. Let stand about 2 minutes or until cereal softens. Add honey, egg and oil. Beat well. Add flour mixture, stirring only until combined. Stir in the banana. Spoon evenly into 12 muffin pan cups fit with cupcake liners.
Bake at 400 degrees about 20 minutes or until golden brown. Serve warm.
Recipe source: adapted from Kellogg’s.com
