We’re doing a little “house cleaning” on Sing For Your Supper this week (which is why you haven’t seen any updates lately- sorry!), but I promise I’ll be back to blogging in the next couple of days! Sorry for the absence! Thanks for being awesome! 🙂
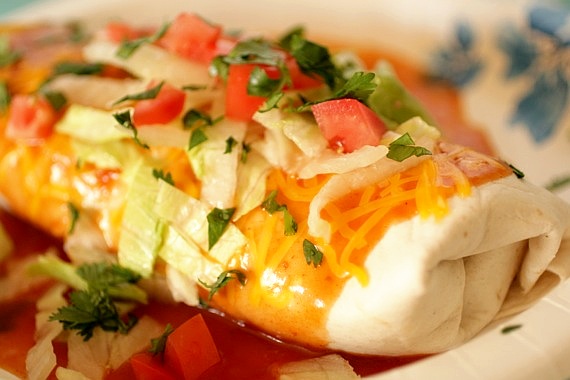
It’s no secret that I’m a sucker for sloppy Tex-Mex. I love pretty much anything doused in enchilada sauce covered in cheese- it’s my weakness (well, one of ’em). The other night I was craving Mexican food pretty bad (it happens a lot lately) and I decided to whip up these burritos. They took no time to make and tasted awesome. You’ll have to excuse the fact that I had to photograph them on a paper plate…we’ve been in the middle of having some renovations done and I packed all my dishes up temporarily. If you’re in need of a quick, delicious meal, try these burritos- they won’t disappoint!
Smothered Burritos
1 pound ground beef
1/2 teaspoon chili powder
1/2 teaspoon cumin
1/8 teaspoon garlic powder
1/8 teaspoon onion powder
1/4 teaspoon salt
1/4 teaspoon pepper
1 (4.5 ounce) can diced green chiles
1 (16 ounce) can refried beans
half a (10.75 ounce) can condensed tomato soup
1 (10 ounce) can enchilada sauce
burrito-sized flour tortillas, warmed
shredded cheddar cheese
Garnishes:
shredded lettuce
chopped tomatoes
shredded cheddar cheese
chopped green onions
sliced black olives
cilantro
avocado
Brown ground beef in a skillet over medium-high heat and drain. Stir in chili powder, cumin, garlic powder, onion powder, salt and pepper. Stir in the green chiles and turn off heat; keep warm. Warm the refried beans in a small skillet over low heat.
In a saucepan, combine the tomato soup and enchilada sauce. Mix well, and cook over medium heat until heated through.
Place a warmed tortilla on a plate and spread some of the refried beans into the center; sprinkle with cheese, then spoon some of the ground beef mixture onto the center. Tuck in the ends of the tortilla and carefully fold into a burrito. Spoon some of the enchilada sauce over the burrito and top with additional cheese and garnishes. Repeat with remaining tortillas. Serves 4-6
Recipe source: Adapted from allrecipes.com
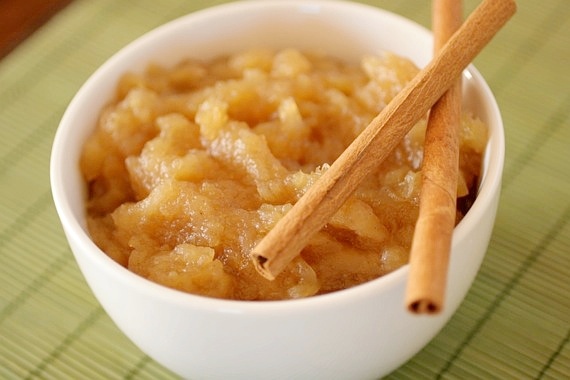
One of my very favorite things about fall is the smell of apples and spices cooking. It really puts me in the perfect “fall” state of mind…even if it is still 90+ degrees outside (we’ll get there, Dallas, we’ll get there!). The other night we had a nice “cold front” (86 degrees instead of the usual 97 or more), so I decided to whip up a quick pot of homemade applesauce. Joel and I both love applesauce, but when it comes to homemade, there’s no contest. The beauty of this recipe is, you can just throw it all in a big pot and leave it. And of course in the meantime, your house will smell amazing!
Homemade Applesauce
4 apples, peeled and cored (I used Red Delicious, but Honeycrisp or Pink Lady would be ideal)
1/2 cup brown sugar, packed
pinch salt
juice of one lemon
1/2 teaspoon cinnamon
1/4 cup water
Cut the apples into large chunks and put them in a heavy pot over medium heat; add the brown sugar, salt, lemon juice, cinnamon and water. Bring to a simmer and reduce heat to low. Cook, stirring occasionally, for about 45 minutes to 1 hour, until the apples are extremely soft and mushy. Using a potato masher or fork, mash the apples together until you have an applesauce-like consistency. Serves 4.
Recipe source: Sing For Your Supper
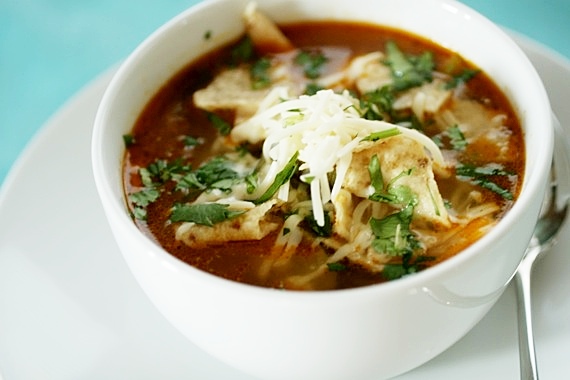
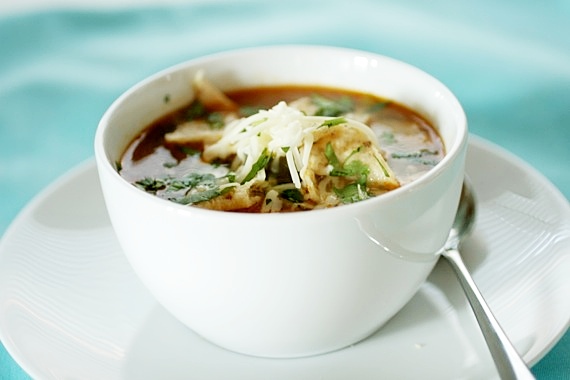
As a new bride (5 years ago this month- yay!), I bought a soup cookbook from Williams-Sonoma so I could learn to make easy, delicious soups for my new husband. I bookmarked a ton of recipes from the book but this one always stood out to me; it claimed to be a 15-minute soup. Intriguing! I tried it and found that not only was it a quick and easy recipe, it was super scrumptious! Joel fell in love with it and I’ve been making it religiously for 5 years now. In fact, this was the very first recipe I ever blogged waaaay back in April 2008 (isn’t it cute? The pictures are just terrible!)! I thought I’d go ahead and re-blog it since it never really got the attention it so deserves. Joel never gets tired of it and as soon as soup season rolls around every year, Chicken Tortilla Soup is his first request! I’m happy to make it for him as often as he wants because I happen to love it too and like I said before- it’s EASY. This isn’t your typical high-fat, loaded with tons of ingredients chicken tortilla soup. It’s base is a flavor-packed broth seasoned with chili powder, cumin and lots of lime juice (my favorite part!), and the zucchini is an authentic addition suggested by my friend Amanda’s mother. It’s simple, full of tons of great flavor and extremely satisfying!
Chicken Tortilla Soup
6 cups chicken stock
2 cups cooked, shredded chicken (I like to roast or poach bone-in chicken breasts until tender, then shred the meat. Additionally, you could also use a store-bought rotisserie chicken)
half an onion, chopped
1 clove garlic, minced
2 small-medium zucchinis, chopped
1 teaspoon chili powder
1 teaspoon cumin
1/4 teaspoon chipotle chile powder
juice from 2 large limes
salt and pepper to taste
Coat a large saucepan with olive oil over medium-high heat, add onion and zucchini and sautee until tender, about 3 minutes. Add the garlic, chili powder, cumin, chipotle chile powder, salt and pepper and stir until fragrant. Pour in stock and bring to a boil. Add the shredded chicken, reduce the heat to medium and simmer until the chicken is heated through. Add the lime juice and taste for seasoning. Ladle into bowls and top with and desired garnishes. Serves 4.
Garnish ideas:
crushed tortilla chips
shredded Monterey Jack cheese
sliced avocado
fresh cilantro
Recipe source: adapted from Williams-Sonoma’s Soup Made Fast
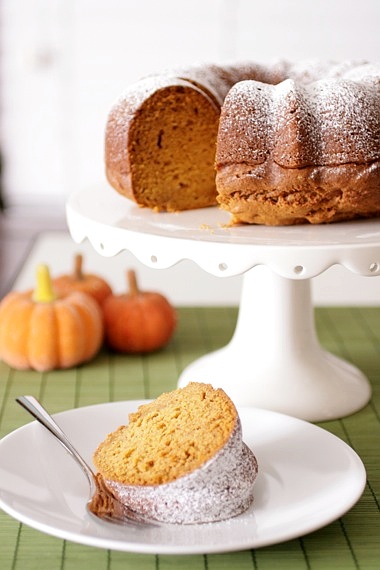
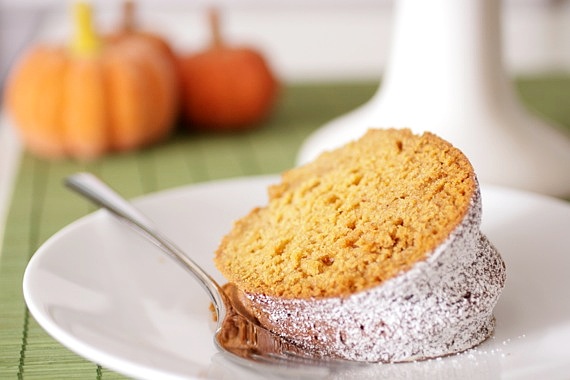
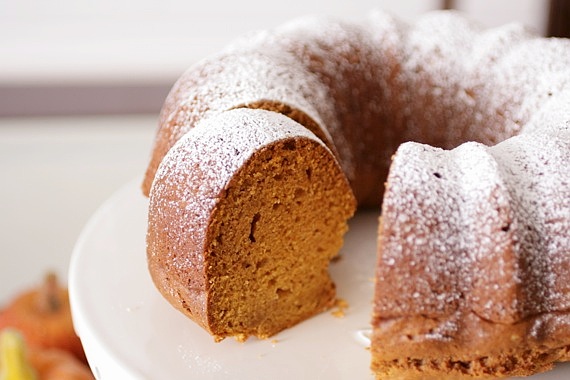
I waited as long as I could. I really did. But when we got that blast of glorious fall weather this weekend, I decided I couldn’t wait any longer; it was time to bring in fall! I’ve gotten out all my fall decorations, made soup, homemade applesauce (recipe to come!) and baked this pumpkin pound cake. And lemme tell ya- I feel GREAT! Nothing like a cool breeze and the smell of pumpkin and cinnamon to lift a girl’s spirits! Sure, it’s supposed to get back into the 90’s next week but for now, it’s fall outside and I’m enjoying every second of it. My mom is responsible for me baking this cake- she thought a pumpkin pound cake sounded great and charged me with finding a great recipe to try. I did a little searching and came up with exactly what I was looking for! The cake is delicious- not too sweet, super moist, dense and full of warm spices. I loved it with my morning coffee- the perfect combination!
Pumpkin Pound Cake
1 cup granulated sugar
1 cup brown sugar
1 cup canola oil
3 eggs
3 cups all-purpose flour
2 teaspoons baking soda
1 teaspoon ground cinnamon
1 teaspoon ground nutmeg
1/2 teaspoon salt
1/4 teaspoon ground cloves
1 package instant vanilla pudding mix
1 can (15 ounces) pumpkin puree
Confectioners’ sugar, for dusting
In a large bowl, combine sugar and oil until blended. Add eggs, one at a time, beating well after each addition. In a separate bowl, combine flour, baking soda, cinnamon, nutmeg, salt, cloves and pudding mix; add to egg mixture alternately with pumpkin, beating well after each addition.
Transfer to a greased bundt pan. Bake at 350 degrees for 60-65 minutes or until toothpick inserted near the center comes out clean. Cool for 10 minutes before inverting onto a wire rack. Remove from pan and cool completely. Dust with confectioners’ sugar. Serves 12-16.
Recipe source: Adapted from Taste of Home
Happy Friday! I have some GREAT news- yesterday Joel and I had our “big” sonogram at the doctor’s office. You know, the big gender reveal?! After weeks and weeks of people constantly asking us, “do you know yet what you’re having??” we were SO ready for this day. Everybody had their guesses, but in the end team pink won out! That’s right, WE’RE HAVING A LITTLE GIRL!!!! Words can’t even begin to express how excited we both are- I’ve always dreamed of having a girl and when the sonogram technician said, “it’s a little girl!” my heart skipped a beat and Joel and I couldn’t stop giggling.
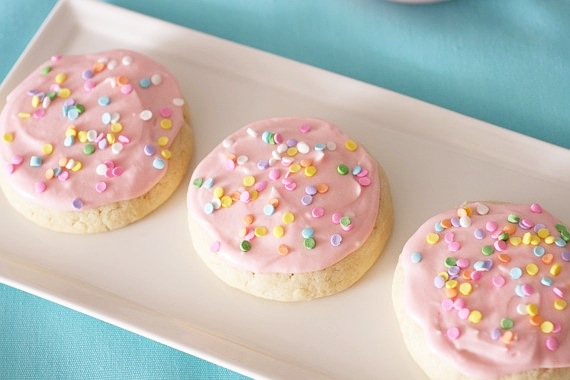
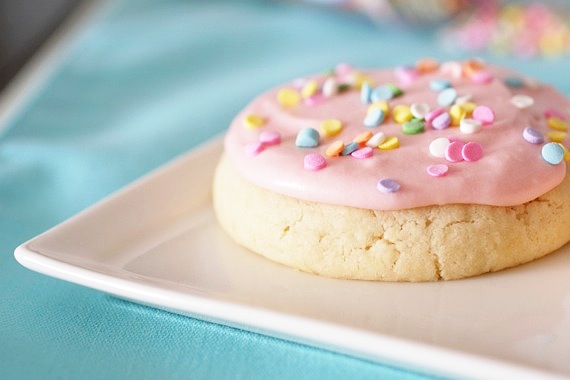
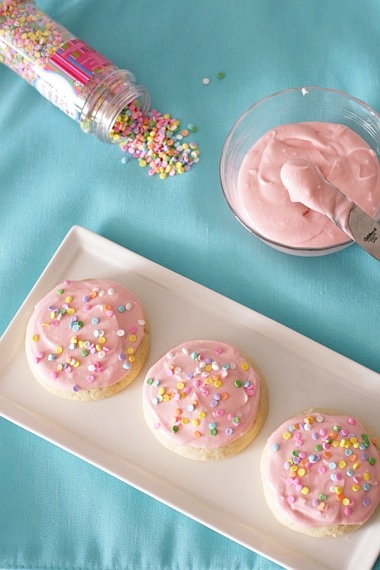
So obviously, that’s where these cookies come in. After I got home from the doctor I couldn’t sit still. I had already called, texted, facebooked and tweeted my friends and loved ones so really, there was nothing left for me to do but get in the kitchen and bake some girly pink cookies to celebrate! These soft frosted sugar cookies (yes, just like the sugary store-bought ones!) were the first things to come to mind! I had seen variations of them on all my friends’ blogs- Annie, Jessica and Tara, to name a few- and knew I had to make my own (especially since Joel absolutely adores the store-bought version!). As expected, these did NOT disappoint! They’re super soft, chewy and taste just like their store-bought counterparts, only better! We’re in love!
Soft Frosted Sugar Cookies
For the cookies:
4 1/2 cups all-purpose flour
4 1/2 teaspoons baking powder
1 teaspoon salt
1 1/2 cups (3 sticks) butter, at room temperature
1 1/2 cups sugar
3 large eggs
5 teaspoons vanilla extract
For the frosting:
5 cups confectioners’ sugar, sifted
1/3 cup (5 1/3 tablespoons) unsalted butter, melted
1 tablespoon vanilla extract
7-8 tablespoon milk (plus more, as needed)
Food coloring (optional)
Sprinkles (optional)
Preheat the oven to 350 degrees. Line baking sheets with parchment paper or silicone baking mats. In a medium bowl, whisk the flour, baking powder and salt. In the bowl of an electric mixer fitted with a paddle attachment, beat the butter and sugar together on medium-high speed until soft and fluffy, about 2-3 minutes. Beat in the eggs one at a time, mixing well after each addition. Blend in the vanilla. With the mixer on low speed, add in the dry ingredients mixing just until incorporated and evenly mixed. Cover and chill the dough for 1 hour.
When you are ready to bake the cookies, scoop a scant quarter cup of dough and roll into a ball. Flatten the ball slightly and place on the prepared baking sheet. Repeat with the remaining dough, spacing the cookies at least 2-3 inches apart. Bake about 10-12 minutes or just until set (do not overbake! The edges should be no more than very lightly browned if at all). Let cool on the baking sheet for several minutes. Transfer to a wire rack to cool completely.
To make the frosting, place the confectioners’ sugar in a medium bowl. Add the melted butter, vanilla, and milk to the bowl and whisk until smooth. Whisk in additional milk as necessary, 1 teaspoon at a time, until you reach your desired consistency. Tint with food coloring if desired. Use a spatula or spoon to frost the cooled cookies (If the frosting begins to thicken as you decorate, just continue to whisk in small amounts of milk to keep it workable). Top with sprinkles if desired. Store in an airtight container. Makes 2 dozen large cookies.
Recipe source: Annie’s Eats, originally from Hostess With the Mostess
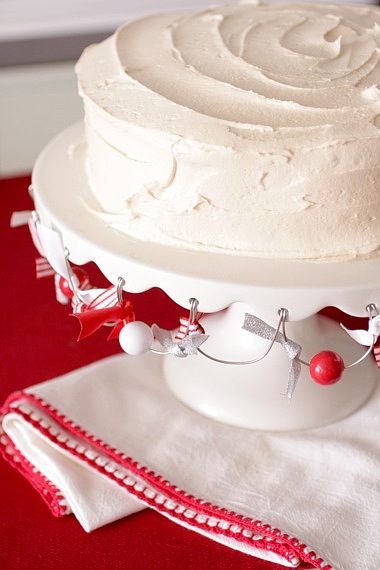
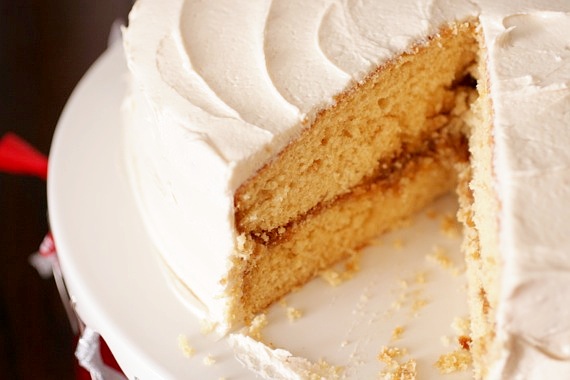
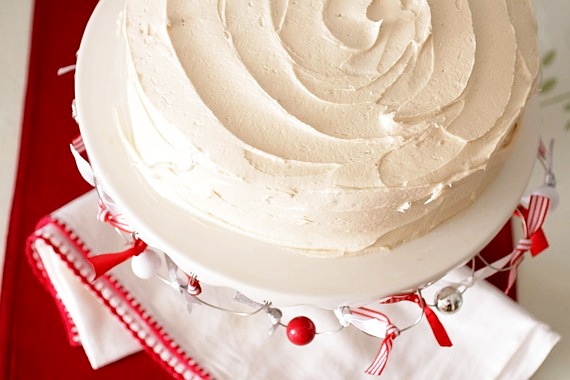
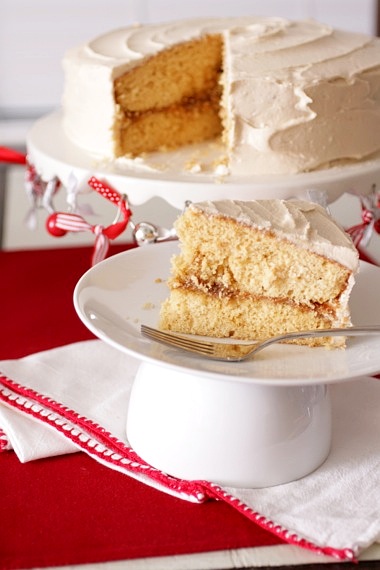
If you’re like me and about 80 gajillion other people, you’ve just read The Help (or saw the movie) and loved it. I thought it was one of the best books I’ve read in a long time, but frankly, what stuck with me most from the book was Minny’s famous caramel cakes mentioned so often. I’m a sucker for a good Southern recipe (duh) and this famous caramel cake the author mentions so many times definitely had me intrigued. I come from a peach cobbler-buttermilk pie type family, so cakes didn’t play a huge roll in our family get-togethers; but good old fashioned Southern cakes like this one are very much a part of my heritage. As soon as I finished this book (like, 3 days ago), I set out to make myself a caramel cake. Where did I turn? Why, Baba’s American Woman’s Cookbook, of course. If you want a good old fashioned recipe, be it buttermilk biscuits, a Lady Baltimore cake, or perfect-every-time pie crust, this book will never let you down! Sure enough, I found exactly what I was looking for!
I’m not going to lie and say this was a simple cake to make; in fact, I’ll go ahead and fess up to having to make more batches of caramel than I’d like to admit. There are 3 different caramel-y aspects to this cake: the caramel syrup that goes into the batter, the caramel filling (more like a glaze) and the caramel buttercream, which I did not get from the cookbook, but here instead, since it was more along the lines of what I was looking for. Other than lots of caramel making, this recipe is extremely easy (it’s just like any other cake you’ve ever made…except WAY more delicious!), so don’t let all that caramel scare you- if I can do it, YOU can do it!
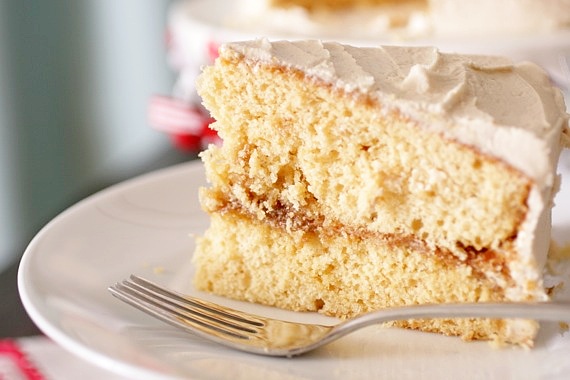
Now, the verdict: holycowhallelujahwowomigoshjeezlouise! After just one bite, every sense in my body told me this was the best cake I’ve ever made. Even Joel, who isn’t a big fan of caramel couldn’t shut up about this cake! All it took was that one bite and I knew, “this is Minny’s caramel cake. I’ve nailed it.” As I read about Minny cooking her caramel and bringing the finished cakes to people’s houses, this was exactly how I pictured it. And heck, it may not be anywhere close to what the author was talking about, but in my mind it’s perfect and I’ll never make a caramel cake any other way. It’s incredibly moist, absolutely bursting with sweet, caramel flavor and the gooey caramel center….pure heaven. Making all that caramel may be a bit of a pain, but do your friends, your loved ones and yourself a favor and make this cake ASAP- then take a bite and experience the South.
Caramel Cake
1 3/4 cups sugar
1/3 cup hot water
3 cups cake flour
3 teaspoons baking powder
1/2 teaspoon salt
3/4 cup (1 1/2 sticks) butter
3 eggs
1 teaspoon vanilla
2/3 cup milk
Preheat oven to 350 degrees.
Prepare the caramel syrup: place 1/2 cup of the sugar in a heavy skillet over medium-high heat, stirring constantly until the sugar melts. When it becomes a dark amber color (about 5 minutes- watch it closely!), remove from heat and whisk in the hot water VERY slowly until dissolved. You’ll be left with a syrup about the consistency of simple syrup. Cool completely. *The first time I tried this I added my hot water too fast and ended up with a rock-hard lump of caramel, so be sure to add the water VERY slowly while whisking!
Sift flour, baking powder and salt together. In the bowl of a stand mixer, cream the butter and the remaining 1 1/4 cups sugar until light and fluffy, about 2 minutes. Add eggs, one at a time, beating well after each addition. Add vanilla and the cooled caramel syrup; blend. Add dry ingredients and milk alternately, beating until smooth. Pour into 2 greased 9-inch cake pans lined with wax paper and bake for about 25-30 minutes, or until a toothpick inserted in the center comes out clean.
Caramel Filling
1 1/2 cups brown sugar
1 tablespoon butter
2 teaspoons cornstarch
1 cup half-and-half
1 1/2 teaspoons vanilla
Cook the sugar, butter, cornstarch and milk together in a double boiler until thick (mine never got too thick and I cooked it for at least 15 minutes). Remove from the heat and add vanilla. Let cool for about 5 minutes then pour over the warm cakes still in their pans (I poked holes all over my cakes with a toothpick so it would soak up the liquid better). Let the cakes sit out at room temperature in their pans until completely cooled.
Caramel Buttercream
1/4 cup sugar
2 tablespoons water
1/4 cup heavy cream
1 teaspoon vanilla
3/4 cup (1 1/2 sticks) salted butter, softened
2 cups powdered sugar
Briefly stir together granulated sugar and water in a small saucepan and bring to a boil over medium-high heat. Continue cooking, without stirring, until mixture turns dark amber in color, about 6 to 7 minutes.
Remove from heat and very slowly add in cream and vanilla, stirring with a wooden spoon until completely smooth (be careful, as the mixture will definitely bubble up and possibly splatter a bit as you add in the cream). Set aside until cool to the touch, about 25 minutes.
Beat the butter in the bowl of a stand mixer fitted with the paddle attachment on medium-high speed until light in color and fluffy, about 2 minutes. Reduce speed to low, gradually add powdered sugar, and mix until completely incorporated. Turn off the mixer, and then add caramel. Beat frosting on low to combine, and then increase to medium-high and beat until airy and thoroughly mixed, about 2 minutes. Refrigerate if not using immediately (or to harden the frosting a bit).
To assemble the cake:
*This part was a little tricky since I had to somehow figure out how to get the wax paper off the bottoms of the cakes while they were gooey with caramel! Slide a dull knife all the way around the edges of the cakes to loosen the sides from the pan and (using a spatula or possibly your hands- however you deem fit, really), lift the cake from the pan, peel the wax paper off the bottom and place, caramel side up on a cake platter.
The second layer is easier- just line the cake up evenly with the bottom layer and gently overturn the pan, setting it upside down (caramel side down; so you’ll have caramel-to-caramel), then peel off the wax paper.
Using a cake spatula, gently and evenly spread the caramel buttercream over the top and sides of the cake. Refrigerate until about 1 hour before serving. Makes one 2 layer, 9-inch cake. Phew! 🙂
Recipe sources: cake recipe adapted from American Woman’s Cookbook; caramel frosting from Gimme Some Oven
Hello friends! Guess what- I’m finally in my 2nd trimester and starting to feel a little better! I’m at 15 weeks now and the baby’s the size of a large navel orange- which means I’m starting to look….um, “plump”. Personally, I don’t really think I look pregnant- just fat. Oh well! 🙂
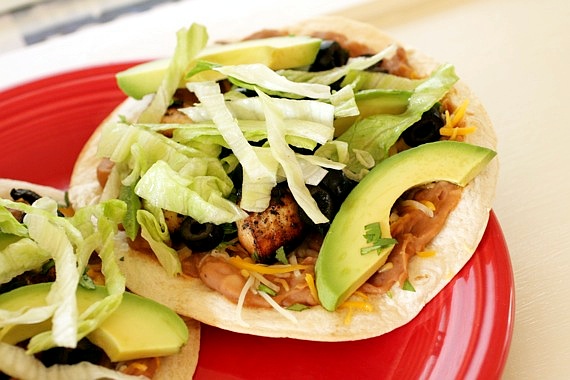
I made these tostadas for dinner awhile back and they tasted so good! And they’re insanely simple to make (plus, Joel grilled the chicken for me, which made it even easier)! They’re so versatile- you can use any meat you like and any toppings. A vegetarian version would be great too!
Easy Chicken Tostadas
2 boneless, skinless chicken breasts, cut into 1 inch chunks
1 can refried beans
sliced black olives
shredded cheddar cheese
shredded lettuce
salsa
1 large avocado, sliced
4 flour tortillas
For the marinade:
juice of 3 large limes
2 tablespoons vegetable oil
1 heaping teaspoon brown sugar
handful cilantro, chopped
1/2 green bell pepper, roughly chopped
1/2 onion, roughly chopped
2 cloves garlic, roughly chopped
Preheat the oven to 350 degrees.
Place the chicken and marinade in a large ziploc bag and refrigerate for at least 1 hour. Remove the chicken from the bag and discard the marinade. Grill chicken pieces over medium-high heat for about 6-8 minutes, turning occasionally, until fully cooked.
Heat the refried beans in a small pan over medium heat until hot (I like to stir in a little liquid smoke and a splash of jarred jalapeno juice to jazz it up).
Spray the tortillas with a little cooking spray and place on a baking sheet; bake for about 5 minutes, until crisp. Spread each tortilla with a thin layer of beans then top with the cheese, black olives, salsa, chicken, lettuce and avocado. Serves 2.
Recipe source: Sing For Your Supper original
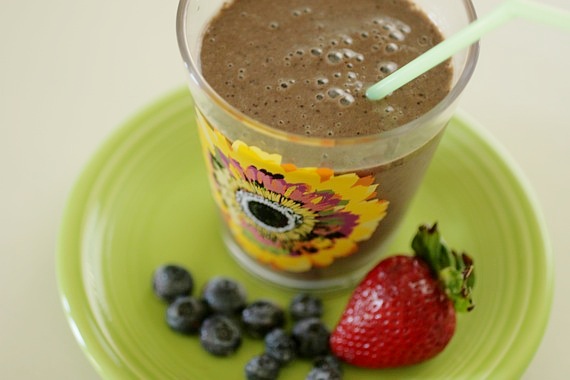
Please don’t go running off! I KNOW this smoothie looks anything but appetizing, but trust me- it is! It really is! It’s smooth, refreshing and chock FULL of vitamins and good-for-you fruits and veggies! The reason mine is brown instead of green (like the traditional green monster smoothie) is because I added strawberries and blueberries- those colors together give you….brown. Not pretty but darn tasty!
What is a green monster smoothie, you ask? It’s basically just a fruit smoothie with the addition of fresh spinach (an addition you can’t taste, but your body will thank you for!). Spinach is high in calcium, vitamin A and iron, to name a small few. This smoothie is a great solution for people wanting to get their daily fill of fresh fruits and vegetables; it’s SO good for you. I made these a lot when I was first pregnant…unfortunately, little Peach (as my mother has fondly starting referring to the baby) doesn’t care for them much anymore so I haven’t had one in awhile. Hopefully she (or he!) will come around soon, though! ![]()
The beauty in these smoothies is that you can use any fruit you like- bananas, strawberries, peaches, plums…whatever! They make a great breakfast or quick power lunch and keep you full and satisfied! Try one! You’ll love it!
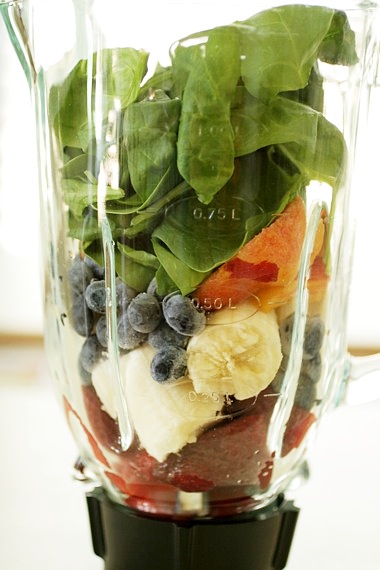
Green Monster Smoothie
1 banana, roughly chopped
4 or 5 strawberries
1/2 cup fresh blueberries
1 small peach, peeled and roughly chopped
1 heaping cup (or more) fresh spinach leaves, thoroughly rinsed
splash vanilla soy milk
1 tablespoon Greek yogurt
2 teaspoons honey
1/2 cup crushed ice
Place all ingredients in a blender and blend until smooth. Serve immediately.
*this recipe makes a very large smoothie- two could easily share.
Recipe source: Sing For Your Supper original
Here are some other great recipes for green monster smoothies:
Annie’s Eats
Oh She Glows
Naturally Ella
Can you believe June is pretty much over and Monday is the 4th of July?! Wow! Where did the first half of my summer go?! I’m actually really looking forward to the weekend because we’re having Joel’s family over for a little backyard BBQ. This will be the first get-together I’ve hosted in a LONG time! We’ll be grilling burgers and having all kinds of yummy snacks! I’ve already got plans for a funfetti cake! Yay! In case you’re hosting a little shindig of your own and need a few fantastic ideas, I’ve posted some of my favorite recipes that are perfect for the 4th! Enjoy!
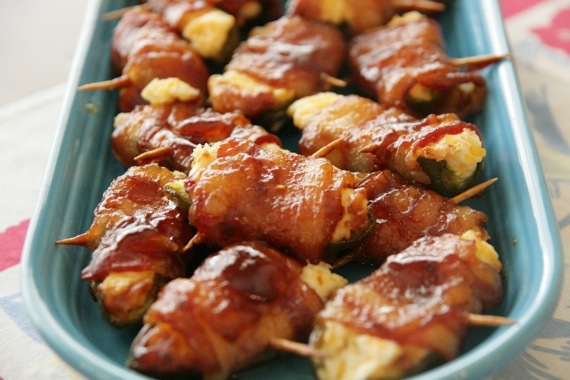
First up, my mom’s BBQ Bacon-Wrapped Jalapenos. We had these last year on the 4th of July and I went to bed that night dreaming about them they were so good! In fact, I’ll definitely be making these Sunday!
If you need an easy, cold appetizer, this one is a winner. My friend Callie’s Zesty Tortilla Roll-Ups. I LOVE the combination of the ranch seasoning with the olives and green chiles- these babies are SO good!
On Demand Dip– a combination of white corn, black beans, Rotel tomatoes, cilantro and lime, this dip is a family favorite. It’s the easiest thing in the world to throw together and it’s a nice change of pace from regular salsa. A real crowd pleaser!
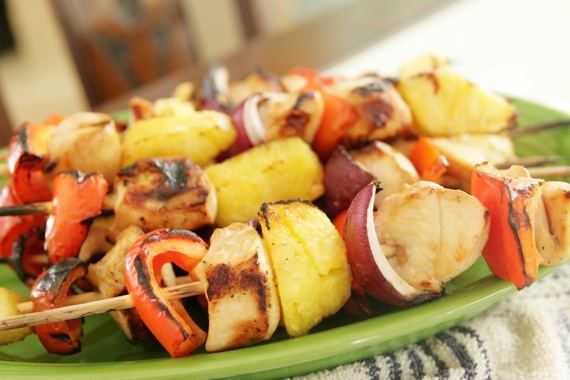
Easy Grilled Chicken Shish-Kabobs– these couldn’t be easier or tastier! Put some marinated chicken, fresh pineapple, red onion and peppers on a skewer and grill ’em up! Perfect for large crowds!
Salsa Verde Turkey Burgers– I haven’t made these in awhile, but I sure need to! These burgers have salsa verde tossed right in with the meat, so it’s good and flavorful. I love the melted pepper jack cheese and avocados!
We can’t get enough of these Jalapeno Deviled Eggs! The addition of fresh chopped jalapeno adds a real kick and so much extra flavor! And what BBQ would be complete without deviled eggs?!
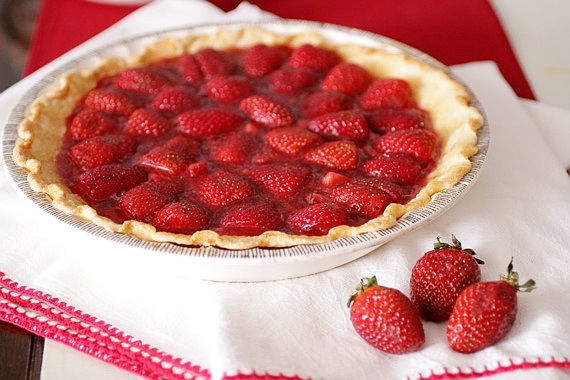
There just aren’t enough holidays for me to get to make this Fresh Strawberry Pie. I never get tired of it. So juicy and delicious, and topped with a little whipped cream, this will be everyone’s favorite!
Peach-Blueberry Sour Cream Pie. This pie is so summery and fresh. I love the combination of peaches and blueberries and the crunchy topping is awesome!
And while we’re covering pie, I might as well post this one, because what says “4th of July” like All American Apple Pie? It’s the best apple pie I’ve ever eaten, actually. In fact, now that I think of it, maybe I should make this instead of funfetti cake this weekend….
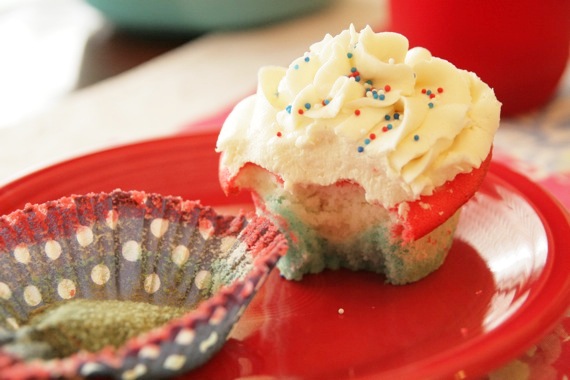
Last but not least, I leave you with these 4th of July Cupcakes– Dorie Greenspan’s perfect party cake gets all dressed up in red, white and blue for the 4th. How perfect! Whatever you do this Independence Day, I hope you have loads of fun with friends and family! Enjoy!

