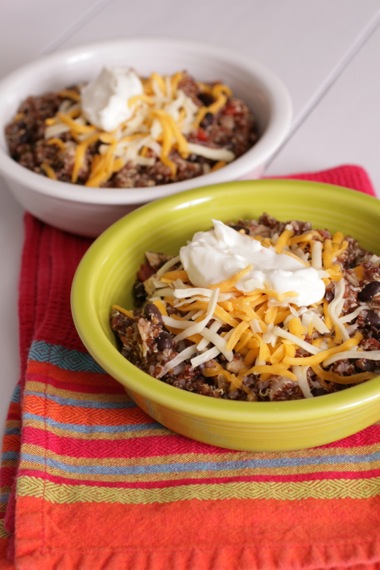
How was everyone’s Thanksgiving? Ours was wonderful- Cassidy seemed to really love Thanksgiving food, which made mommy proud. 🙂 We’ve been eating nothing but leftovers lately, which is awesome, but I’m ready for some different flavors now (I think it’s probably a good idea to lay off the pie for awhile, too). 😉 When I saw a recipe for Mexican quinoa on Annie’s blog, I immediately added the idea to my short list. So glad I did- this exceeded my expectations big time! I really love quinoa any way I can get it, but the addition of chicken, tomatoes, and Mexican spices just puts it over the top.
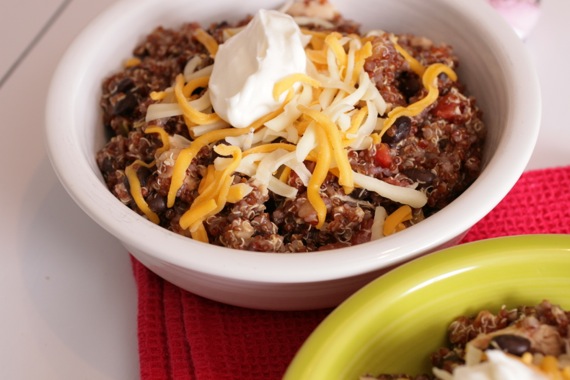
If you’re feeling hesitant about this recipe, just go for it! Trust me, you’ll love it! Quinoa might sound intimidating and weird, but it’s really not- it’s easy as can be and super yummy! Give this one a try- you’re Thanksgiving-overloaded taste buds will thank you!
Mexican Quinoa with Chicken
1 cup quinoa, thoroughly rinsed
1 1/2 cups water
1 tablespoon olive oil
half an onion, chopped
1 clove garlic, minced
1 can rotel tomatoes (diced tomatoes with green chiles)
1 can black beans, drained and rinsed
1 boneless, skinless chicken breast, fully cooked and shredded
1/2 teaspoon salt
1 teaspoon chili powder
1/4 teaspoon cumin
pinch cayenne pepper
juice from half a lime
shredded cheddar cheese and sour cream for garnish
In a large pot, sauté onion in the olive oil until translucent; about 10 minutes. Add garlic and cook for about a minute. Add water, quinoa, salt, and spices and bring to a boil; reduce heat to medium and cook for 20-25 minutes, until water is absorbed. Stir in beans, tomatoes, chicken, and lime juice. Top with cheese and sour cream if desired. Serves 2.
Recipe source: heavily adapted from Annie’s Eats; originally from Peanut Butter Runner
Thanksgiving is in 6 days!! YAY! And that means my FAVORITE day of the whole year is only 7 days away — Christmas Decorating Day! Forget Black Friday; I’m all about staying home, eating leftovers, and pulling out every single box of Christmas decorations while listening to my favorite Christmas CDs (hello, Amy Grant, Bing Crosby, and Harry Connick, Jr.!). It’s a happy day, I tell you!
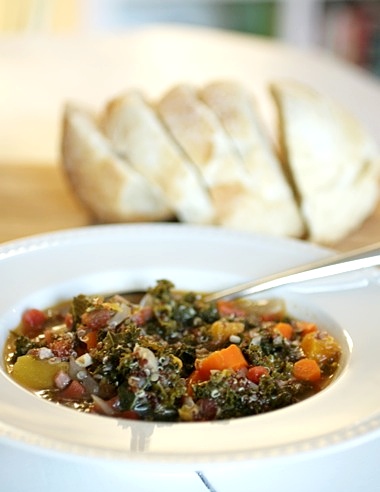
But that really has nothing to do with this recipe. I just felt like sharing. 🙂 I recently bought a giant bag of quinoa from Trader Joe’s (LOVE that we have one of those now!) and have been using it like crazy lately. I’ve never used it in a soup before, but I’ve always loved the idea of using quinoa in place of rice or pasta in a soup. I decided to whip something up using the huge amount of kale in my fridge and some frozen chopped butternut squash leftover from baby food-making. 🙂 I loooove the combination of hearty, flavorful kale with the creamy butternut squash. And the quinoa adds a great nuttiness. There are so many textures going on- it makes for one great soup!
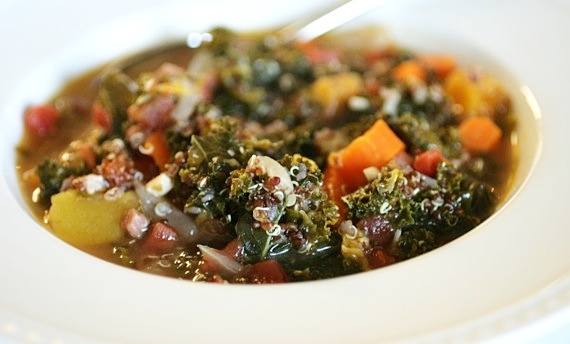
Kale, Butternut Squash, and Quinoa Soup
2 cups kale, rinsed and chopped
1 cup quinoa, thoroughly rinsed
1 cup cubed butternut squash
1/3 cup pancetta, chopped
1 medium onion, chopped
2 cloves garlic, minced
5 or 6 carrots, chopped
6 cups chicken stock or broth
salt and pepper
In a large stock pot over medium heat, cook the pancetta for 2-3 minutes; add the onion and cook until translucent. Stir in the garlic and cook for 1 minute. Add carrots, kale, butternut squash, and salt and pepper and bring to a boil; reduce heat to medium-low and cook for about 15 minutes, until the carrots are tender. Add the quinoa. Cook for about 20 minutes more, until quinoa is translucent. Serves 4.
Recipe source: Sing For Your Supper original
No…I’m not pregnant. 🙂
I’m happy, happy to officially present to you my new blog, A Little Something Lovely (www.alittlesomethinglovely.com)!! Don’t worry- I’m not letting go of Sing For Your Supper, I just wanted that to be strictly food. But I’ve enjoyed updating you all on other things happening in our lives so much that I decided I needed a separate place just for stuff like that! It’s a place for me to post things like decorating, baby talk, pictures, Cassidy updates, and much more. Joel and I have been working so hard on it and I’m so happy that it’s finally up and ready for viewing!

I’d love it if you’d head over and take a look. And please be sure to let me know what you think; I want your input, for sure!
I don’t post political rants. I don’t even post my political opinions. This is a food blog, not a place for me to try to sway others toward my ways of thinking. That’s why I had to chuckle while reading my twitter feed during the days leading up to and during the election.
“Oh, I’m a big, important food blogger with my own cookbook (who doesn’t have one these days?….ok, me…. womp, wah), so naturally, people will change their votes based on my snarky, foul-mouthed tweets…”. Really? Really??
I just couldn’t help but laugh. In fact, that’s all you can do when people you normally look up to and respect are posting things that are mean, condescending, and downright nasty about others. So food bloggers, let’s stick to what we know – food. Speaking of food- Thanksgiving is a mere 2 weeks away! Do you know how exciting that is?! Get those cans of pumpkin ready, because the best time of the year (next to Christmastime, of course…duh) is UPON US! Yippee!!!
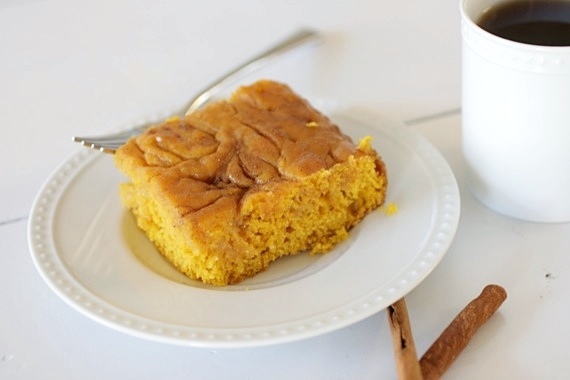
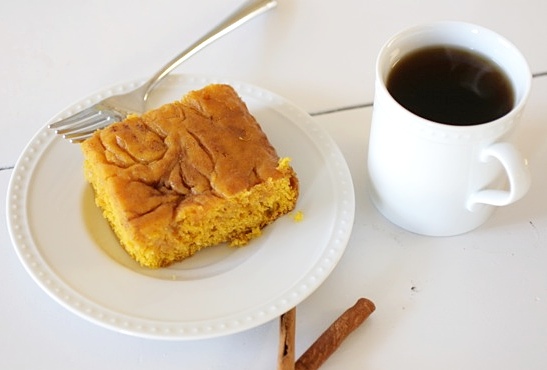
This cake rocks. Moist, pumpkiny, cinnamony, cake drizzled with sweet, sticky sweetened condensed milk. I’m in love!
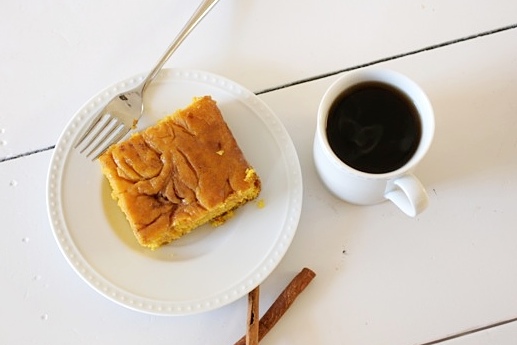
Sticky Pumpkin Cinnamon Cake
1 boxed yellow cake mix
1 can pumpkin
1/3 cup vegetable oil
2 eggs
1 teaspoon cinnamon
2 tablespoons unsalted butter, melted
1 14-ounce can sweetened condensed milk
1/2 teaspoon cinnamon
Preheat the oven to 350 degrees. In a large bowl, combine the cake mix, pumpkin, oil, eggs, and cinnamon; beat until smooth. Spread into a greased 9×13 pan; drizzle the melted butter over the top of the batter (I used a knife to swirl the butter into the batter so it would be a little more evenly drizzled over the cake, but you don’t have to do this.) Bake for 25-30 minutes, until a toothpick inserted into the center comes out clean.
Meanwhile, mix the sweetened condensed milk and cinnamon.
While the cake is still warm, poke holes all over the top using a toothpick or fork. Pour the sweetened condensed milk over the top of the cake and spread evenly. Let sit at room temperature until all the glaze has soaked into the cake. Serve immediately. Serves 12.
Recipe source: Sing For Your Supper original

We’re so excited about Cassidy’s first Halloween! We’re taking her trick-or-treating dressed as the world’s cutest pumpkin. 😉 The poor baby had to get 2 shots at her 9 month checkup today, so she deserves lots of goodies (even though she can’t eat candy…). I hope everyone has a fun, fun, FUN Halloween! Be safe!
Love,
Joel, Amy, Cassidy, and Izzy
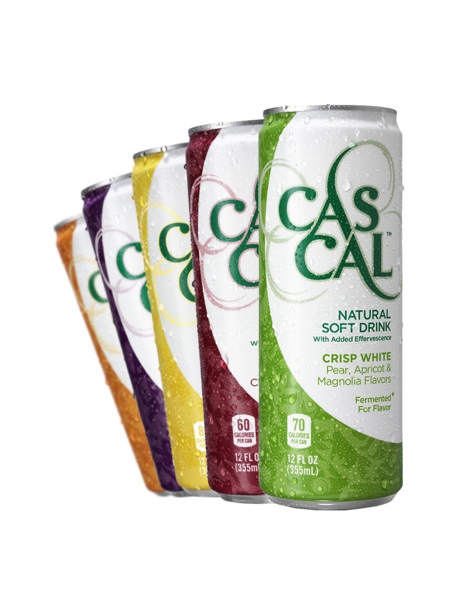
Awhile back, I received an email asking me if I would be willing to try and review a new soft drink called Cascal. Since I don’t drink sodas, my first reaction was a big, fat ‘no’. But the more I read about Cascal, the more intrigued I was. It’s not your typical soda. It’s not loaded with sugar, high fructose corn syrup, or sodium. It’s all natural and only 60 calories per can. Whaaa?? And it’s flavor comes from fermentation. So then I started thinking, “Wine?! Yipppeee!” But no, it’s non-alcoholic.
So, at this point, I basically HAD to try it out of sheer curiosity. And let me tell you, it’s amazing! Crisp, refreshing and totally flavorful. I can’t wait to get my hands on more! My favorite was the Bright Citrus, hands down. I love the combination of flavors in each variety. The Ripe Rouge flavor had hints of dark chocolate and cherry- amazing. I would highly recommend these as a great alternative to regular sodas (oh, and they’re gluten and caffiene-free!)
Here’s the good news: I’m giving some away! Yippee! If you’d like to try these, just leave a comment in the comments section below to enter. (**This giveaway is now closed**) That’s it! Be sure and check out Cascal on Facebook (www.facebook.com/Cascal) and Twitter (@cheersCascal).
*The good folks at Cascal sent me one of each flavor to try, and I am giving my honest opinion. I was not compensated for my opinions or this post.
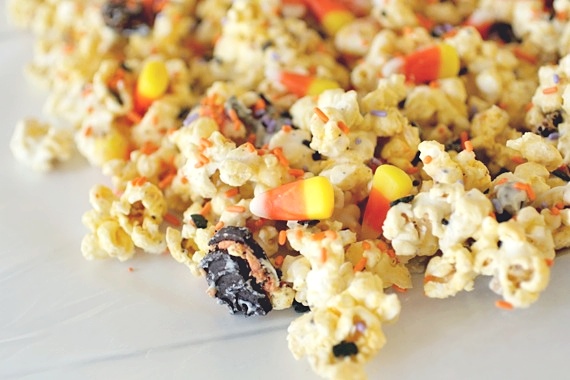
One bright, sunny, fall day, Cookies and Cream Popcorn met Halloween Popcorn.
Cookies and Cream Popcorn loved Halloween Popcorn‘s bright, colorful sprinkles and Halloween Popcorn couldn’t resist Cookies and Cream Popcorn‘s bits of crunchy, creamy Oreos. They instantly fell in love and that’s how Halloween Oreo Popcorn came to be. And they lived happily ever after….in my tummy. 😉
Since Halloween is only 5 days away (wahoo!!!), I knew I just had to post something to get us all in the spirit (right, like I need any help…). This Halloween Oreo Popcorn is the perfect treat for snacking on the couch while watching The Nightmare Before Christmas with your little pumpkins! 🙂
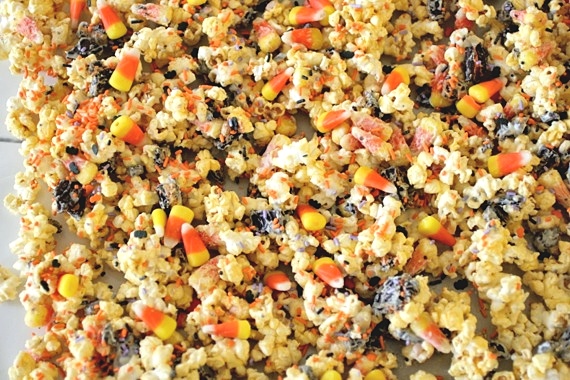
Halloween Oreo Popcorn
2 bags microwave popcorn, popped (this time, I used buttered popcorn and it turned out great!)
10-15 Oreos, chopped
1 bag candy corn
1 16-ounce package white chocolate bark or candy coating**
Halloween sprinkles
wax paper
Place the popped popcorn, Oreos, and candy corn in a very large bowl (you need plenty of room to stir the popcorn). Melt the white chocolate bark in the microwave in 30 second increments, stirring after each time, until melted. Drizzle over the popcorn mixture and stir to coat each piece of popcorn.
Pour the mixture over wax paper and spread into an even layer. Sprinkle with Halloween sprinkles and allow to cool for at least 15-30 minutes. Break into pieces. Serves 6-8.
Recipe source: Sing For Your Supper
**Almond bark or candy coating can be found on the baking aisle next to the chocolate chips. You can substitute white chocolate chips if preferred.

…….HAPPY HALLOWEEEEEEEEEN!! 🙂
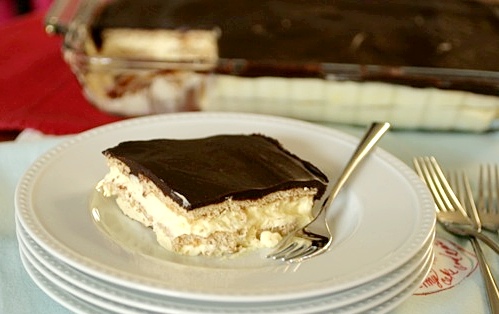
Are you ready for an EASY recipe that will knock your socks off?? Well, this is it, folks! This 4 ingredient dessert is one of those awesome, easy, and quick recipes that everyone is sure to love. I promise.
My sister first introduced me to this “cake” awhile back. She had made it for a party and was kind enough to share the leftovers with me. I was skeptical at first (and really, who could blame me- graham crackers, instant pudding, and canned chocolate frosting?), but was singing a different tune after one bite. Something magical happens when graham crackers and vanilla pudding sit together for awhile. The end result is strangely similar to a real eclair. And since I don’t have time to mess with pâte à choux…this is perfect! Try it- you won’t be disappointed!!
Chocolate Eclair Cake
2 (3.5 ounce) packages instant vanilla pudding mix
1 (8 ounce) container frozen whipped topping, thawed
3 cups milk
1 (16 ounce) package graham cracker squares
1 (16 ounce) container prepared chocolate frosting
In a medium bowl, whisk the pudding mix, whipped topping, and milk.
Arrange a single layer of graham cracker squares in the bottom of a 13×9 inch baking pan and evenly spread half of the pudding mixture over the crackers. Top with another layer of crackers and the remaining pudding mixture. Top with a final layer of graham crackers.
Soften the frosting in microwave for 30 seconds, stirring halfway through and spread over the whole cake up to the edges of the pan. Cover and chill at least 4 hours before serving. Serves 12.
Recipe source: My Baking Addiction
Making baby food at home is a practice very near and dear to my heart, so when I asked you all if it was something you cared about, then received such an enthusiastic response…I couldn’t WAIT to share with you! So, just for you mommies out there, I’ve put together a detailed post with everything you need to know about making healthy, safe, and delicious baby food at home for your sweet little ones!
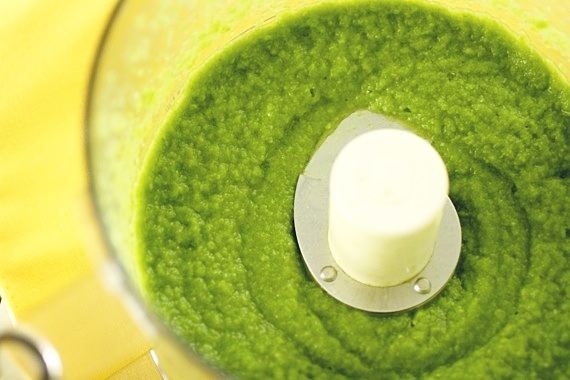
Now, there are lots of myths out there about making your own baby food at home; so let’s just get past those right now:
Myth #1: making homemade baby food is hard. This couldn’t be more wrong. Not only is homemade baby food incredibly easy (I’ll show you how); it’s fun! I actually really enjoy making baby food at home. During all the stress of our move, I switched to store-bought for a little while and wasn’t too fond of the experience. Now that I’m back to homemade, things are much better and we’re all happier! You don’t need fancy recipes- just steam it, puree it, and store it. That’s it.
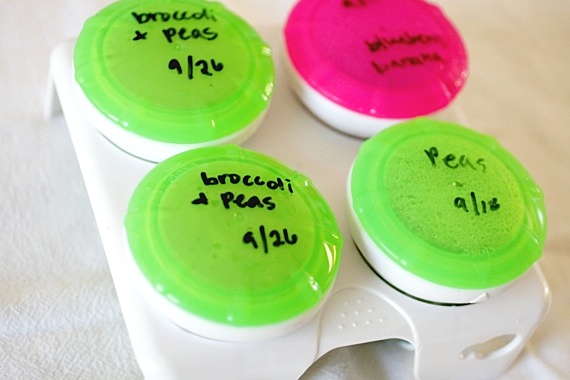
Myth #2: you need fancy, expensive equipment to make baby food at home. WRONG. I’m sure those little gadgets that are specially designed for the sole purpose of making baby food are great (too bad they cost a fortune…), but let me tell you now- save your money! All you need to make baby food at home is a vegetable steamer basket, a food processor (or blender), and a few ice cube trays for freezing (I have a couple of silicon heart-shaped ice cube trays that I like to use from time to time). The one special piece of equipment I did go out and buy was this baby food storage kit. I like it because it’s really easy, dishwasher safe, and each cup is the perfect portion size for Cassidy.
Myth #3: making homemade baby food is more expensive. Tooooootally not true! I buy mostly frozen vegetables, which are never more than around a dollar a bag, and I can usually get around 6 or 7 servings out of each bag. I can get over 8 2-ounce jars out of one sweet potato! With store-bought, depending on what kind you buy, you may spend anywhere from .75 – $1.75 a serving. Yikes!
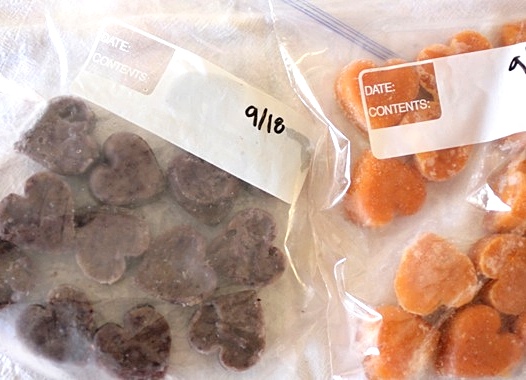
Now, I’m not here to preach at you. If you prefer store-bought, hey, that’s fantastic. There is absolutely nothing wrong with store-bought baby food! I just happen to a.) enjoy making it, b.) appreciate knowing exactly what I’m feeding my daughter, and c.) like saving my pennies. So, without further ado, here are my best tips and methods:
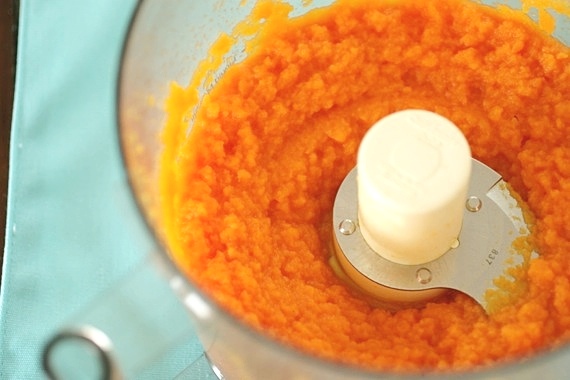
Why I love store-bought frozen fruits and vegetables: I prefer frozen because not only are they pre-washed, chopped, and ready to go, they’re picked and frozen at the peak of their ripeness, which means they retain pretty much all of their vitamins and minerals. Plus, you can always get certain out-of-season vegetables year round!
Fresh is always a great option, but since I hate peeling, seeding, and chopping certain vegetables, I prefer to buy frozen. You can always buy fresh, then freeze for later use. I like to stock up on fresh fruits and vegetables at Costco, then bring them home to prep and freeze for later use. Call me crazy, but I actually kind of enjoy prepping for baby food making. Oh, and here’s a little tip: if you’re going to freeze bananas for later use, peel them, toss them with a little lemon juice, then place in an airtight ziploc baggie; that way they won’t get slimy and brown. Works every time!

Ok, now that we’ve got a few of the logistics out of the way, let’s make baby food!
Begin by preparing your fruits or vegetables. If you’re using frozen, just throw ’em in the steamer basket; since they come pre-washed and chopped, you’re good to go. Fresh may require peeling/seeding. If you’re using fruits, no cooking is necessary (except for apples and pears- I like to soften those up a bit first).
Steam your vegetables on medium-high heat. Depending on the vegetable, I steam mine for around 10-15 minutes, just until they’re good and soft. Harder veggies like sweet potatoes, rutabagas, and butternut squash may take up to 30 minutes. Once they’re fork tender, carefully (it’s hot!) put them in the food processor or blender (or if you’re really old school, a food mill) and pulse until smooth. Keep the steaming liquid close by in case your puree is too thick. I like to pulse the snot out of mine to make extra sure there are no lumps.
No seasoning is needed- most fruits and vegetables taste great on their own. However, I do like to add a pinch of cinnamon to my sweet potatoes for a little extra something. 😉

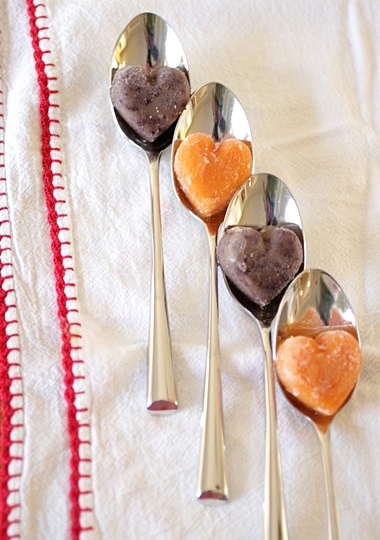
Once you’ve reached your desired consistency, set it aside to cool down a bit. Then carefully spoon the baby food into clean ice cube trays (perfectly portioned at 1 ounce each!) or freezer safe baby food containers. If you’re using ice cube trays, cover tightly with plastic wrap before freezing. And that’s it! When you’re ready to serve, pop it in the microwave for about 30 seconds to 1 minute and that’s it! Baby food!
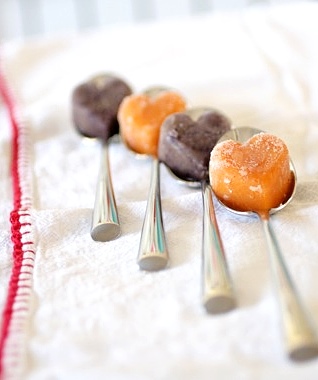
The flavors I’ve made so far are: peas, green beans, summer squash, blueberry/banana, prunes*, sweet potato with cinnamon, pears, strawberry/banana, avocado, and broccoli. (NOTE: Cassidy’s doctor told me not to make carrots or spinach at home, due to possible high levels of nitrates [which I found out only after I had made an entire batch…]. Baby food companies screen all their baby foods for nitrates before selling them, so it’s a safer bet to just buy your carrot and spinach baby food. Safety first! Just FYI.) All super easy, all heartily approved by miss Cassidy herself (as pictured below)!

*If you’re going to make prunes (hey, some babies need a little extra fiber, if you know what I’m sayin’…), you’ll need to steep them in boiling water for 5-10 minutes before pureeing, just to plump them up a bit. Same with dried cranberries or raisins.
So, there you have it! Easy, right? I hope this has all been helpful to some of you, and please don’t hesitate to email me with any questions! I love to hear from you! Now get out there and make some baby food at home! 🙂
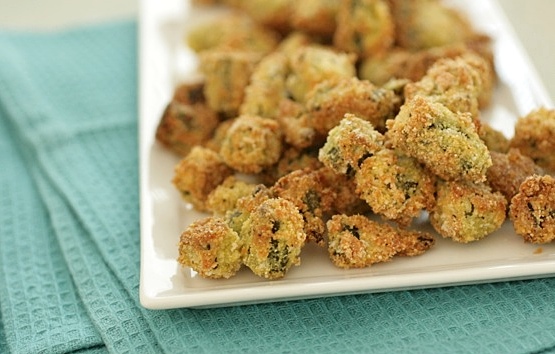
Being a Southerner, fried okra is a big deal to me. I love it. I grew up eating it every summer when okra was in season (my great-grandmother, both grandmothers, and my mom all made/make a MEAN plate of fried okra). When we eat at Chicken Express (Mmmm….), I always, always order fried okra as my side. Obviously, I like fried okra a little. So, then you’re probably wondering why I’m posting a recipe for BAKED okra, huh?
Because I’m a weenie. I’m too scared to fry okra. It’s intimidating. I just know I’d screw it up. So, I just don’t attempt it. And why should I have to, when all I have to do to get a rockin’ plate of fried okra is walk down the street to my mom’s house?! I’ll learn when I’m older…. 😉 (I have no doubt my mother is reading this post while shaking her head disapprovingly.)
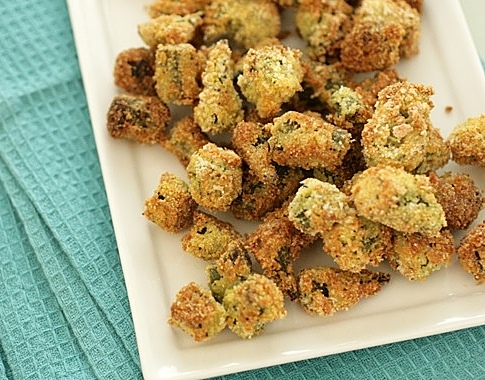
Besides being a whooooole lot less messy, this is so much healthier for you! And the good news- while this doesn’t quite hit the bullseye (nothing but old fashioned fried okra will), it’s VERY close to the real thing. Still crunchy, crisp, and delicious! We absolutely love it.
Crunchy Baked Okra
1 bag frozen, cut okra (or fresh, if it’s in season)
2 tablespoons cornmeal
3 tablespoons panko breadcrumbs (if you don’t have panko, regular will work just fine)
1/2 teaspoon salt
1/4 teaspoon pepper
1/2 teaspoon grated parmesan cheese
2 eggs
Preheat the oven to 400 degrees. Combine the cornmeal, panko, salt, pepper, and parmesan cheese in a large plate or pie dish.
In a separate plate or pie dish, beat the two eggs.
Toss the okra in the eggs until evenly coated. Then dredge the okra in the cornmeal/breadcrumb mixture.
Place on greased baking sheets. Bake for 15-20 minutes, turning the okra halfway through baking. Serves 2-4.
Recipe source: Sing For Your Supper original, inspired by The Spotted Fox.


