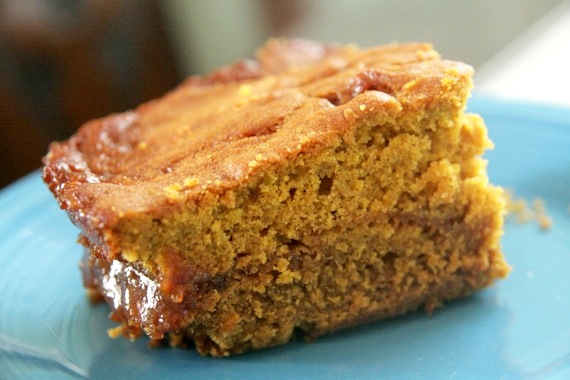
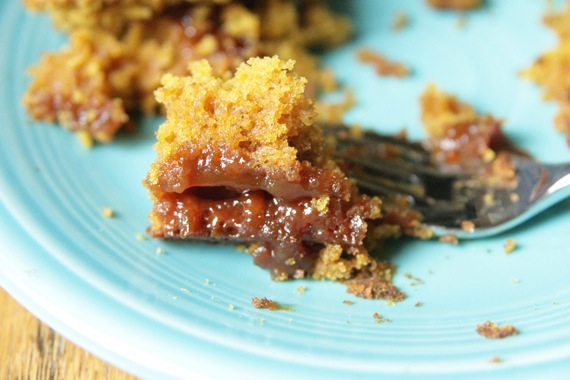
WHEW! Boy, has it been a long week! Sorry I’ve waited so long to post something new…this was the first week of voice lessons at the high school and it’s been just a wee bit busy lately. I’ve been dealing with schedules and All-State audition music and emailing parents. BUT, regardless of being super go, go, go all the time- it’s been a great week and I’m excited to be starting another great school year. Also, the weather has been almost bearable lately – we’ve actually gotten some rain and cool breezes (woah!). I put a little pumpkin pie spice in my coffee and burned a cinnamon-pumpkin candle last night and it ALMOST felt like Fall! How about that?! 🙂 Yesterday, I was lucky enough to find canned pumpkin at the grocery store, so naturally, I stocked up. As soon as I got home, I made these blondies. Sheer deliciousness. Every year I forget how much I adore Fall-flavored baked goods. Anyway, remember these salted caramel brownies? That’s where I got the idea for these pumpkin blondies. I’ve made regular pumpkin blondies before, but I thought adding a layer of salted caramel would be extra special! I have to admit, I’m patting myself on the back a little bit after tasting these….it’s pretty hard to beat pumpkin blondies stuffed with gooey salted caramel. Hello Fall, I love you.
Salted Caramel Pumpkin Blondies
1/2 – 3/4 cup caramel sauce, however much you want, really (homemade is great, but store-bought is just fine too)
2 cups all-purpose flour
1 tablespoon. pumpkin pie spice
1 teaspoon baking soda
1 teaspoon salt, divided
2 sticks (16 tablespoons) unsalted butter, at room temperature
1 1/4 cups brown sugar
1 large egg
2 teaspoons vanilla extract
1 cup pumpkin puree
Preheat the oven to 350° F. Butter a 9×9-inch baking dish. In a medium bowl, combine the flour, pumpkin pie spice, baking soda and 1/2 teaspoon of the salt. Stir together and set aside.
In the bowl of an electric mixer fitted with the paddle attachment, beat together the butter and sugar on medium-high speed until light and fluffy, about 2 minutes. Beat in the egg and vanilla until well combined. Mix in the pumpkin puree. With the mixer on low speed add the dry ingredients and mix just until incorporated.
Pour half of the batter in the prepared pan and smooth out evenly. Bake for 10 minutes. Remove from oven and drizzle the caramel in an even layer and sprinkle with the other 1/2 teaspoon of salt (feel free to leave the salt out if you’re not a fan of salted caramel). Carefully drop spoonfuls of the remaining batter over the caramel and smooth out as best you can (it doesn’t have to be perfect). Return to oven and bake for an additional 30 minutes, or until a toothpick comes out clean and the top is golden brown.
Let cool for at least 15 minutes before serving. Makes around 9 squares.
-recipe for basic pumpkin blondies from Annie’s Eats
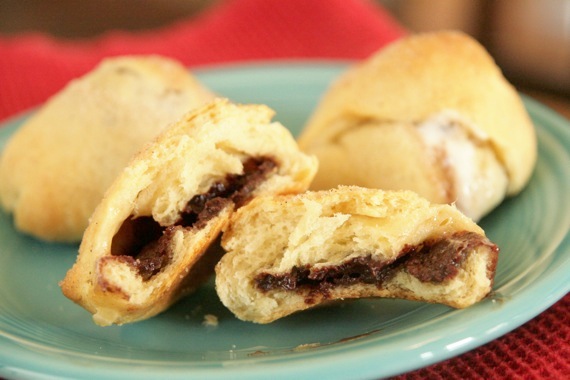
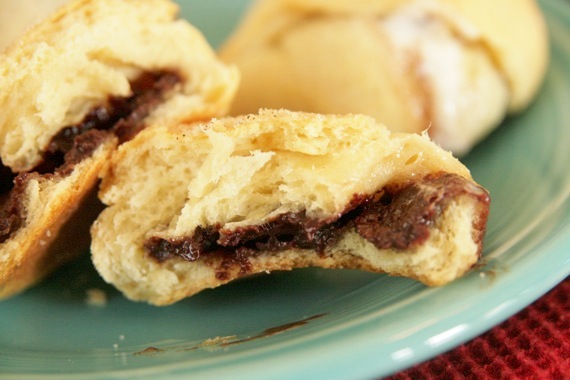
Aaaand welcome to “more random recipes nobody needs”. Here we have another doozy- Gooey Chocolate Marshmallow Puffs- they’re a little tacky, shamefully easy and by no means low in fat or sugar. But hey, a girl’s got to do something to pass the time. And these are pretty darn tasty, if I do say so myself! I got the idea from a Gooseberry Patch cookbook while browsing in a Half Price Books store with my sis. Basically, just a crescent roll with a marshmallow baked inside it. I took it from there and somehow ended up with these little guys. I’m a little embarrassed to say we pretty much scarfed these (all) down in record time. Hubby was especially impressed.
So if you’re looking for something sweet and tasty that’s just about as easy as they come- look no further! These are a great little snack!
Gooey Chocolate Marshmallow Puffs
1 package Pillsbury Crescent roll dough
1/2 cup prepared chocolate ganache (equal parts chocolate and heavy cream melted together), or chocolate chips if you don’t have any ganache on hand
handful mini marshmallows
cinnamon and sugar for sprinkling
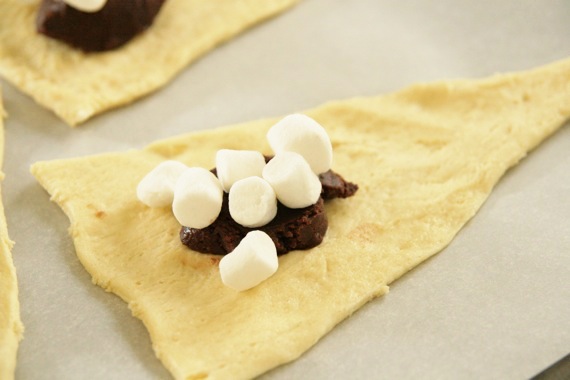
Preheat the oven to 350 degrees. Unroll the crescent dough and spoon a little ganache (or a few chocolate chips) in the center of each triangle. Top with 4 or 5 mini marshmallows and fold the dough up like a little purse, making sure to seal all the edges. Sprinkle with sugar and cinnamon and place on a baking sheet lined with parchment paper. Repeat with the remainder of the rolls, then bake for 12-15 minutes or until the puffs are golden brown. Let cool for 5 minutes before serving.
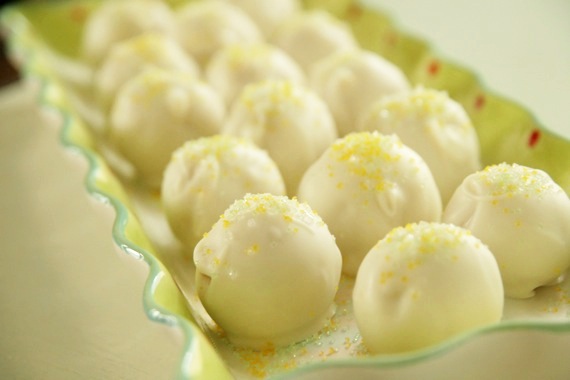
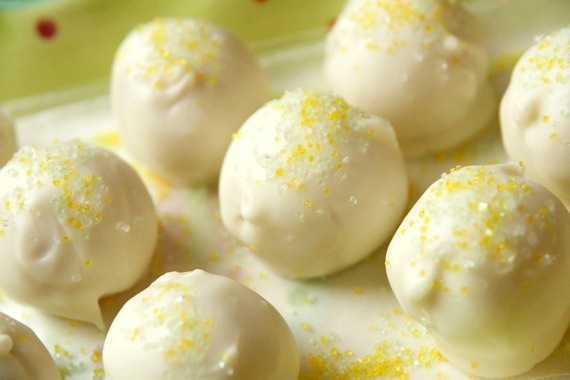
No doubt you’ve heard of cake balls, and Oreo truffles, and cookie dough truffles; and most likely, you’ve even made your own cake balls, Oreo truffles, etc. I know I’ve definitely made my fair share of all kinds. And that’s exactly what these are- more ‘dessert balls’. But these are oh-so much better than the run-of-the-mill Oreo truffles or cake balls! You all know how Oreo truffles work- crushed up Oreos, cream cheese and chocolate coating. These are essentially the same thing, except made with freshly baked sugar cookies and the zest and juice of lemon and lime. I must say….pretty darn tasty. These taste like key lime pie- they’re super tart, chewy and insanely rich. As soon as my hubby got home from work, I immediately shoved one into his mouth and his exact response was, “oh my gosh, these are AWESOME!!!” My family was inclined to agree- since there were so many, my grandmother took them to my aunt and uncle’s house where they were quickly devoured (so I’m told). They even passed the test of all tests- my cousin Ethan loved them. If Ethan loved them- they’ve got to be good! I have big plans to try these in all kinds of flavors- strawberry, peach, maybe even apricot. But for now, the lemon-lime is the flavor of choice!
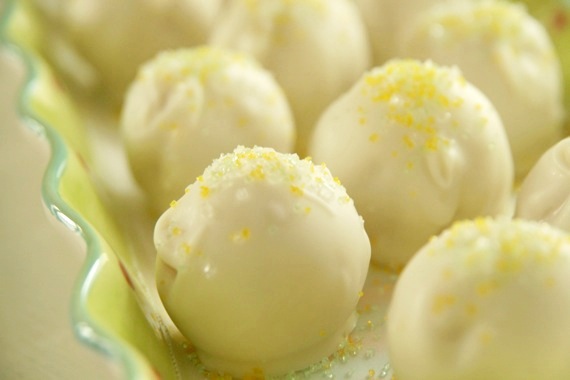
Lemon-Lime Sugar Cookie Truffles
1 batch of sugar cookie dough (I used a store-bought mix, but you can use any recipe you like!)
zest and juice of 1 large lemon and 1 large lime
1 1/2 blocks cream cheese (12 ounces) at room temperature
1 package white chocolate candy coating
colored sprinkles or coarse sugar, for garnish
Preheat oven to 350 degrees. Prepare the cookie dough as directed on package or recipe; add in the zest and juice of the lemon and lime and mix well. Spread the cookie dough in a greased 9×9 baking dish and bake for 30-40 minutes, or until cookies are fully baked. Cool completely.
When cookies are cooled, using your hands, remove from the dish and crumble into the bowl of a stand mixer or food processor (small chunks are fine). Add in the cream cheese and mix until the cookie crumbs and cream cheese are completely mixed together. Roll into 1-1 1/2 inch balls and refrigerate for at least 1 hour.
When the balls are thoroughly chilled, melt the white chocolate candy coating in the microwave, or over a double boiler. Carefully dip each ball into the white chocolate and turn to coat. Remove with a tooth pick and set on a cookie sheet lined with wax paper. Top with sprinkles. Repeat until all the balls are coated. Store in the refrigerator.
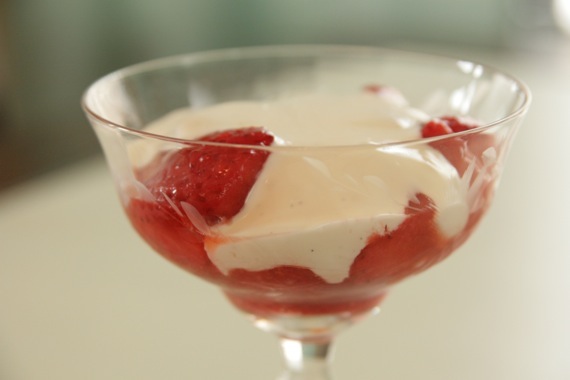
Awhile back I had some fresh strawberries I wanted to use up, but I didn’t want to do the usual strawberry shortcake. Looking around in my fridge, I noticed a block cream cheese, then I remembered I had just received a jar of delicious raw honey from BlakeMakes…this was turning into a yummy idea! I whipped up the cream cheese with the honey, a little sour cream, sugar, some vanilla paste and a splash of Grand Marnier and BAM! Instant (awesome) fruit topper! This would be fantastic tossed with a fruit salad, as a fruit dip, or like I did, just spooned over fresh strawberries. This is so amazingly simple and so amazingly TASTY. Whip some up this weekend!
Honey-Vanilla Cream
8 ounces cream cheese, softened
2 tablespoons sour cream
1 1/2 teaspoons sugar
1 1/2 teaspoons good quality honey
1 teaspoon vanilla paste or extract (you can get vanilla paste at specialty food stores or William Sonoma)
1 splash Grand Marnier (or any orange liqueur you like)
Combine all ingredients and chill until ready to use. Serve over fresh fruit or in fruit salad.
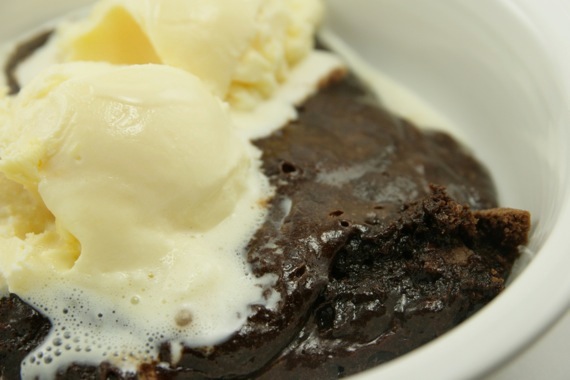
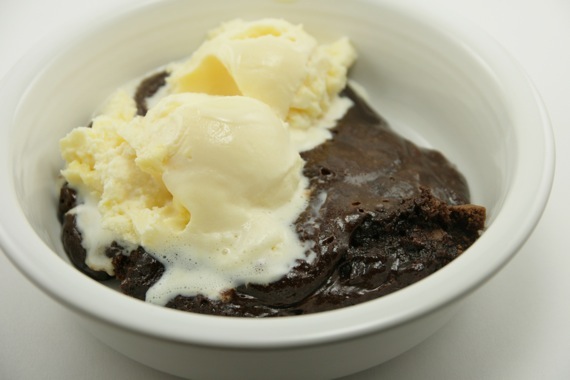
You know how when you say something like, “I love this pencil sooo much!”, and then the other kids at the lunch table say, “then why don’t you marry it?!”? Well, I’ve decided to marry this brownie pudding. That’s right. It’s the newest love of my life. Forget hubby (sorry, honey). From now on, I shall make this brownie pudding my one and only. What, you think that’s crazy??? Well, have you tried this brownie pudding?? Have you experienced the delicious, gooey, chocolaty, HEAVEN that is brownie pudding??? Because, until you’ve tried it, you can’t understand how magical it is. For years, I’ve said that “brownie goo” is my favorite food; you know, the warm, undercooked center of the brownies? (Seriously one of life’s greatest pleasures). Well, Ina Garten gives us something better – a whole DISH of brownie goo!!! I’ve had this recipe flagged for a long time – now I’ve finally experienced it. Simply said, this dessert will knock your socks off. I think I may have slightly undercooked mine (you can tell I was soooo upset over that…) – it says to cook it for exactly one hour, which I did, yet it was still slightly under-baked. Gee, too bad, huh? 😉
Brownie Pudding
-Ina Garten (Barefoot Contessa)
1/2 pound (2 sticks) unsalted butter, plus extra for buttering the dish
4 extra-large eggs, at room temperature
2 cups sugar
3/4 cup good cocoa powder
1/2 cup all-purpose flour
Seeds scraped from 1 vanilla bean
1 tablespoon framboise liqueur, optional
Vanilla ice cream, for serving
Preheat the oven to 325 degrees. Lightly butter a 2-quart (9 by 12 by 2-inch) oval baking dish. Melt the 1/2 pound of butter and set aside to cool.
In the bowl of an electric mixer fitted with the paddle attachment, beat the eggs and sugar on medium-high speed for 5 to 10 minutes, until very thick and light yellow. Meanwhile, sift the cocoa powder and flour together and set aside.
When the egg and sugar mixture is ready, reduce the speed to low and add the vanilla seeds, framboise, if using, and the cocoa powder and flour mixture. Mix only until combined. With mixer still on low, slowly pour in the cooled butter and mix again just until combined.
Pour the brownie mixture into the prepared dish and place it in a larger baking pan. Add enough of the hottest tap water to the pan to come halfway up the side of the dish and bake for exactly 1 hour. A cake tester inserted 2 inches from the side will come out 3/4 clean. The center will appear very under-baked; this dessert is between a brownie and a pudding.
Allow to cool and serve with vanilla ice cream. *Obviously, I did not allow mine to cool…that’s brownie blasphemy.
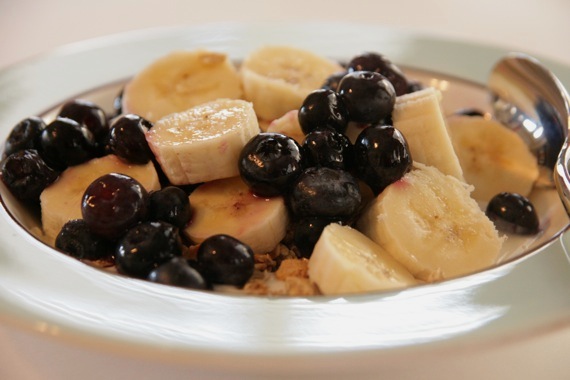
The word ‘parfait’ always reminds me of my good friend Michael. There’s a quote from the first Shrek movie about parfaits that we used to think was so funny; so naturally, we quoted it all the time (Michael does a really good ‘Donkey’ impression).
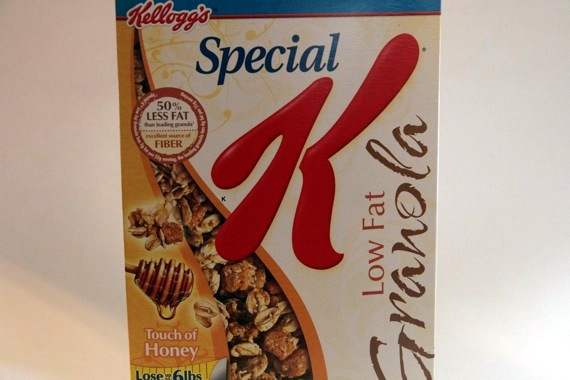
Anyway, hubby and I have started running every evening, getting healthy, etc; so naturally, we’ve altered our diet a little (chocolate chip cookies stay, though. There will never be a world in which I exist without chocolate chip cookies. Never.). We’ve been eating a lot of plain non-fat yogurt sweetened with honey in place of desserts, which is great; especially with some fresh fruit mixed in. So of course I was excited when I received a box of the new Special K Granola to try out and review. And what better treat to make with granola than parfaits!
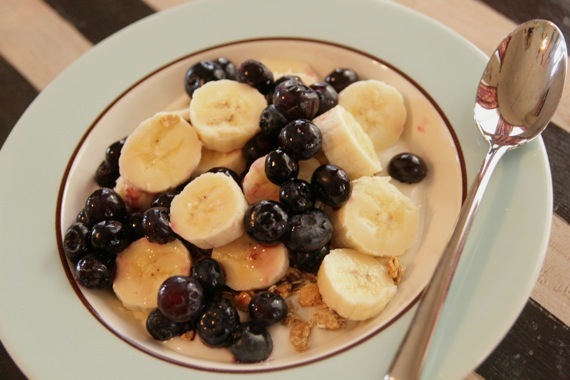
A little yogurt/honey mixture, a little granola, some blueberries and bananas and presto! – delicious parfaits (I could’ve stacked each layer neatly in a pretty glass like real parfaits, but this was much easier)! The crunch of the granola is great mixed with the soft fruit and sweet yogurt- a great dessert, breakfast or snack. I also received a box of Special K fruit crisps, which honestly, I didn’t really like, so I just won’t go there. But the granola really is good – it would be great in Dorie Greenspan’s Granola Grabbers, which are some of my favorite cookies.
Next time you need a healthy dessert or breakfast, try one of these parfaits – they really are satisfying and delicious! I won’t post a recipe, because really, you don’t need a recipe, you just pile stuff in a bowl and go wild. Enjoy!

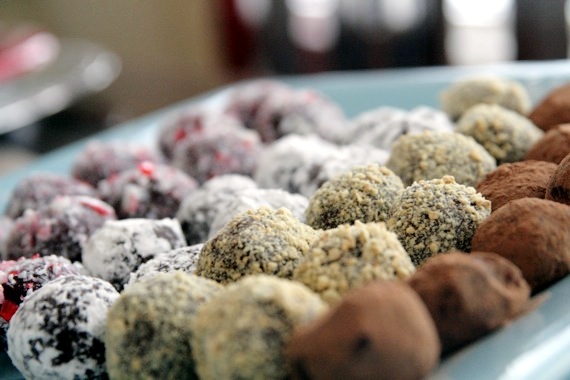
Yes, that’s right – I’ve been truffle-making! Last night I realized I had everything on hand to make 4 kinds of chocolate truffles, and things like that tend to excite me…it almost never happens that I have everything on hand to make anything. So I turned on my Harry Connick, Jr. Christmas music (love me some HCJ..), got busy and came up with 4 very tasty assortments of truffles:
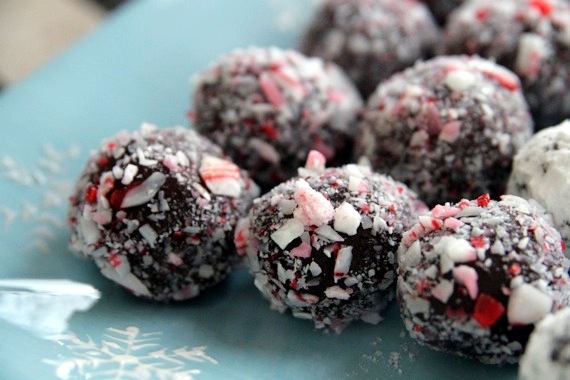
Peppermint Crunch Truffles
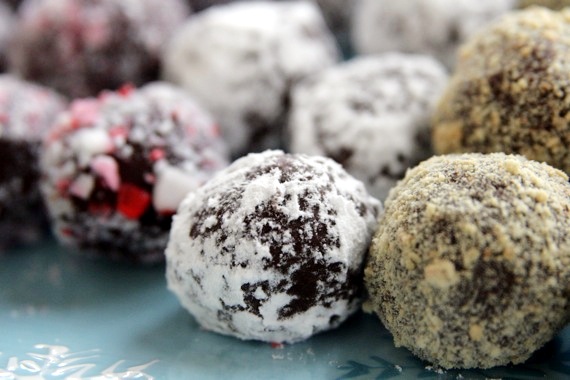
Orange Truffles
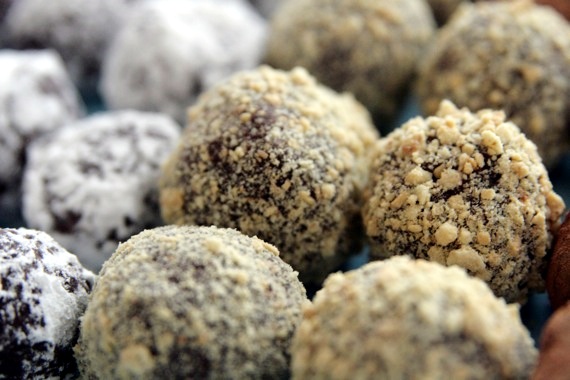
S'Mores Truffles
And lastly…
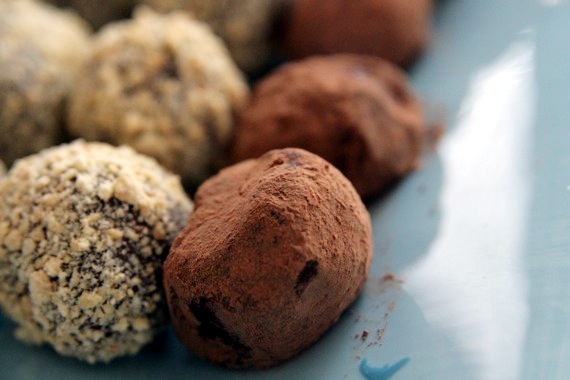
Raspberry Truffles
Truffles are really so simple. Start by making a chocolate ganache (chocolate and cream melted together), let it chill, then roll out little balls and voila! Here’s how I did mine:
Chocolate Truffles
1 cup heavy cream
12 ounces bittersweet chocolate, chopped
1/4 cup sugar (I like mine a little sweeter)
Bring the cream and sugar to a boil over low heat, pour over the chocolate and stir until smooth. (At this point I separated mine into 4 different bowls; one for each flavor.)
For the Peppermint:
Add 1 or 2 drops peppermint extract to the ganache and stir to combine.
For the Orange:
Add a sizable splash of Grand Marnier orange liquer and stir to combine.
For the S’Mores:
Add 1 or 2 drops pure vanilla extract (I used vanilla paste) and stir to combine.
For the Raspberry:
Add a sizable splash of Chambord Raspberry liquer and stir to combine.
Cover and chill the bowls for at least 4 hours or overnight. Roll into walnut size balls, roll in desired topping and chill until ready to serve. As far as toppings, I used crushed up candy canes for the peppermint, powdered sugar for the orange, and cocoa powder for the raspberry. For the S’Mores truffles, I chopped up marshmallows and placed a small piece inside of each truffle, then rolled them in graham cracker crumbs.
So simple! I think I might take these to my hubby’s office for his co-workers this afternoon….I thought it might be a nice surprise for everybody. I hope they go over well!
Silly title, I know – but chances are, most of you can probably relate to the relationship I have with canned pumpkin. When it’s the end of summer and still sweltering hot outside, I find myself walking down the ‘Baking/Spices’ aisle of the grocery store, just to get a glimpse of the empty spot on the shelf where the Libby’s canned pumpkin would normally be. Just to check and see if they have any yet…we all know it’s not really the calendar that tells us when Fall gets here – it’s the good people of Libby’s who decide when Fall begins. The day I see the cans of pumpkin puree on the shelves of the grocery store is the first day of Fall, as far as I’m concerned. And recently I discovered just how precious my canned pumpkin is to me…as you all know, it’s been near impossible to find it lately. None of my stores had any. What a tragedy. Autumn with no canned pumpkin??! I think not! However, just recently, the pumpkin-shortage nightmare was ended and Libby’s was on the shelves once again. Needless to say, I grabbed as many cans as I could carry! For a week or so now, I’ve been thinking of ways to use my beloved canned pumpkin…pancakes? Cookies? Bread? Possibly, but not just yet. Pumpkin blondies? Yes, please! Blondies filled with pumpkin, spices and full of white chocolate chips…perfect! (*For those of you who aren’t familiar with blondies – they’re just like brownies, but minus the chocolate)
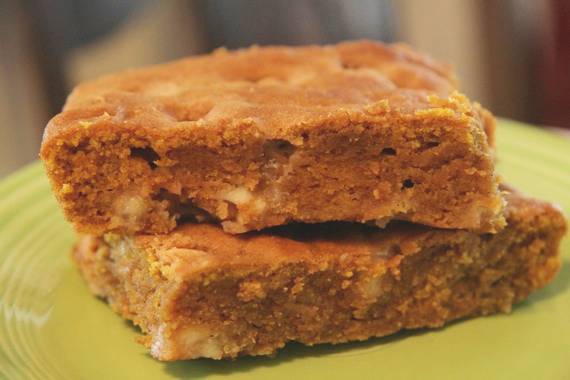
If you’ve got a can or two just sitting around in the back of your pantry, crack one open and re-discover the goodness and joy to be found in baking with canned pumpkin!
Pumpkin Blondies
–Annie’s Eats
2 cups all-purpose flour
1 tbsp. pumpkin pie spice (I doubled this)
1 tsp. baking soda
¾ tsp. salt
16 tbsp. unsalted butter, at room temperature
1¼ cups granulated sugar (or brown sugar)
1 large egg
2 tsp. vanilla extract
1 cup pumpkin puree
1 cup white chocolate chips
½ cup chopped, toasted nuts (optional)
Preheat the oven to 350° F. Line a 9×13-inch baking dish with foil. In a medium bowl, combine the flour, pumpkin pie spice, baking soda and salt. Stir together and set aside.
In the bowl of an electric mixer fitted with the paddle attachment, beat together the butter and sugar on medium-high speed until light and fluffy, about 2 minutes. Beat in the egg and vanilla until well combined. Mix in the pumpkin puree. With the mixer on low speed add the dry ingredients and mix just until incorporated. Fold in the white chocolate chips (and nuts, if using) with a rubber spatula.
Spread the batter evenly into the prepared pan. Bake until the edges begin to pull away from the sides of the pan and a toothpick inserted in the center comes out with just a few crumbs, about 35-40 minutes. Transfer the pan to a wire rack and let cool completely before cutting.
To serve, lift the cake from the pan using the foil and transfer to a cutting board. Peel off foil and using a sharp knife, cut into 24 squares.
This week’s pick is Flaky Apple Turnovers, chosen by Julie of Someone’s In The Kitchen. I love apple turnovers (honestly, my favorite kind is the store-bought frozen kind that comes with the little triangle of frosting….mmm…), so I was excited to see these on this month’s line-up. Basically the filling is just chopped apples, sugar and cinnamon; but Dorie says you can also add a little jam, so I added some homemade peach preserves as well as homemade plum jam. I was really glad I did this because it added a lot of extra flavor.
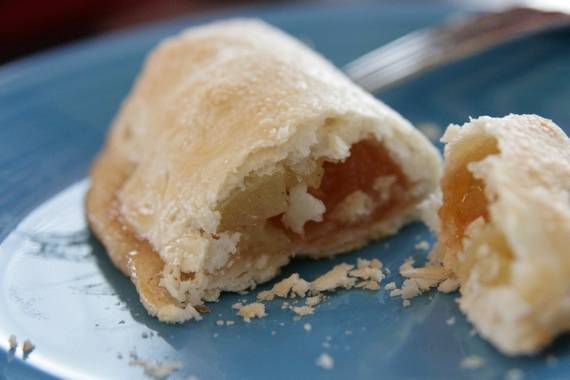
It was nice to have a dessert involving apples (I’m finding myself getting a little tired of chocolate lately…weird!) just as the weather has started getting a little cooler and “Fall-y”. If you’d like the recipe for these turnovers, check out Julie’s blog! Go make you some flaky apple turnovers and enjoy the weather!!
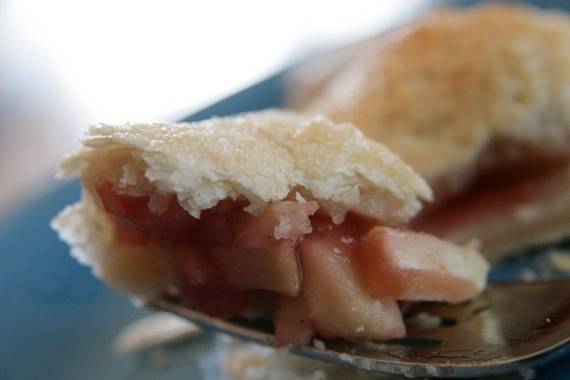
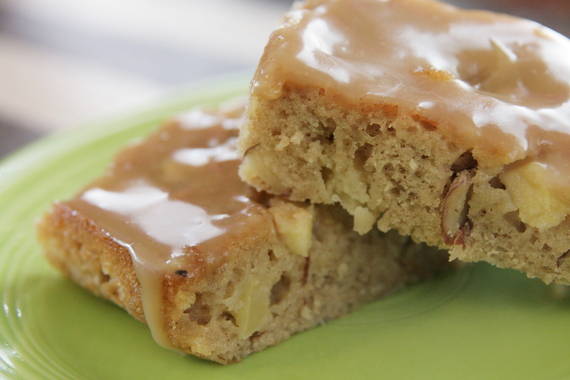
This week’s dessert was certainly a nice change of pace from all the chocolate desserts and cakes I’ve been making lately. Something with apples sounded perfect to me…I was really looking forward to making these bars. Thanks to Karen of Something Sweet by Karen for choosing these Applesauce Spice Bars…they hit the spot! The cake (or bars, I should probably say) itself is really moist and light with dark rum, pecans and chunks of apples baked in, and the glaze…oh man, the glaze…sweet, sticky and caramel-y; the glaze made these bars. I followed a few fellow bakers’ advice and doubled it, and was very glad I did – that glaze was by far my favorite part! My hubby really liked these; needless to say, they didn’t last long! 🙂
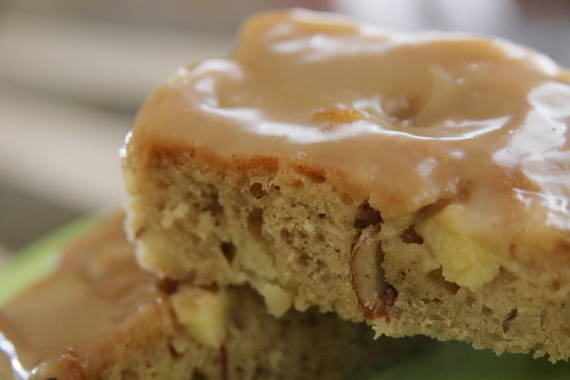
See that glaze??? Oh boy….it’s just calling my name!! And look at those nice, big chunks of apples and pecans…and the flecks of spice…beeeeautiful!! If you’re looking for a nice change of pace – head on over to Karen’s blog and get the recipe; you’ll love ’em, I promise!


