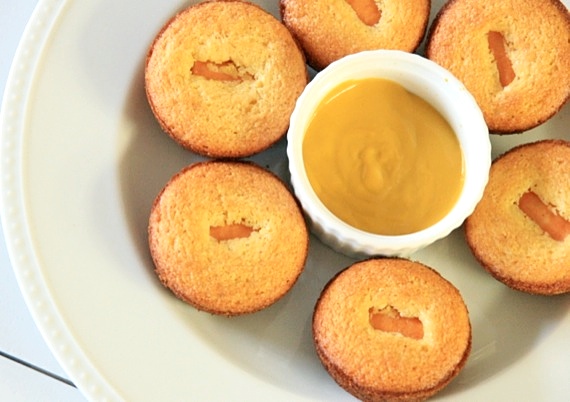
Who doesn’t love corn dogs, right? No one! Especially in fun-sized little mini muffin form! I saw these awhile back and knew I wanted to make them, but wasn’t jazzed about using store-bought wieners that are made with who-knows-what. If you buy the kind that are 100% beef, they’re full of fat and sodium; if you buy the turkey or “low fat” varieties, they’re still full of sodium along with all kinds of additives, preservatives, nitrates, and Lord only knows what else. So naturally, when I discovered Trader Joe’s (God bless that store!) carries all-natural chicken dogs that contain minimal fat and sodium, and are completely free of nitrates and preservatives- I did a major happy dance. Right there in the store. Then I came home and (finally!) made those adorable little corn dog muffins I’ve been dying to try! Yay!
Besides being so darn cute and fun to eat, these are actually really good! And bonus, they’re 100% kid-friendly! Granted, I had to cut them up into little baby-sized bites, but Cassidy still gobbled hers up.
Homemade Corn Dog Mini Muffins
1 package Jiffy corn muffin mix
1 egg
1/3 cup milk
4 all-natural wieners (I used Trader Joe’s chicken dogs), cut up into small chunks
Preheat the oven to 375 degrees. Mix the corn muffin packet with the egg and milk. Divide batter into 2 greased mini muffin pans and drop a few pieces of the wieners in each cup. Bake for 8-10 minutes. Makes about 24 mini muffins.
Recipe source: adapted from The Family Kitchen
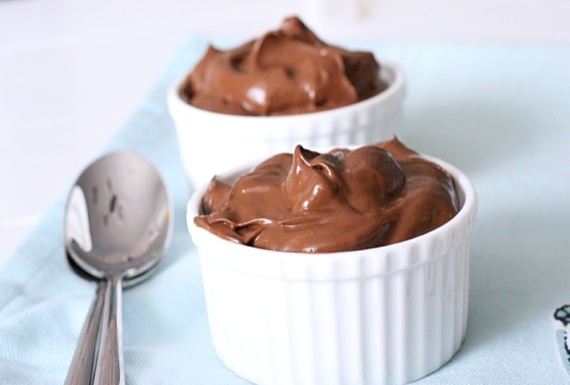
I don’t think it’s a surprise to anyone who reads this blog: I love sweets. Rich, decadent desserts are my thing. Give me a big plate of warm chocolate chip cookies or brownies or chocolate cake and I’m a happy girl. BUT eating all the sweets you want doesn’t really fit into a post-partum way of life. Joel and I are both working really hard on watching what we eat, plus now that Cassidy eats whatever we eat, I’m super picky about what I cook. I don’t want her growing up eating junk food, so I’ve been working really hard at cooking healthy, all-natural meals the whole family can enjoy. But what about my poor sweet tooth?? Am I supposed to just give up sweets cold turkey? I say no.
That’s why I LOVE recipes like this- they incorporate something super good for you, while satisfying the old sweet tooth at the same time! Win-win! I’m not going to lie and say you can’t detect the avocado in this pudding- you can (barely). But for an avocado lover like me, I thought it was awesome. SO smooth and creamy! It honestly tastes so decadent and rich; nothing like you would expect “health food” to taste. Joel and I were both wowed by this pudding and I’ll be making it again and again. And while I’m on this little health kick, maybe next I’ll try black bean brownies!
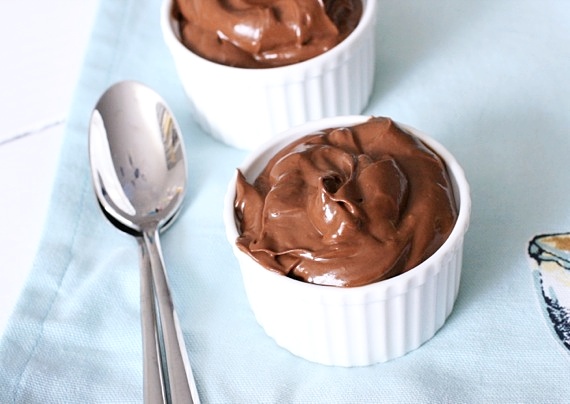
Avocado Chocolate Pudding
2 ripe medium avocados, peeled and chopped
1/3 cup cocoa powder
1/4 cup raw agave nectar or honey
1/2 cup milk (regular or almond milk, coconut, etc.)
1 1/2 teaspoon vanilla extract
Blend all ingredients, until smooth, in a food processor or blender. Serve immediately or chill first. Serves 2-3
Recipe source: my friend Nikki at Seeded at the Table; originally from Forgiving Martha
I think we can all agree that birthdays are special. As soon as you wake up the morning of your birthday, you want to feel special! When my sister and I were growing up, on the morning of our birthdays, my mom would make us our very own breakfast in bed. She would wake us up singing and laughing and the whole family greeted us on our special morning. Too bad I don’t get that kind of treatment anymore…(I’m lookin’ at you, Joel!) Hehe, just kidding…. 😉
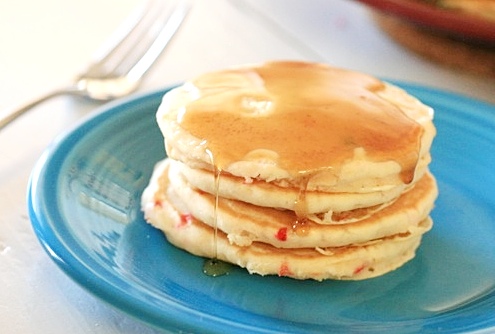
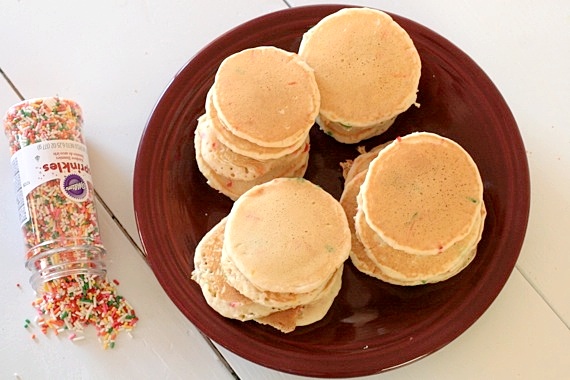
On Cassidy’s first birthday, Joel and I (like huge dorks) greeted her with lots of loud, happy singing and laughing. Then we all sat down and enjoyed these yummy, festive birthday pancakes. What a great start to a happy, happy day!
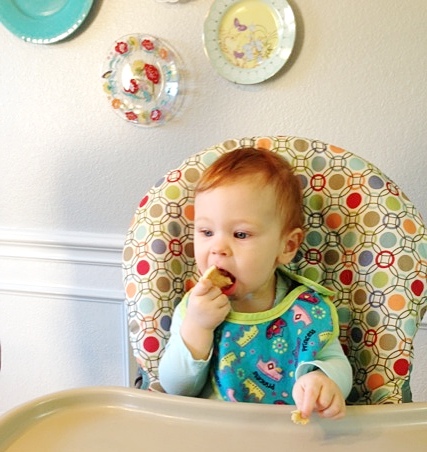
These are really soooooo easy. In fact, I’m not even going to post an actual recipe, because I used boxed pancake mix. I’m not going to spend all morning making pancakes from scratch when I could be snuggling my sweet birthday girl! These are ready in less than 10 minutes! Score!
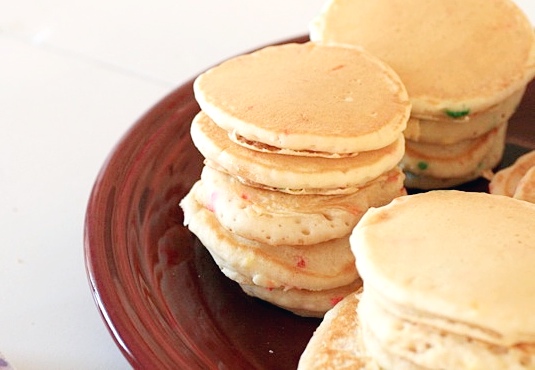
To make the pancakes: start with your favorite brand of pancake mix and prepare as directed. Stir in 1-2 tablespoons rainbow sprinkles (I used rainbow jimmies- they melt a little inside the batter and give that “funfetti” look.). Cook as directed and serve with maple syrup.
Packing sucks. I think pretty much every person in the entire worlds knows this. For me, it’s not so much putting my things in boxes, but having a mess everywhere I turn and not being able to easily walk through my own house without tripping over a giant box. That’s the part I hate. Izzy hates it all. She hates us moving, she hates the packing, the boxes everywhere, and the general stress that goes along with moving. Poor doggie. I keep telling her she’s getting a huuuuge backyard upgrade, but I don’t think she cares at the moment.
Cassidy, on the other hand, is still happy as a clam. She doesn’t care that we have a ga-jillion more boxes to pack…when it’s playtime, it’s PLAYTIME, people! Hmm, maybe that’s why I don’t seem to have gotten anything done…. 😉
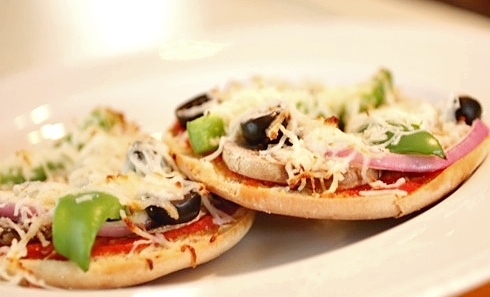
That’s where these simple pizzas come in. There is ZERO time for cooking when there are boxes to be packed. I just don’t have time to spare in the kitchen. Not to mention, all my pots and pans are packed. I used whole wheat bagel thins for these and they were really good- I like the bread-to-topping ratio. I can see a lot of these in our future once we move. There’s nothing easier, and they’re pretty darn tasty too!
Bagel Pizzas
2 whole wheat bagel thins (or regular bagels, if you prefer)
marinara sauce
shredded mozzarella cheese
1/2 a green bell pepper, chopped
1/2 a red onion, thinly sliced
black olives
thinly sliced button mushrooms
salt and pepper
Preheat the oven to 425 degrees. Lay the bagel halves in a single layer on a cookie sheet and toast for 5 minutes. Remove from oven.
Spread bagel thins with marinara and top with the vegetables, salt and pepper, then the cheese, using as much of each ingredient as you like. Place back in the oven for an additional 8-10 minutes, until cheese is melted and bubbly. Serves 2.
Recipe source: Sing For Your Supper original
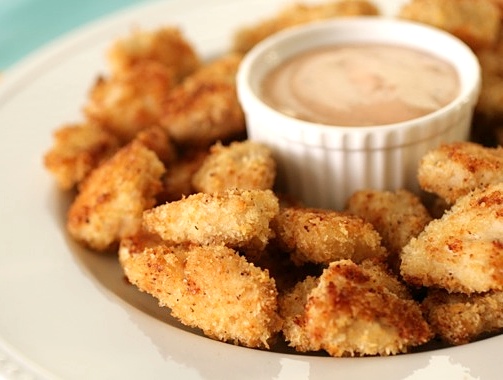
Mmm, Chick-fil-a. We ALL love it, right? The sweet tea, the chicken sandwiches, the waffle fries…but most importantly, the nuggets. Those sweet, tender little bites of fried chicken heaven.
And now, thanks to this recipe, I hold the power. I can have Chick-fil-a on a SUNDAY if I want. Victory is mine, Chick-fil-a!
Now before you get too excited, let me tell you- these are not totally identical to the Chick-fil-a nuggets. They ARE baked, after all, where Chick-fil-a’s are fried. But, the secret ingredient to making them as close to the real deal as possible? Powdered sugar. Yep, powdered sugar. And it works! So the next time you have a major hankering for those golden, sweet nuggets but don’t want all the fat and calories; just whip up a batch of these babies. Guaranteed to satisfy even the staunchest of Chick-fil-a nugget connoisseurs.
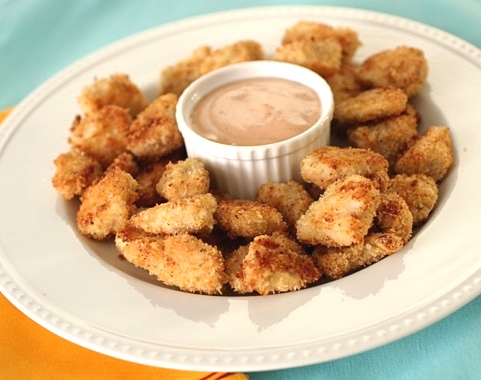
Baked Chick-fil-a Style Chicken Nuggets
2 large boneless, skinless chicken breasts, cut into 1 inch cubes
1/3 cup panko breadcrumbs (these are Japanese style breadcrumbs and can be found at any grocery store next to the regular breadcrumbs)
1/4 cup regular breadcrumbs
1/2 – 1 teaspoon salt (depending on your tastes)
1/2 pepper
1 teaspoon powdered sugar
olive oil
butter spray
Preheat oven to 425 degrees. Grease a sheet pan with olive oil. Combine the panko, regular breadcrumbs, salt, pepper, and powdered sugar in a pie plate or large plate. Drizzle some olive oil (about 1/4 cup) in another plate.
Toss the chicken pieces in the olive oil, then dredge them in the breadcrumb mixture, making sure each piece is coated evenly. Place the nuggets on the oiled baking sheet and spray the tops with butter spray. Bake for about 12-15 minutes, until golden brown. Serves 2-4.
Recipe source: Sing For Your Supper original


