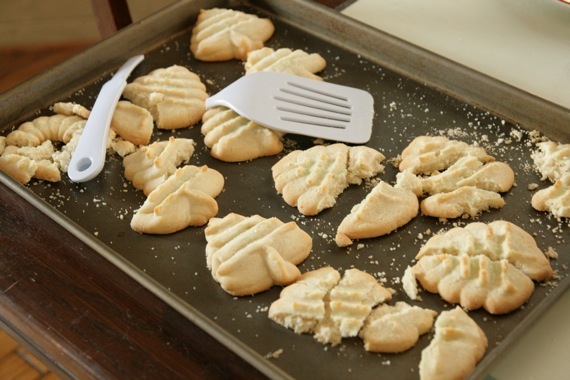
Yep. I’ve done it again. Severe cookie fail. For your information, it is QUITE hard to use a cookie press if you don’t know what you’re doing it’s your first time. I learned this the hard way. My spatula broke. These cookies BROKE my spatula. My grilled cheese spatula.
However, I fully intend to get the hang of this cookie press business….eventually.
Cookies are such a huge part of Christmas. They’re fun to bake, fun to decorate, fun to take to parties, to give to your friends, to leave for Santa and most importantly, fun to eat! I feel like I’m baking cookies constantly these days, just because I enjoy being in my kitchen so much at Christmastime! Here’s a list of my most cherished (most delicious!) Christmas cookie recipes. Whether you’re looking for that perfect cookie to leave for Santa (a very big decision!), need a recipe for your cookie exchange or you’ve got a major Christmas cookie craving and need a cookie QUICK, this list is for you!
Monster Cookies – full of oats, peanut butter and M&Ms, these are always on my Christmas cookie list! However, the recipe makes a floppity-gillion cookies, so you’ll most likely need to half the recipe. Unless you’re hosting a party for all of Connecticut.
Chocolate Mint Puddles – soft, chewy, minty and oh-so chocolaty. I adore these!
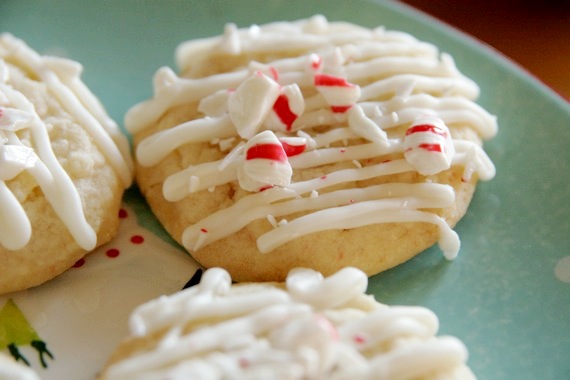
Peppermint Kisses – my new favorite Christmas cookie! I took Dorie Greenspan’s delicious sugar cookie recipe and dressed it up with a little peppermint and white chocolate…absolutely irresistible!
Soft and Spicy Gingerbread Cookies – I’m not a fan of crunchy gingerbread cookies, so these are right up my alley! Soft and chewy, with just the right amount of spice- and GREAT for decorating!
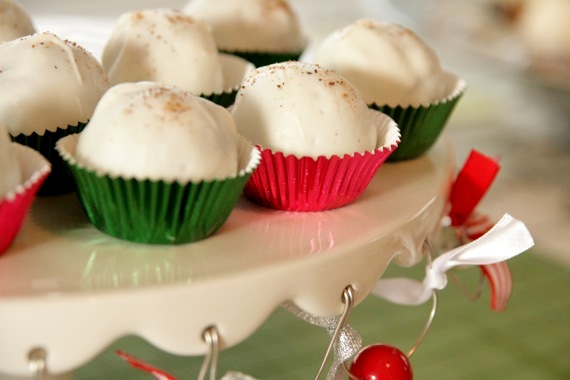
Peppermint Chocolate Truffles – these aren’t technically cookies, but they’re so delicious and easy to make that I just had to share them! These would look just gorgeous on a big platter for your next party- they’re so pretty!

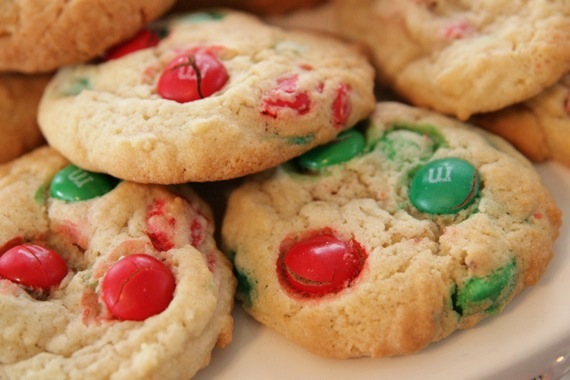
M&M Cookies – these are the cookies my sister and I always left for Santa. Even though my dad kept suggesting we leave buttermilk pie for Santa (why would we do that?!), we always knew that Santa would have preferred these. 😉
Chocolate Peppermint Crunch Cookies – these are rolled in crushed peppermints and baked, so they have a wonderful, chewy crunch to them! A HUGE hit with my coworkers!
I hope you’re able to find a recipe or two you’d like to try this Christmas- they’re all husband, kid and coworker tested (and approved!), so I know they’ll be sure to impress! MERRY CHRISTMAS and happy baking!

Prepare yourself for the world’s most delicious cookie! I’ve made these every Christmas for over 4 years now…they’re SO good! In fact, they’ve been featured on here before, but they were included in a post with 3 other types of cookies, so I decided to revisit them and give them their very own post! They deserve it! They’re originally called Chocolate Peppermint Cookies or something like that, but I changed the name to ‘Chocolate Mint Puddles’ a few years back because I thought it was totally fitting (it must have caught on too, because since then, I’ve seen quite a few bloggers adopt the name too!). If you’re a chocolate/mint addict like me, you’ll absolutely love these. They’re a bit more work than the average cookie, but totally worth it! Make these for your next cookie exchange or party- everyone will go nuts for them!
Chocolate Mint Puddles
–allrecipes.com
3/4 cup butter
1 1/2 cups brown sugar
2 tablespoons water
2 cups semisweet chocolate chips
2 eggs
2 1/2 cups all-purpose flour
1 1/4 teaspoons baking soda
1/2 teaspoon salt
3 (4.5 ounce) packages chocolate covered thin mints (Andes mints)
In a saucepan over medium heat, cook the sugar, butter and water, stirring occasionally until melted. Remove from heat, stir in the chocolate chips until melted and set aside to cool for 10 minutes. Pour the chocolate mixture into a large bowl, and beat in the eggs, one at a time. Combine the flour, baking soda and salt, stir into the chocolate mixture. Cover and refrigerate dough for at least 1 hour.
Preheat oven to 350 degrees F. Grease cookie sheets. Roll cookie dough into walnut sized balls and place 2 inches apart onto the prepared cookie sheets.
Bake for 8 to 10 minutes in the preheated oven, be careful not to overbake. When cookies come out of the oven, Press one mint wafer into the top of each cookie and let sit for 1 minute. When the mint is softened, swirl with the back of a spoon or toothpick to make a pattern with the green filling of the mint wafer. For smaller cookies, break mints in half.
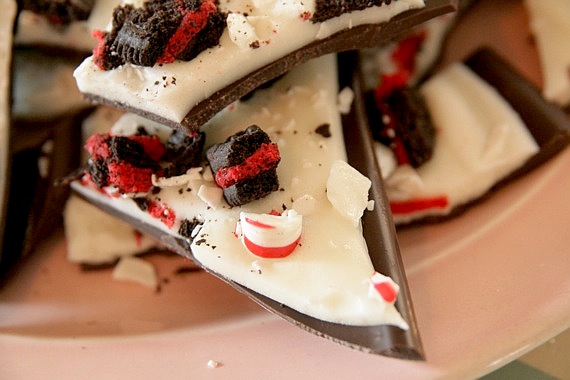
Joel and I sort of have an unhealthy addiction to Oreos. We love them. We even had an Oreo bar with a milk fountain at our wedding. 🙂 Yep, addicted. Which is why I use Oreos in baking/candy making every chance I get. Especially the holiday Oreos- the orange filled ones at Halloween, the pastel ones at Easter/Spring and the red ones at Christmas- which I what I used for this Oreo peppermint bark (at Joel’s suggestion). We had a big party with all of our friends last weekend and I made a big tray of this stuff- it was a huge hit! People can’t resist peppermint bark around the holidays anyway…add crushed up Oreos to the mix and they REALLY can’t resist it! I’ll definitely be making this year after year!
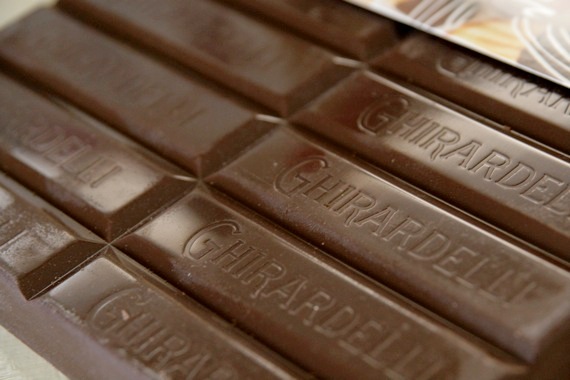
I was giddy at finding this giant block of Ghiradelli candy making chocolate at Sam’s! I see lots more candy making in my future!
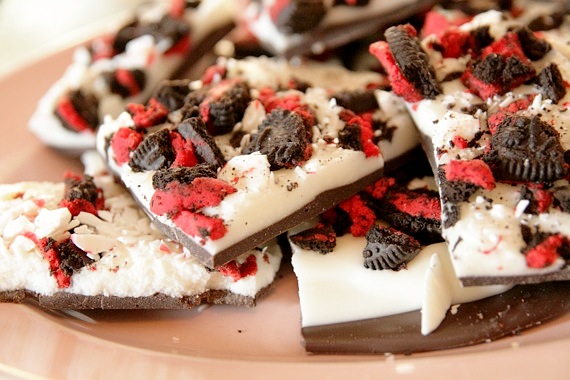
Oreo Peppermint Bark
-Sing For Your Supper original
1 pound dark chocolate bark
1 pound white chocolate almond bark
1/2 teaspoon peppermint extract
10 Oreos, roughly chopped (I used the festive holiday ones!)
1/2 cup crushed peppermints
Melt the dark chocolate bark in the microwave in 30 second intervals, stirring in between. Pour out onto a large sheet of wax paper and smooth it out into one even (thin) layer with a spatula (an offset spatula works perfectly for this). Let sit at room temperature for 15-20 minutes, until hardened. Next, melt the white chocolate bark.
When the chocolate is hardened, stir the peppermint extract into the melted white chocolate bark. Pour over the dark chocolate layer and spread out evenly to the edges with a spatula.
Sprinkle the Oreos and crushed peppermints in an even layer over the top. Let sit until completely dried and hardened, about 20 or 30 minutes.
Break into pieces and serve. Enjoy!
**As always, feel free to use regular dark and white chocolate instead of bark (candy coating). I just prefer to use it because it dries so quickly and doesn’t need to be refrigerated.
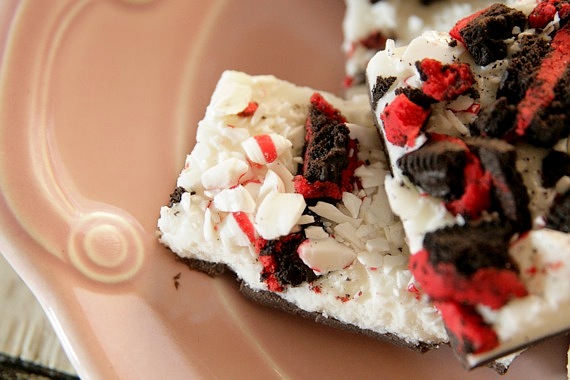
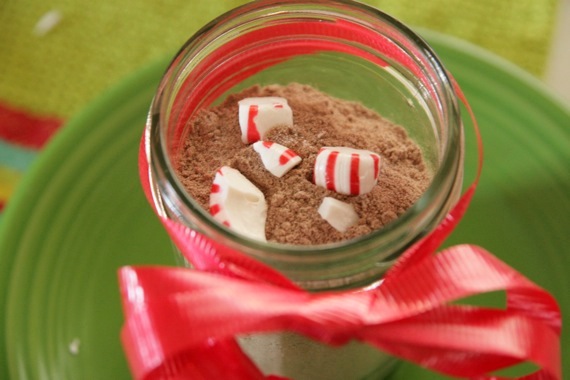
Here’s another quick and easy homemade gift idea: chocolate coffee mix. It’s so simple to throw together and tastes so good on cold winter mornings! In fact, I think a jar or two of this, a jar of spiced tea mix and some delicious homemade treats like cookies, peppermint bark or Chex Mix would make one heck of a gift basket for your friends, family and coworkers! Everybody loves gift baskets full of homemade goodies, right? Right!

This is another one of my mom’s yummy recipes (she has a ton of awesome holiday drink mix recipes!), and somehow I only just discovered it this year! I made a double batch of it and every morning I have a big cup- it’s a perfect way to start my day (believe me, when you teach high schoolers how to sing, you need something a little more special than regular coffee to get you geared up in the mornings…..maybe coffee with liquor in it…..or maybe just straight liquor…). 😉 Make this chocolate coffee part of your gift-giving this year- your friends will thank you!
Chocolate Coffee Mix
-from my mom’s recipe collection (not sure of the original source)
1/2 cup instant coffee (I’m sure espresso powder would be great as well!)
1 1/2 cups powdered Coffeemate creamer (original flavor)
1/2 cup Nesquik (powder)
1/4 cup sugar
dash salt
1/2 teaspoon nutmeg
Mix all ingredients in a blender or food processor until well combined.
To serve: use 1-3 heaping teaspoons per cup of boiling water.
*Also tastes delicious with a little crushed peppermint thrown in the mix!
**For gift-giving, I recommend making a double (or even triple!) batch since the recipe doesn’t yield very much

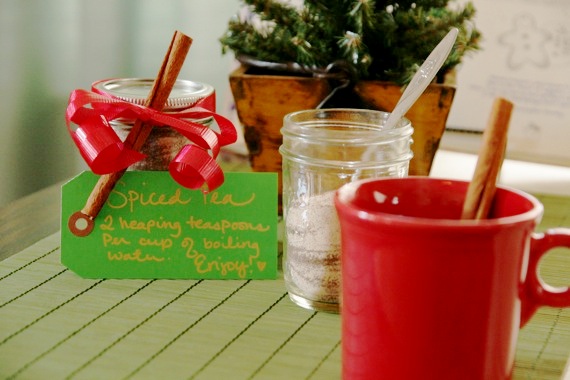
I’m a big fan of homemade gifts. Mainly because I enjoy food and drink so much, I guess I just expect everyone else to as well (that’s not always the case, but nevertheless, if you’re friends of ours, you can bet your gift will be edible). 😉 My mom makes this spiced tea every year at Christmas and it’s just scrumptious. Really. There’s nothing more comforting than sipping a big cup of this while watching a Christmas movie, and I imagine it would be perfect after an afternoon of playing out in the snow….just a guess, seeing as how we don’t get much snow ’round these here parts!
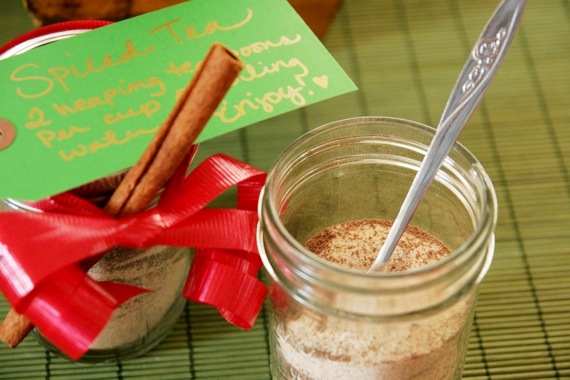
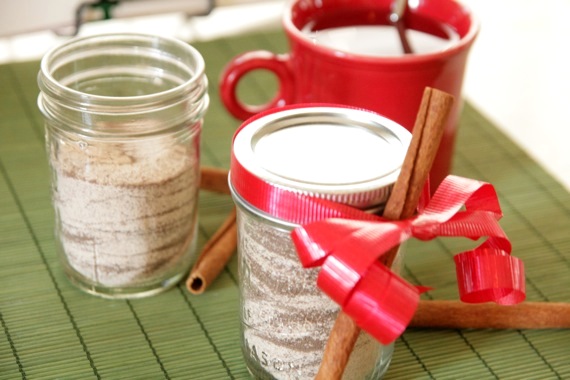
As luck would have it, this recipe makes a very large amount, so there’s plenty to go around! It looks great in glass jars with a little ribbon or even cute little gift bags. Pretty much everyone who’s ever tasted this loves it- my father-in-law especially! It really is the perfect gift!
Holiday Spiced Tea
-I think this recipe has probably been around a very long time, but I got it from my mother, who got it from Baba many Christmases ago!
1 cup instant tea (unsweetened)
2 cups Tang (or any powdered orange drink- just NOT Gatorade)
1 1/2 cups sugar
1 1/2 teaspoons cinnamon
1/2 teaspoon cloves
Stir all ingredients together in a large bowl.
To serve: stir in 2 rounded teaspoons for every cup of boiling water. Enjoy!

BOY, do I love Christmastime!!! And you’d better believe I squeeze out every second I can- I’m not letting one single holly, jolly moment go to waste! And based on your emails, tweets and facebook comments, I happen to know that there are quite a lot of you out there that get into the spirit of things just as much as I do! So, I decided (just for the fun of it) to post a few pictures of some of my favorite Christmas keepsakes. Ornaments are a very big deal to me- I’m not one of these people who decorate their tree in one shade of glass balls. Nope. I need colored lights, candy canes, precious glass balls of every color and all the funky homemade stuff my husband and I made as kids for our parents’ trees. I love every single bit of it. If this doesn’t get you in the holiday spirit, you probably need a good smacking. 😉
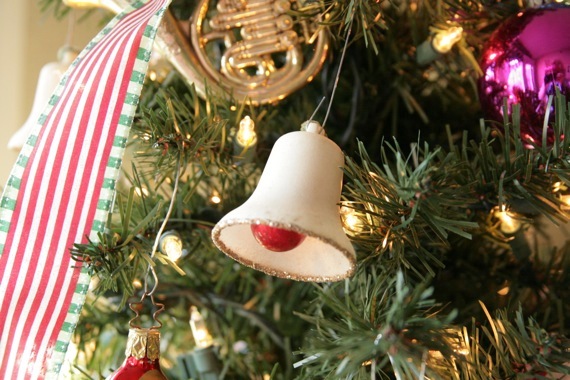
First up, my great-grandmother, Baba’s bells. I have about 30 of these little white bells; they used to be on Baba’s tree. I treasure anything that was once on Baba’s tree!!
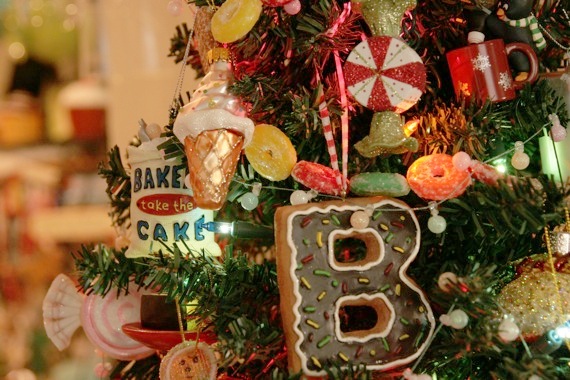
This is my little kitchen tree. All the ornaments are food-related (yes, that’s a taco ornament you see in the background). 😉

Yikes. I made this in elementary school. And no, those are not giant striped turkey legs roasting on the fire….they’re stockings. Obviously.
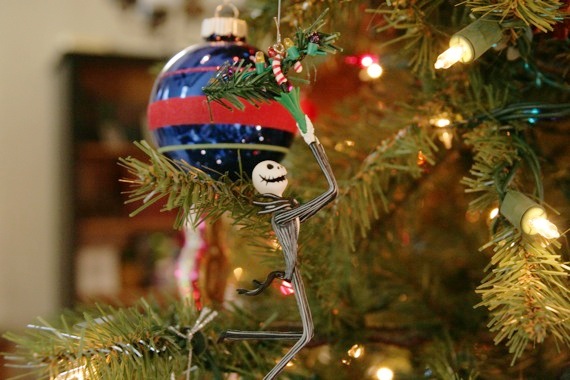
An homage to my quirky side- our Christmas tree wouldn’t be complete without all my Nightmare Before Christmas ornaments!

I think these are my favorites. Joel and I each made these in Sunday school (at different times) as kids…before we even knew each other. They hung on our parents’ trees for years and years; and now they hang our own tree side by side every year.
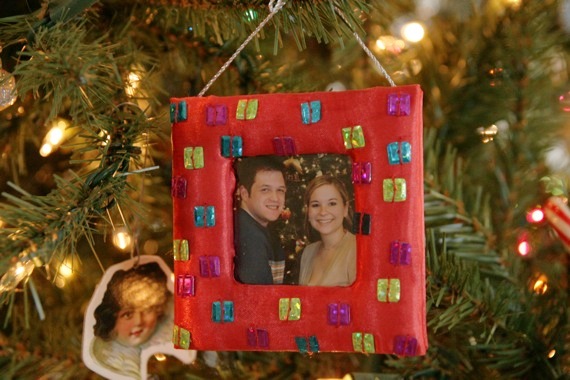
From our first married Christmas…

Just one of many, many cupcake ornaments!

Baba gave this to me as a wedding gift. It’s significant because she and Pop were married in car (it’s a great story, I just don’t have time to go into right now!). My sister has one too and we both cherish them.

Joel’s mother bought this for me

This is the most special one of all. When we were in high school (long before we had even started dating), Joel brought this to me as a Christmas present. There’s a little button on the bottom that plays jingle bells when you push it; I sat in the floor pushing the button over and over again wishing Joel were my boyfriend! I knew right then I wanted to marry him! I can never hang this on our tree without crying…
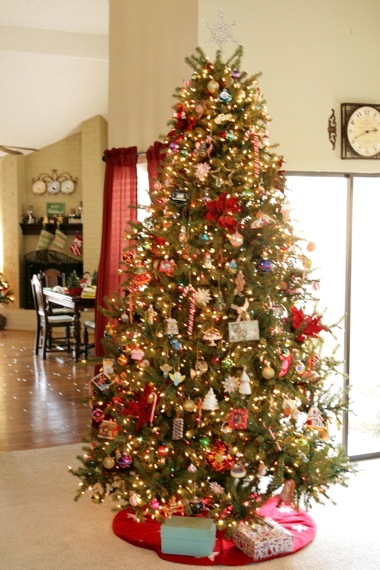
So there you have it! Some of my favorite, most precious ornaments and keepsakes. And those don’t even scratch the surface- I have SO much more! I hope everyone is enjoying the Christmas season so far…baking, decorating, singing carols, and being with friends and family! Thanks for letting me share my memories with you!
Happy Baking!
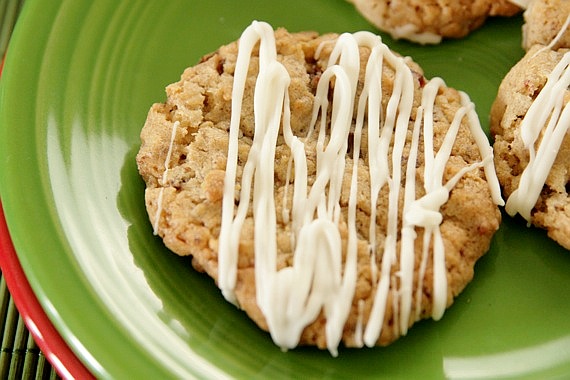
Some of you may remember me winning a cookie contest last year with my Toasted Oatmeal Cookies with Golden Raisins, Pecans and Coconut. It was pretty cool- got my picture in the paper (a boat-load of times!) and they now sell my cookies at a local bakery. Well, this year they asked me to come back as a judge- neat, huh? I got to judge cookies alongside some of DFW’s most prestigious bakers and bakery owners! Very cool! We tasted 7 different yummy cookies, and I came away with some great recipes to share with you! My favorite being these Oatmeal Cranberry Delights. These were the runner up (although they had my vote for 1st place!) and everyone really liked them. They’re slightly chewy, spicy, a little chocolaty and the cranberries and white chocolate add a whole other level of flavor! A perfect holiday cookie- they’re so pretty (and extremely easy to make!). I highly recommend these for your next Christmas party or cookie exchange!
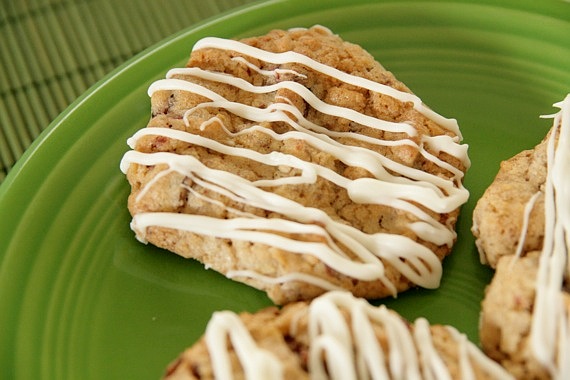
Oatmeal Cranberry Delights
-adapted from Debbie Nicks, Joshua, TX (runner up of the Ft. Worth Star Telegram Very Merry Cookie Challenge 2010)
1 cup (2 sticks) butter (softened)
1 cup sugar
1 cup brown sugar
2 eggs
1 teaspoon vanilla
2 cups self rising flour
1/2 teaspoon salt
1/2 teaspoon cinnamon
2 cups oatmeal
1 cup finely chopped pecans
1 bag of dried cranberries (6 oz.)
1 cup grated milk chocolate bar
1/2 cup melted white almond bark
Preheat oven to 375 degrees. Cream butter, sugars, eggs and vanilla. Mix flour, oatmeal, salt and cinnamon together and add to butter mixture. Stir until ingredients are well mixed. Fold in pecans, crasins, and grated chocolate bar. Drop by rounded teaspoonfuls onto greased cookie sheet. Bake for approximately 10-12 minutes, until golden brown. Move to cooling rack until completely cooled. Drizzle melted almond bark over cookies. Serve after almond bark has dried. Makes approximately 40 cookies.
Well, after a nice long week off, I’m very well-rested and ready to get back to blogging! I hope everyone had a wonderful Thanksgiving with friends and family! We sure did! However, I’m feeling QUITE guilty about my pie-intake over the past few days…I’m not proud to admit I’ve pretty much single-handedly polished off two whole pies without help. SO, no more pie for me for awhile….I’ll just switch to cookies! 😉
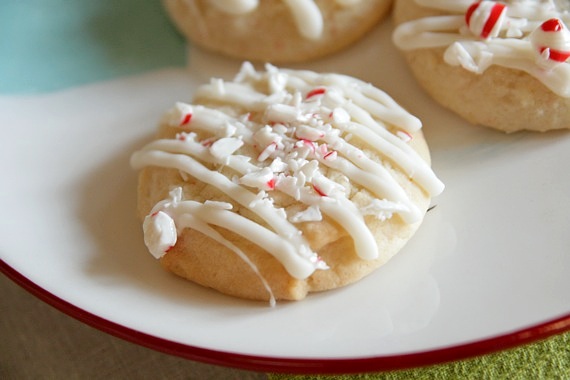
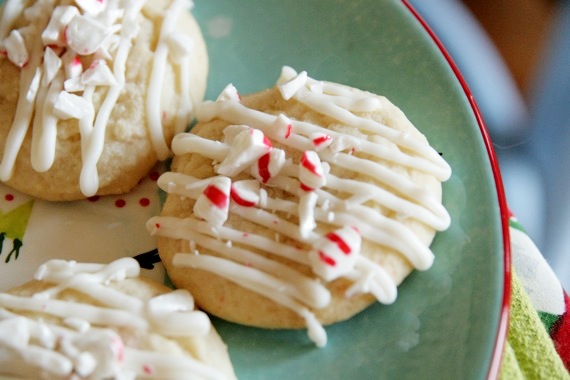
I’m thrilled to say, I think I’ve just found my new favorite Christmas cookie! These are soft and chewy with the tiniest bit of crunch, and they have a delicate kiss of peppermint flavor- thus their name. They’re absolutely delicious and perfect for the holidays! But what makes these so special?? Why, the use of candy cane flour, of course! Never heard of candy cane flour? That’s because I made it up! 😉 When I was finished crushing my peppermints for the topping, I sifted out the dust (it’s a flour/powdered sugar consistency, which is why I deemed it ‘candy cane flour’) and stirred it into my flour/baking powder/salt mixture. It adds a delicate, subtle peppermint flavor without being overpowering- sometimes at Christmas, lots of “pepperminty” things tend to be a little too “pepperminty” for my taste. This was perfect. I even stirred a little of my leftover ‘candy cane flour’ in my coffee this morning! Delicious!
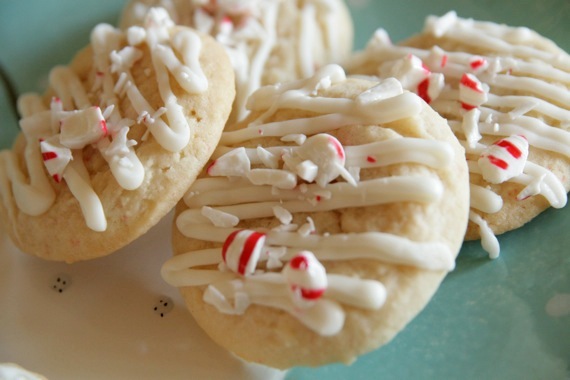
Peppermint Kisses
-basically just an embellished adaptation of Dorie Greenspan’s “Grandma’s All-Occasion Sugar Cookies”
2 cups all-purpose flour
1/2 teaspoon salt
1/2 teaspoon baking powder
1/3 cup candy cane flour**
1 stick plus 2 tablespoons (10 tablespoons) unsalted butter, at room temperature
1 cup sugar
1 large egg
1 large egg yolk
1 teaspoon pure vanilla extract
crushed peppermints, for garnish (about 1/2 cup)
6 ounces (3 squares) white chocolate flavored almond bark or candy coating
Center a rack in the oven and preheat the oven to 350 degrees. Line two baking sheets with parchment or silicone mats.
Whisk the flour, salt, baking powder and candy cane flour together.
Working with a stand mixer, preferably one fitted with a paddle attachment, or with a hand mixer in a large bowl, beat the butter at medium speed for a minute or so, until smooth. Beat in the sugar and continue to beat for about 2 minutes, until the mixture is light and pale. Add the egg and yolk and beat for another minute or two; beat in the vanilla. Reduce the mixer speed to low and steadily add the flour mixture, mixing only until it has been incorporated. When mixed, the dough will be soft, creamy, and malleable.
Drop the dough onto the baking sheets by rounded spoonfuls.
Bake the cookies for 9 to 11 minutes, rotating the sheets at the midpoint. The cookies should feel firm, but they should not color much, if at all. Cool completely.
Heat the almond bark in the microwave in 30-second intervals until melted and creamy. Drizzle over the cooled cookies (I used a ziploc bag with the tip snipped off, but you could also just drizzle with a spoon), then sprinkle with the crushed peppermints.
Makes about 40 cookies.
**Like I noted above, “candy cane flour” is just finely crushed candy canes- you can make it with your food processor or just use a hammer (or rolling pin) and a ziploc bag (which is what I did). Try it in your coffee, stir it into cookie dough, sprinkle over cakes or even dip the rim of your martini glasses in it for a festive cocktail! So fun! 🙂

Thanks to Jana, Jeff, Carol and Albert for suggesting the name of these cookies! 😉
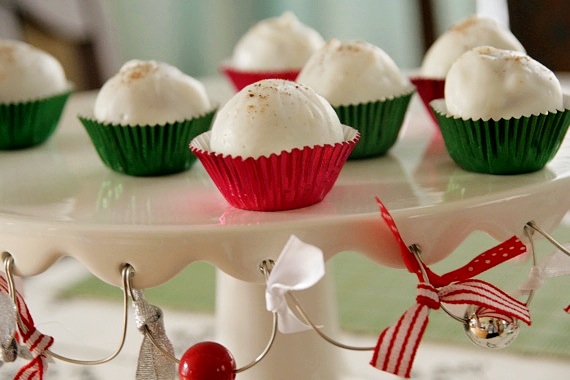
Cake/cookie truffles (or ‘cake balls‘, as they’re more commonly referred to– I’m not a big fan of serving ‘cake balls‘) make some of the best party food. I’m very fond of serving finger foods at parties- it makes mingling so much easier. And goodies like this are always SO popular! I’ve made cake/cookie truffles many times– just using different ingredients, like different flavors of homemade cookies, different cakes, and now spicy gingerbread. This time around, I started with my great-grandmother’s recipe for gingerbread and mixed in some cream cheese- SO good! I always prefer using the almond bark coating (instead of white chocolate), just because it drys so quickly and creates a great crunchy outer shell. A quick sprinkling of nutmeg and you’ve got a beautiful, totally delicious two-bite treat! Perfect for holiday parties!
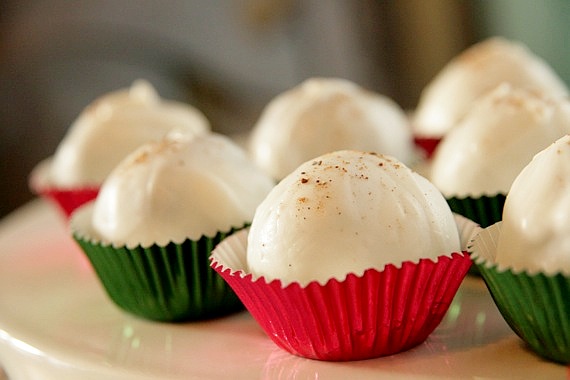
Gingerbread Truffles
-gingerbread recipe from my great-grandmother
For the Gingerbread:
1/2 cup sugar
1/2 cup butter, softened
1/2 cup molasses
1 egg
1 teaspoon ginger
1 teaspoon cinnamon
1 teaspoon baking soda
1/2 teaspoon salt
1 1/2 cup flour
1/2 cup boiling water
Mix together the butter and sugar, then add the egg and molassess, mixing well. In a separate bowl, combine the flour, spices, soda and salt, then add to wet mixture. Stir to combine, then add the boiling water and mix. Pour batter into a greased 9×13 pan and bake at 350 degrees for 25-35 minutes or until springy. Let cool completely.
You will also need:
1 package almond bark or white candy coating
1 8-oz. block cream cheese, at room temperature
nutmeg, for garnish
When cake is completely cooled, crumble into the bowl of a stand mixer (you could also use a hand mixer for this; even your hands!) and add in the cream cheese. Mix until the cake and cream cheese is totally combined. Roll out into walnut-sized balls and place on a sheet pan lined with wax paper. Chill for 1 hour.
Melt the almond bark in the microwave in 1 minute increments, stirring in between, until it is completely smooth. Dip the balls in one at a time (I use a toothpick for this) and coat with the almond bark. Set on a sheet of wax paper and sprinkle with nutmeg. Allow to harden completely. At this point you can serve immediately or freeze for later use.
